Easy Handprint Turkey Craft – A Sweet & Simple Thanksgiving Keepsake for Kids
Thanksgiving brings so many warm traditions—family recipes, cozy gatherings, gratitude lists, and of course, holiday crafts that capture the magic of childhood. One of the most timeless Thanksgiving crafts is the Handprint Turkey, a nostalgic project that transforms your little one’s painted hand into a colorful turkey full of personality. Whether you’re planning a kids’ table activity, a classroom art session, or a fun weekend craft at home, this project is simple, low-mess, and filled with heart.
In this simple guide, we’ll walk through everything you need to get started—from materials to step-by-step instructions, plus creative variations, tips for toddlers, ways to personalize the craft, and ideas for displaying your child’s finished turkey masterpiece. This project is easy enough for preschoolers, adaptable for older kids, and meaningful for parents who love saving holiday keepsakes.
Let’s dive into the colorful world of handprint turkeys and create a Thanksgiving memory you’ll cherish for years to come.
Why Handprint Turkey Crafts Are So Special
Handprint crafts are treasured by parents and grandparents for a reason—they capture a moment in time. Those tiny fingers, the messy giggles, the excitement of choosing paint colors… it all becomes part of a tangible keepsake you’ll look back on long after your child’s hands have grown.
A handprint turkey:
- Doubles as décor for your Thanksgiving table or wall
- Makes a sweet gift for grandparents
- Is easy for all ages
- Encourages creativity and sensory play
- Requires minimal supplies
- Creates a lasting memory connected to Thanksgiving traditions
Plus, kids really do enjoy the process. Finger painting turns into feather painting, and they get to see their actual hand transformed into a colorful holiday character. It’s magical and meaningful all at once.
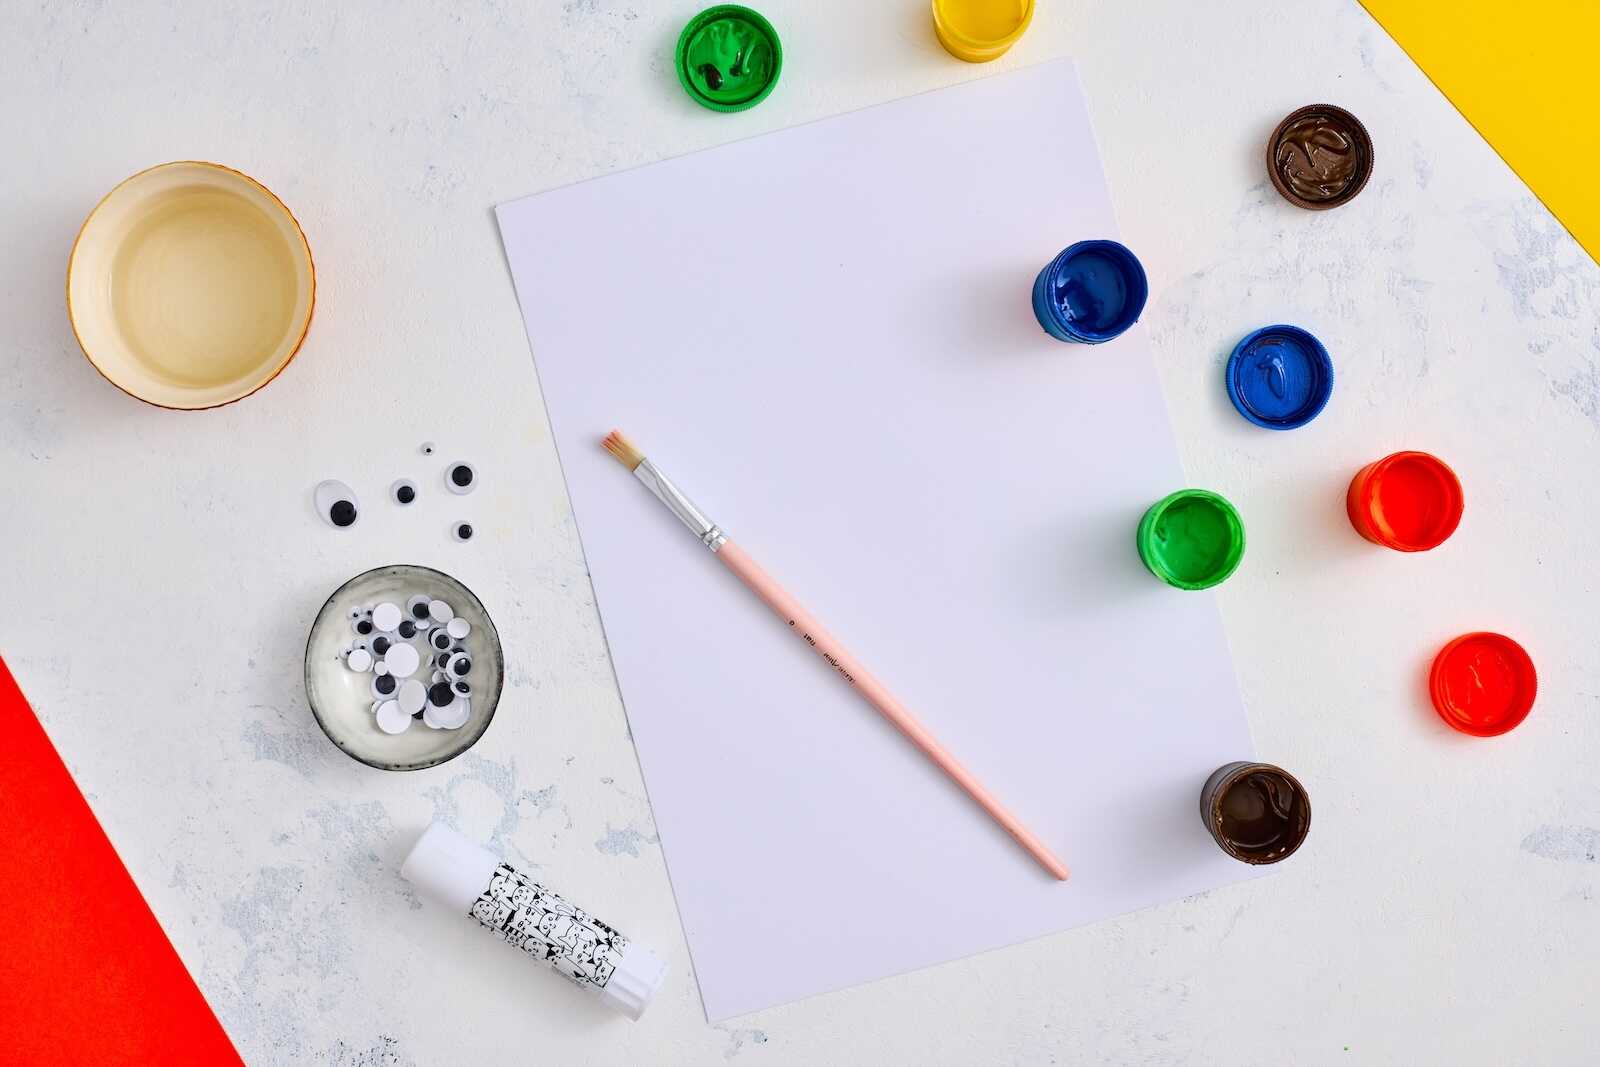
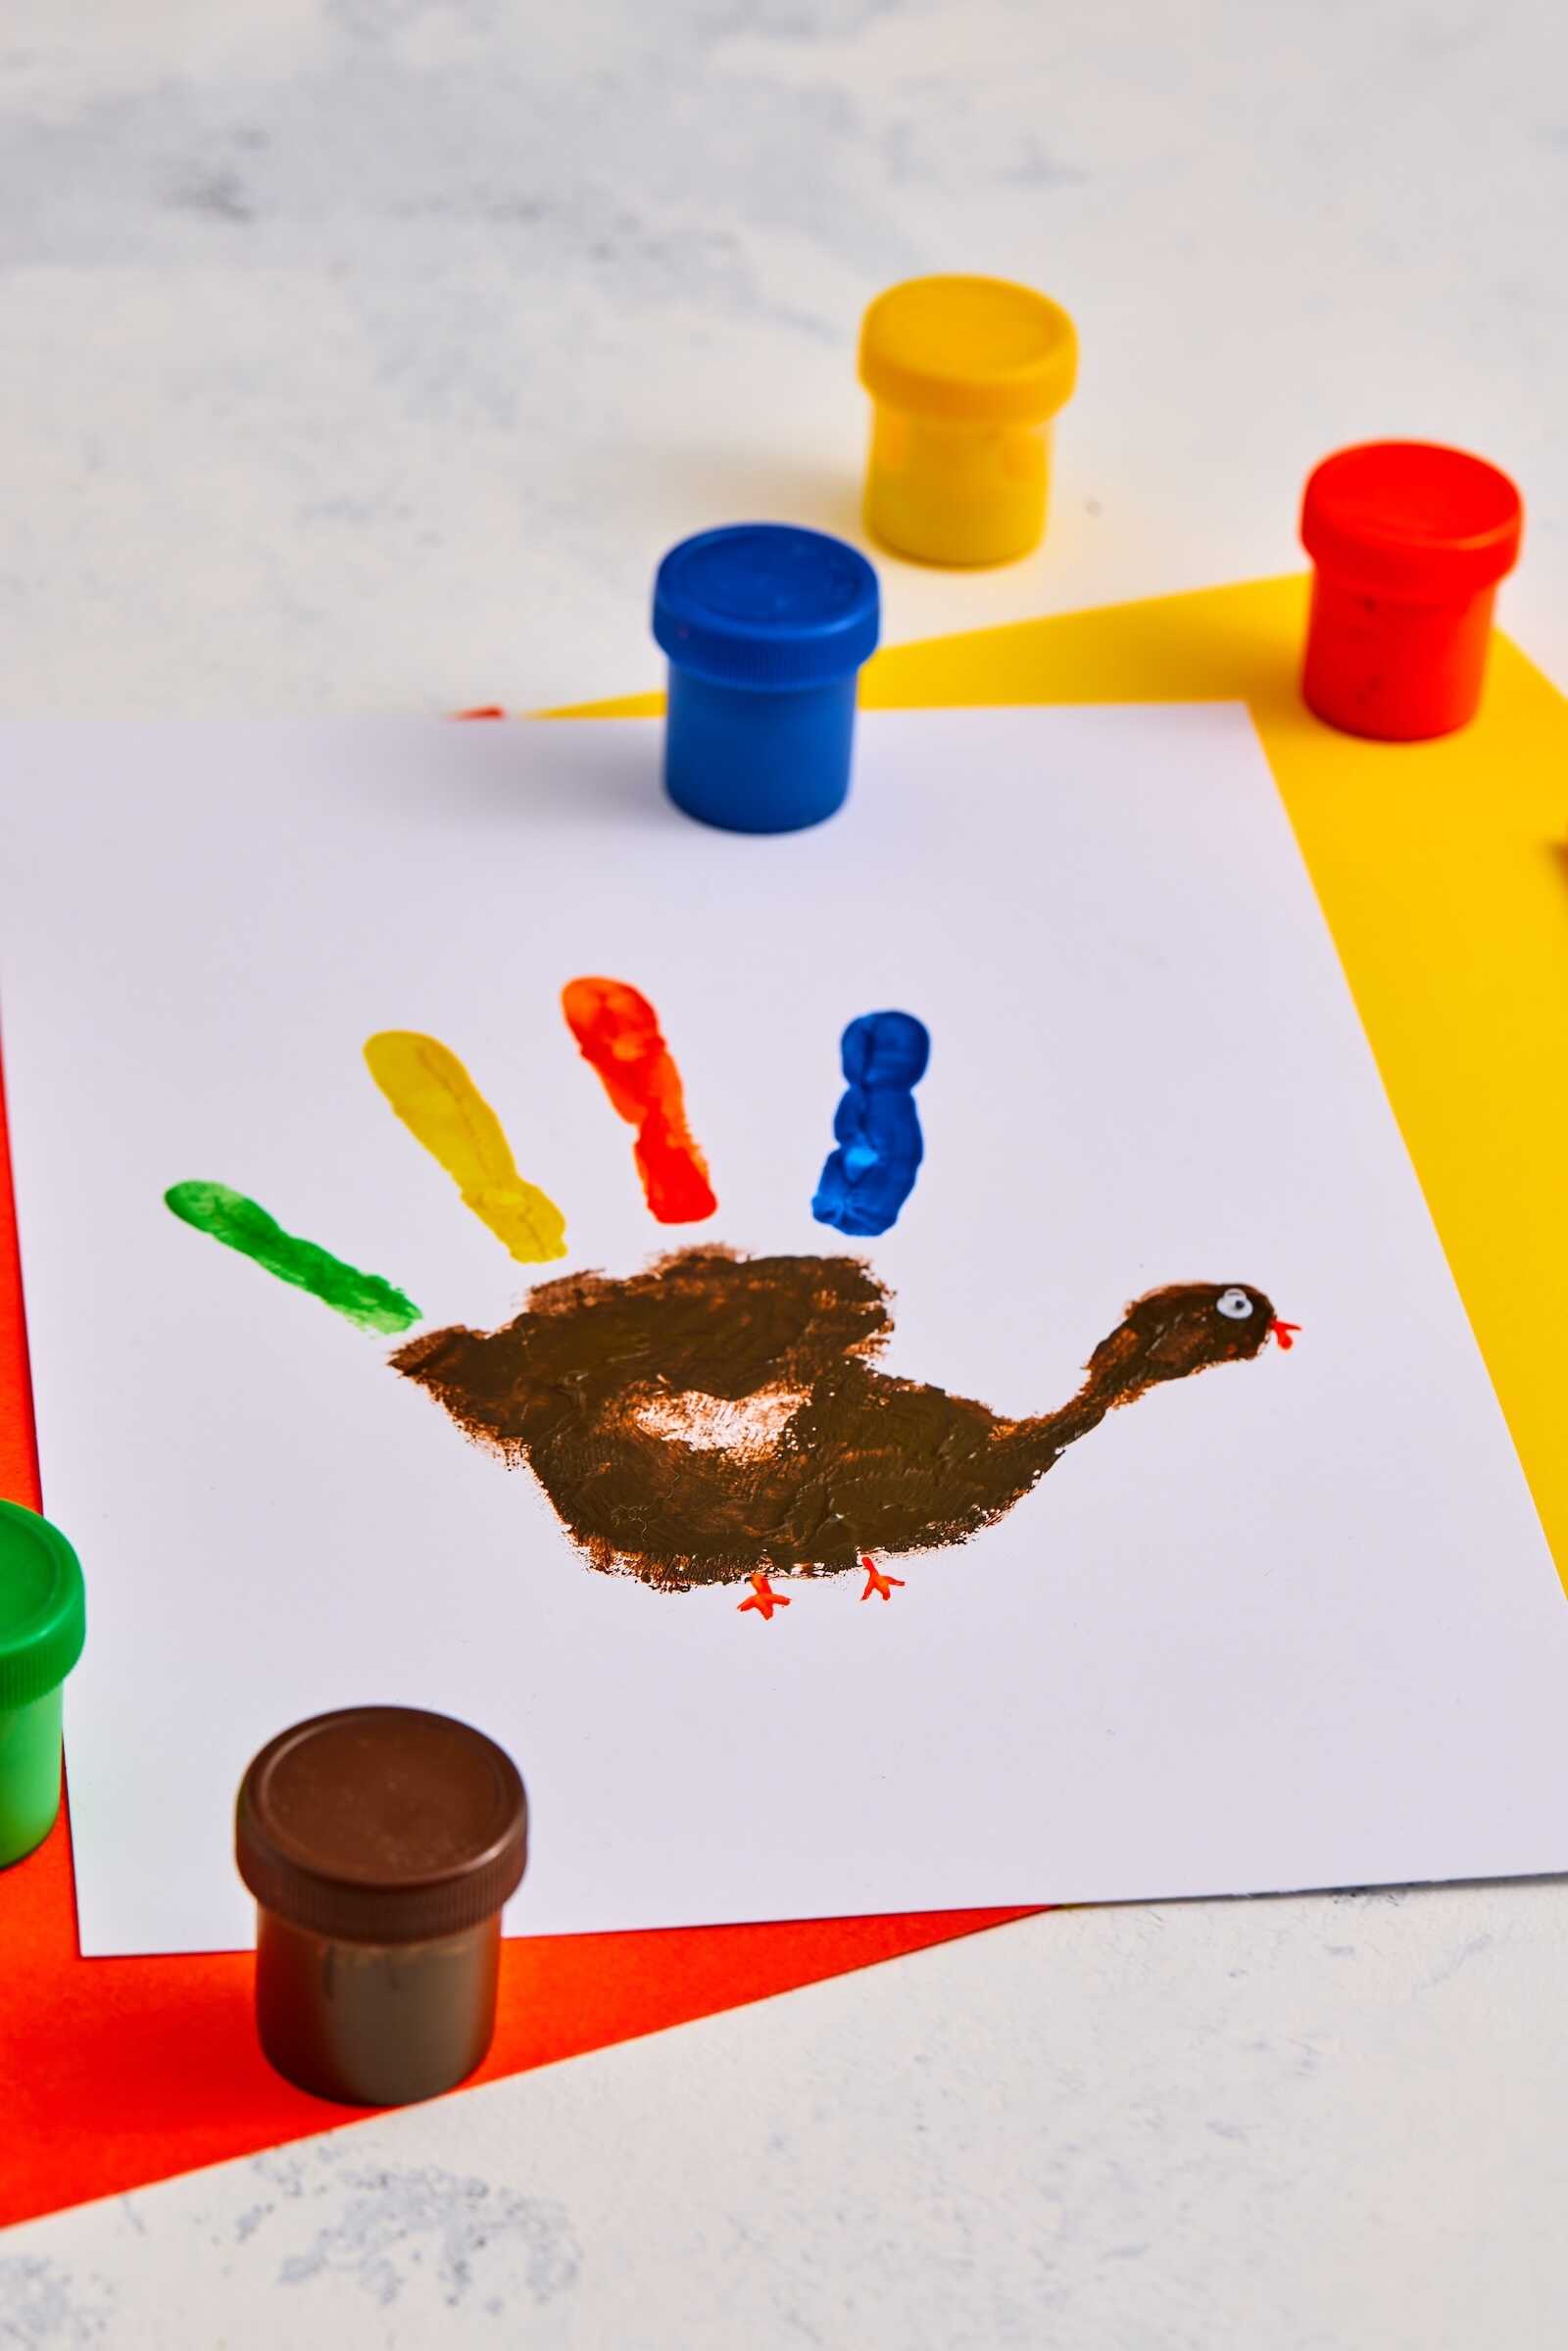
Materials You’ll Need
Basic Supplies
- Brown paint (for palm and thumb)
- Additional paint colors such as yellow, orange, red, purple, green, or blue (for feathers)
- Paintbrush
- Cardstock or thick paper (white or light-colored works best)
- Black marker
Optional Decorations
- Googly eye (instantly adds personality!)
- Small paper pieces for the beak, wattle, and feet
- Glue
- Glitter or sequins (optional for extra sparkle)
- A wet washcloth or baby wipes for cleanup
Using cardstock is key—it’s thick enough to hold the paint without wrinkling or tearing, making the final piece sturdy enough for framing or saving in a memory box.

Step-by-Step Instructions
You can complete this craft in 10–15 minutes, plus drying time. Here’s the complete process:
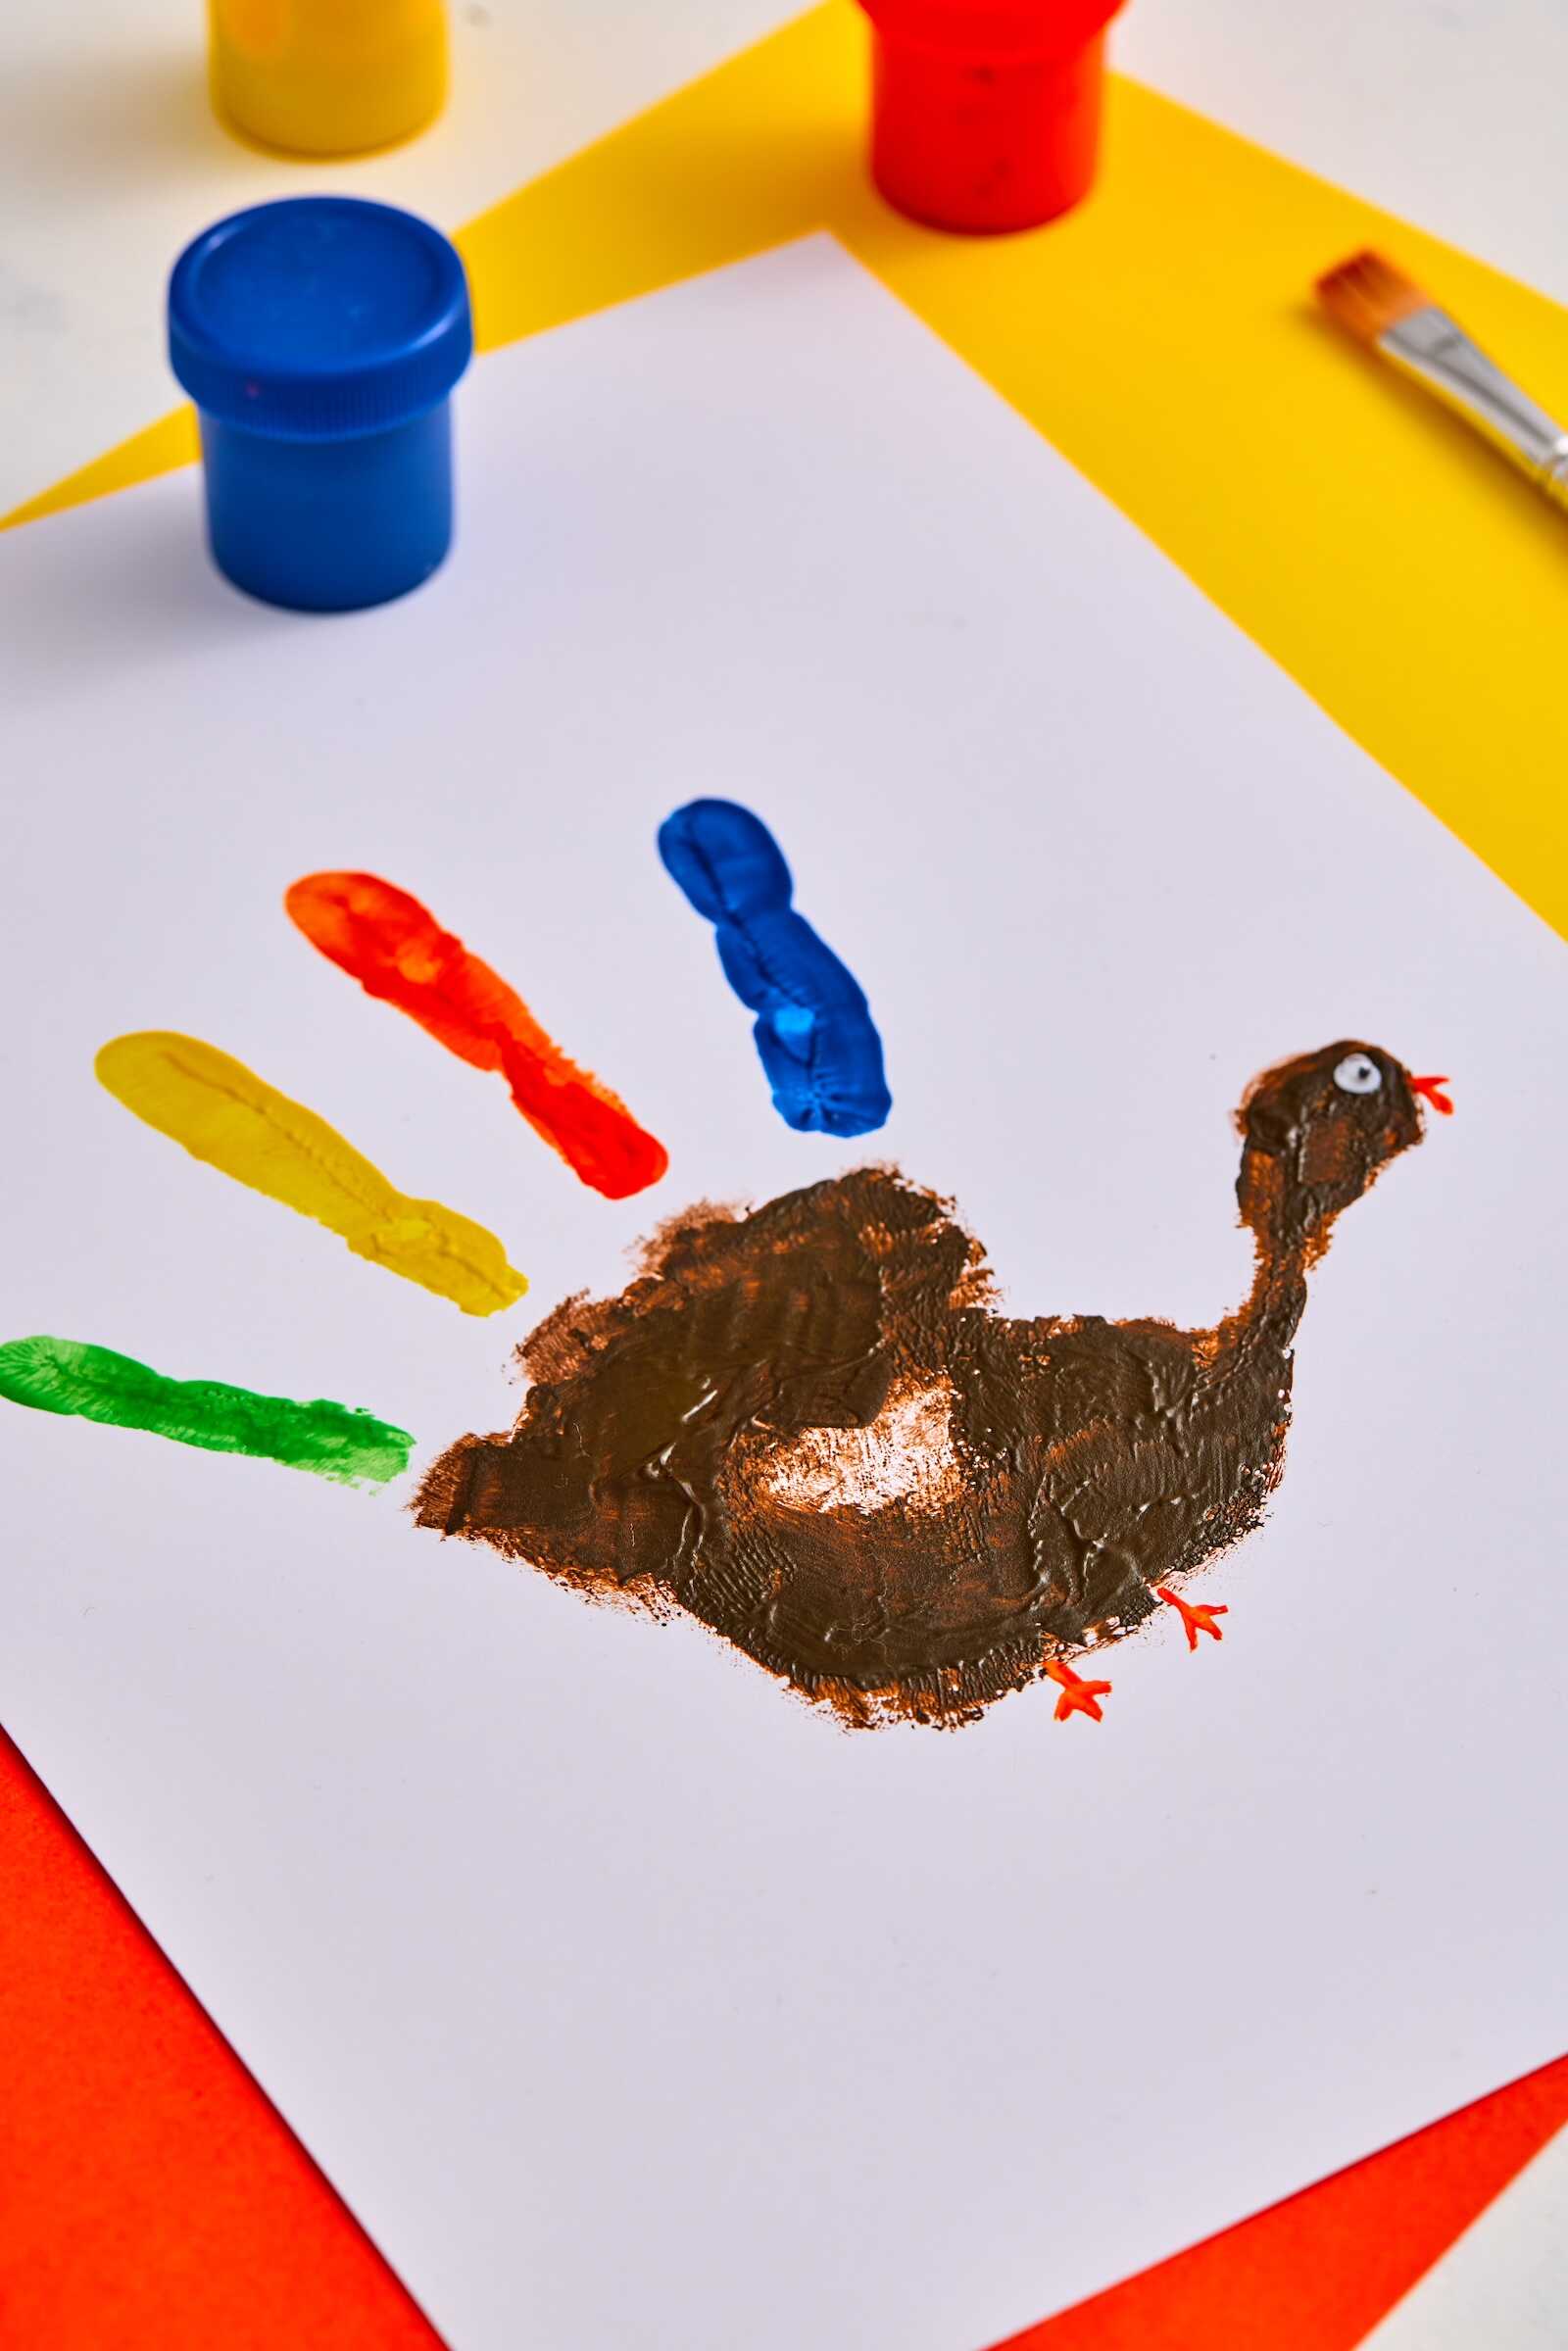
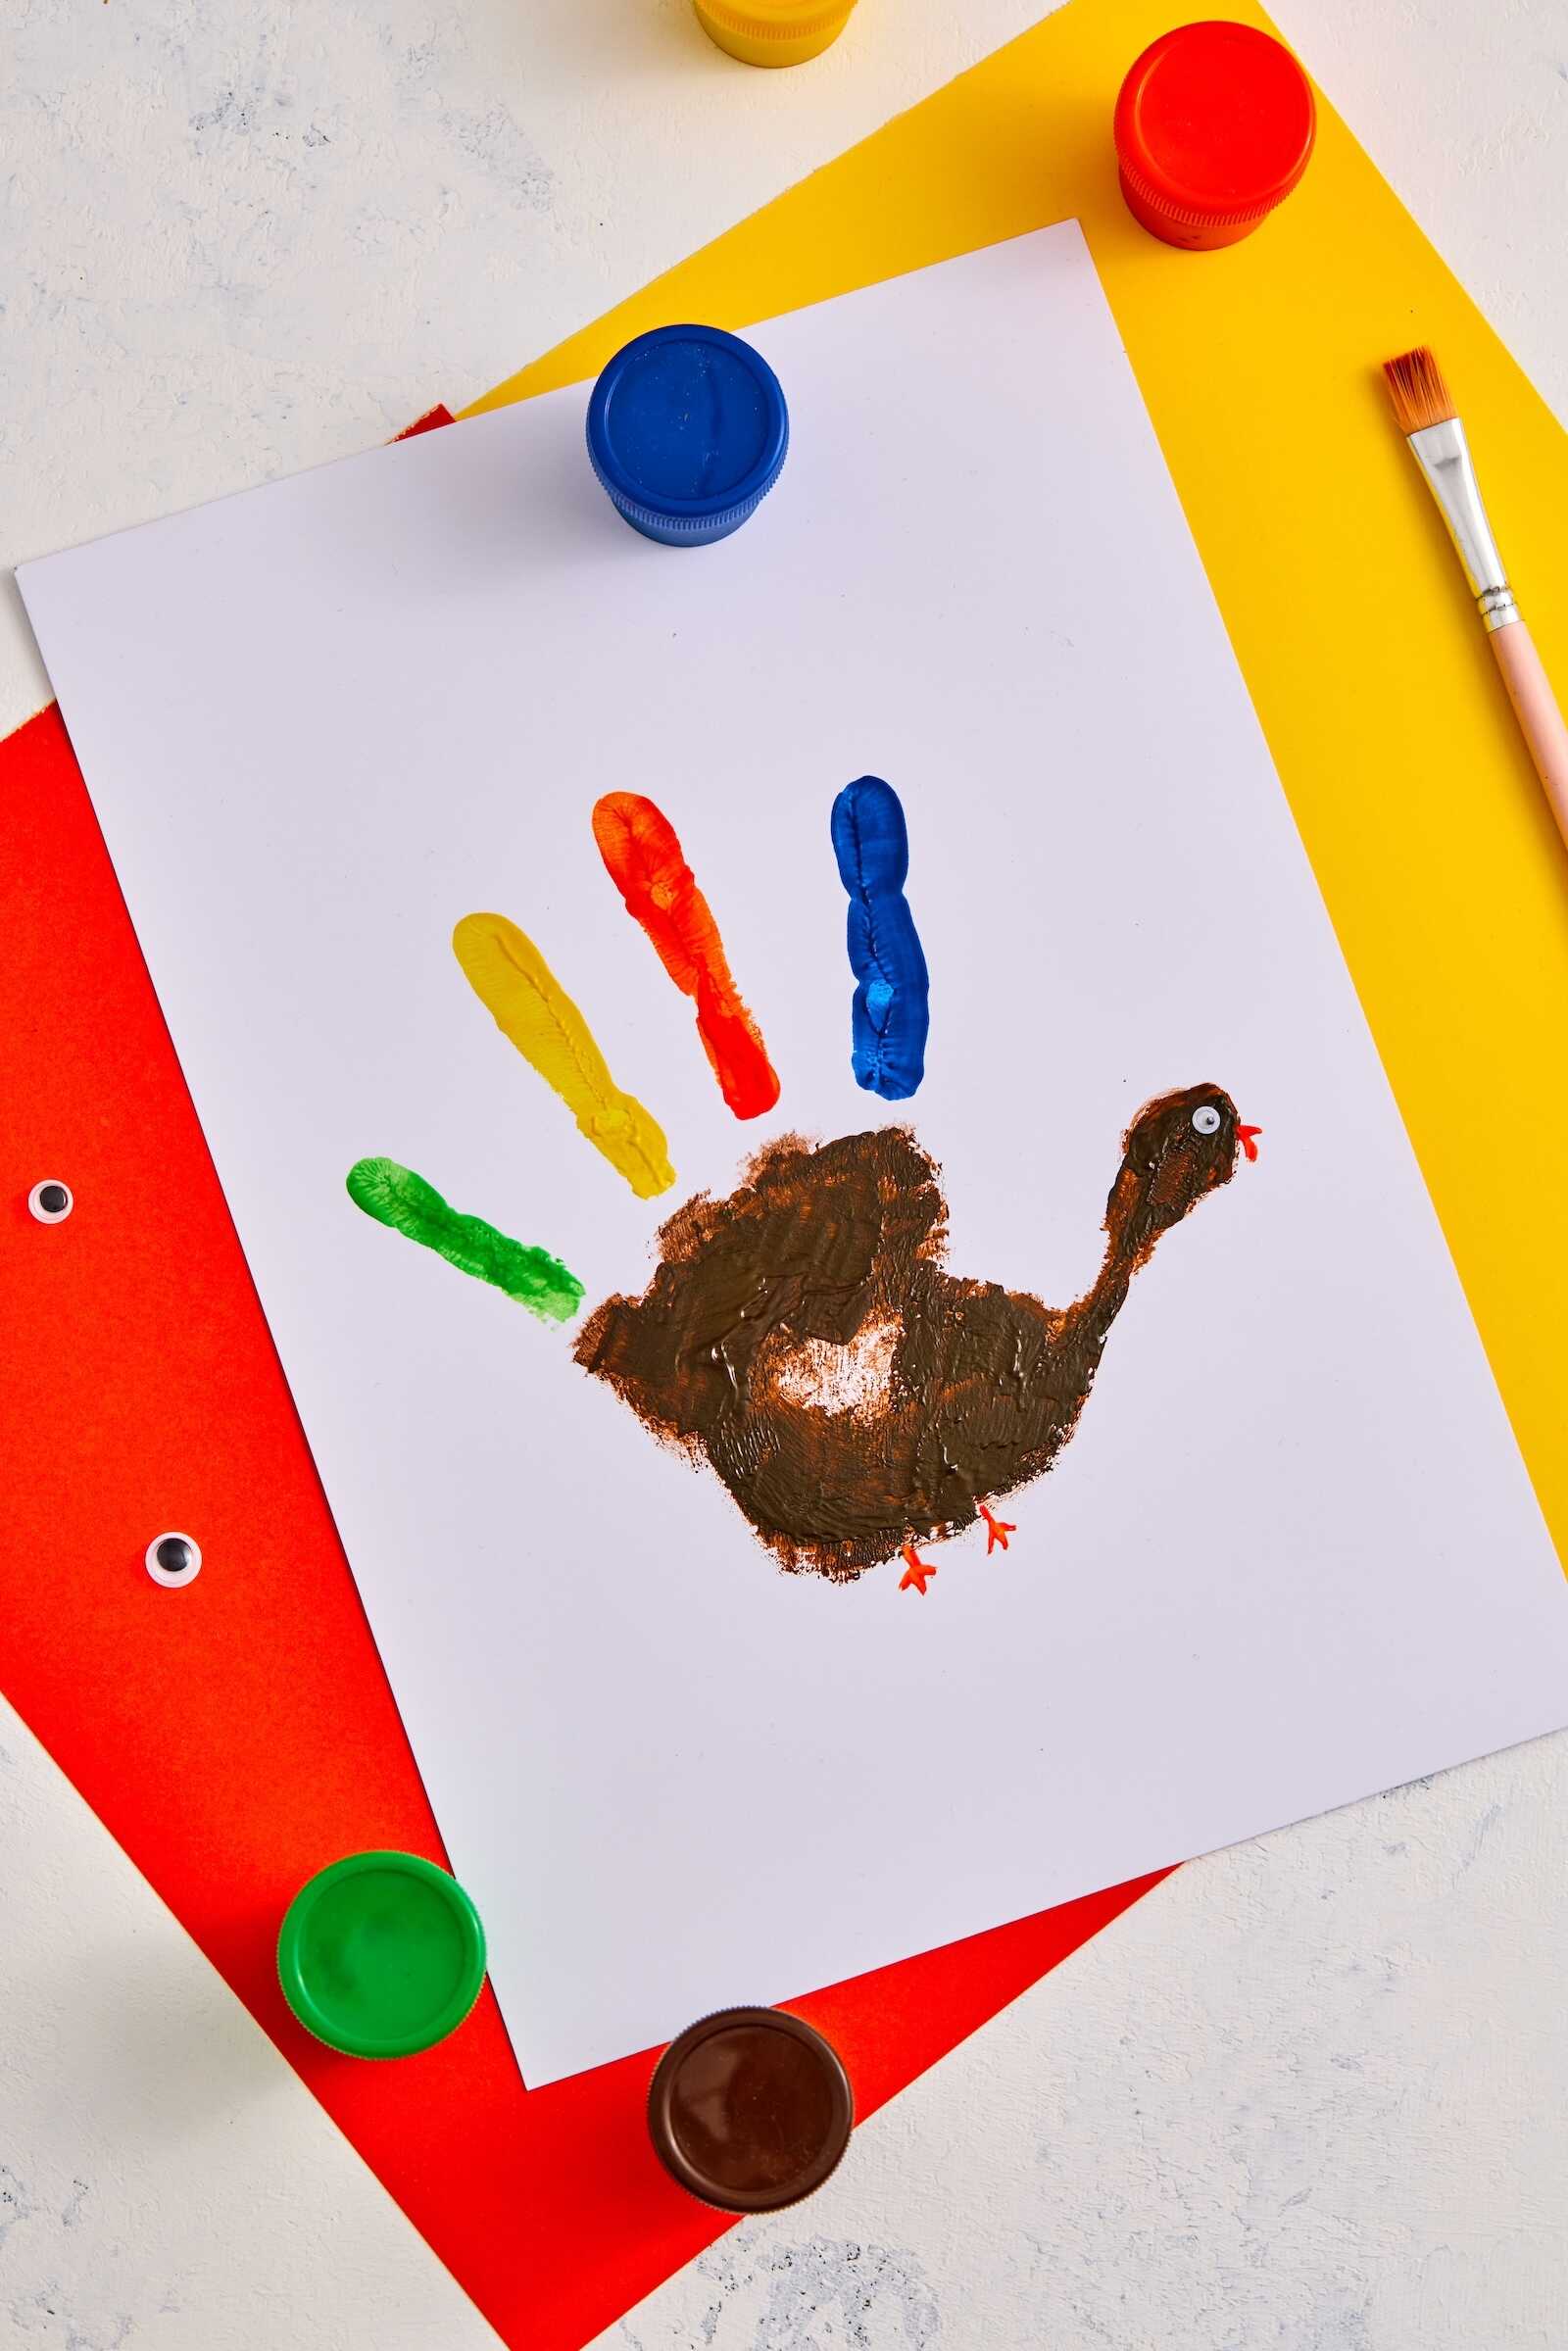
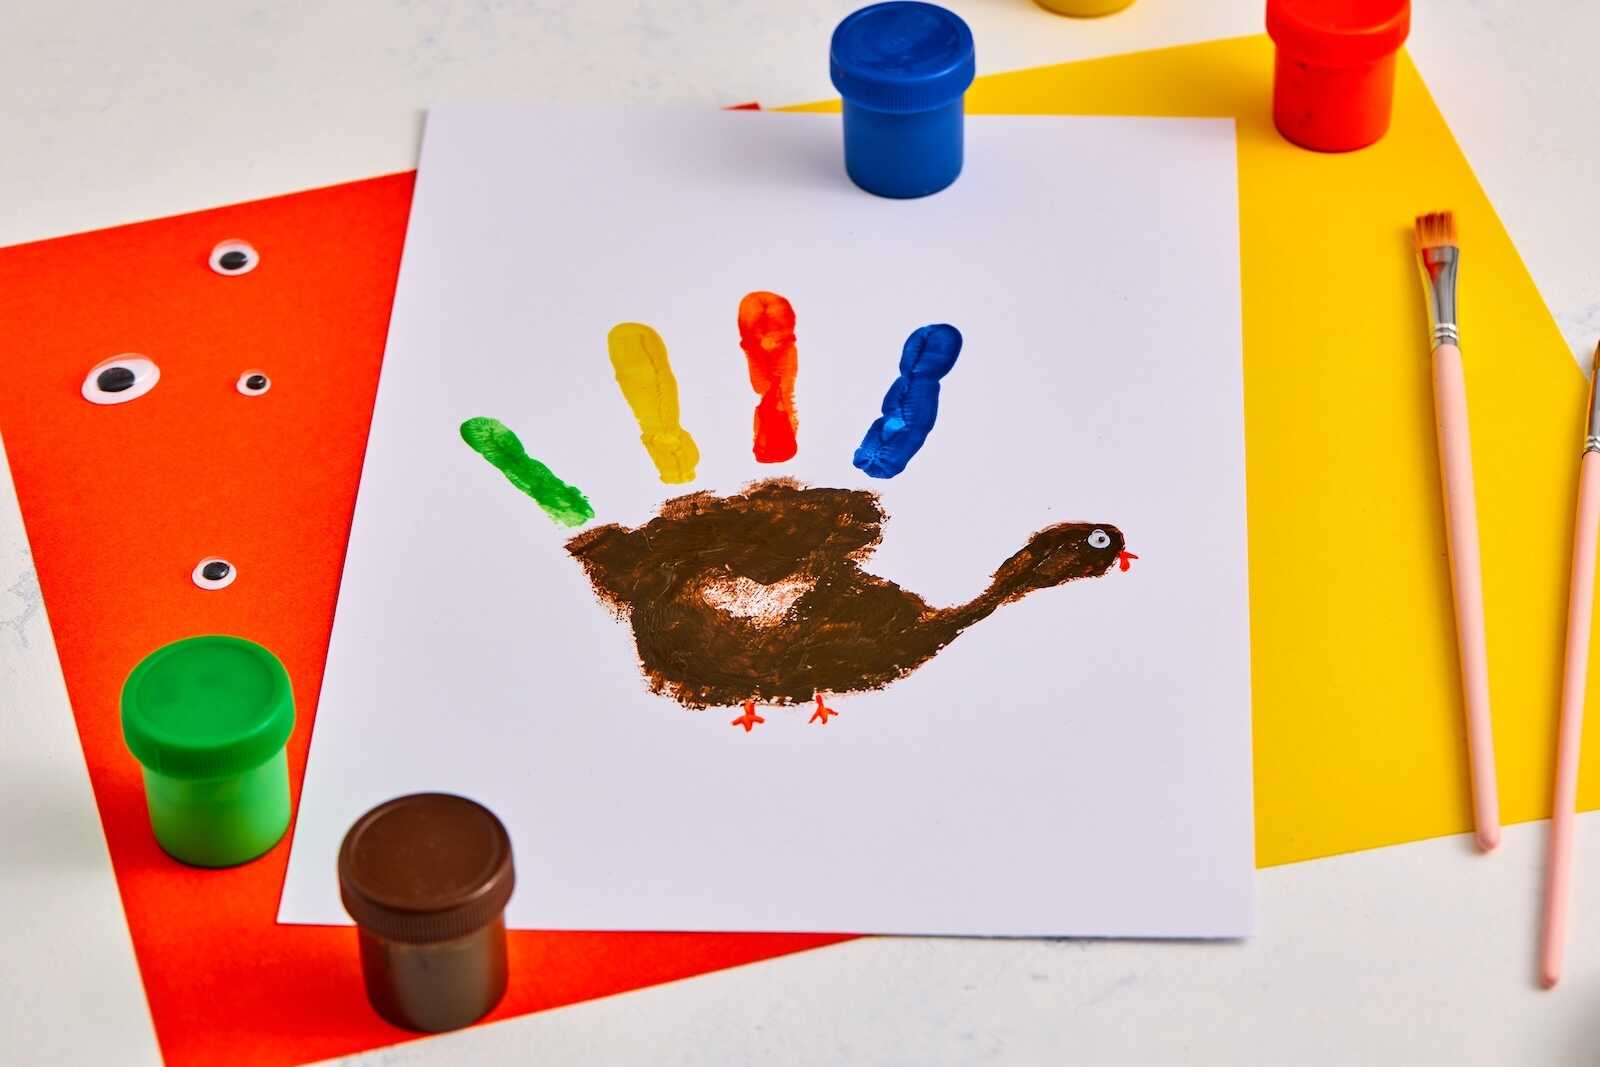
Step 1: Paint the Palm and Thumb Brown
Start by brushing brown paint onto your child’s entire palm and thumb. This will form the turkey’s body and head. Apply the paint generously but not too thick—enough to transfer clearly without dripping.
Tip: If your child doesn’t like the sensation of a brush, you can sponge on the paint instead.
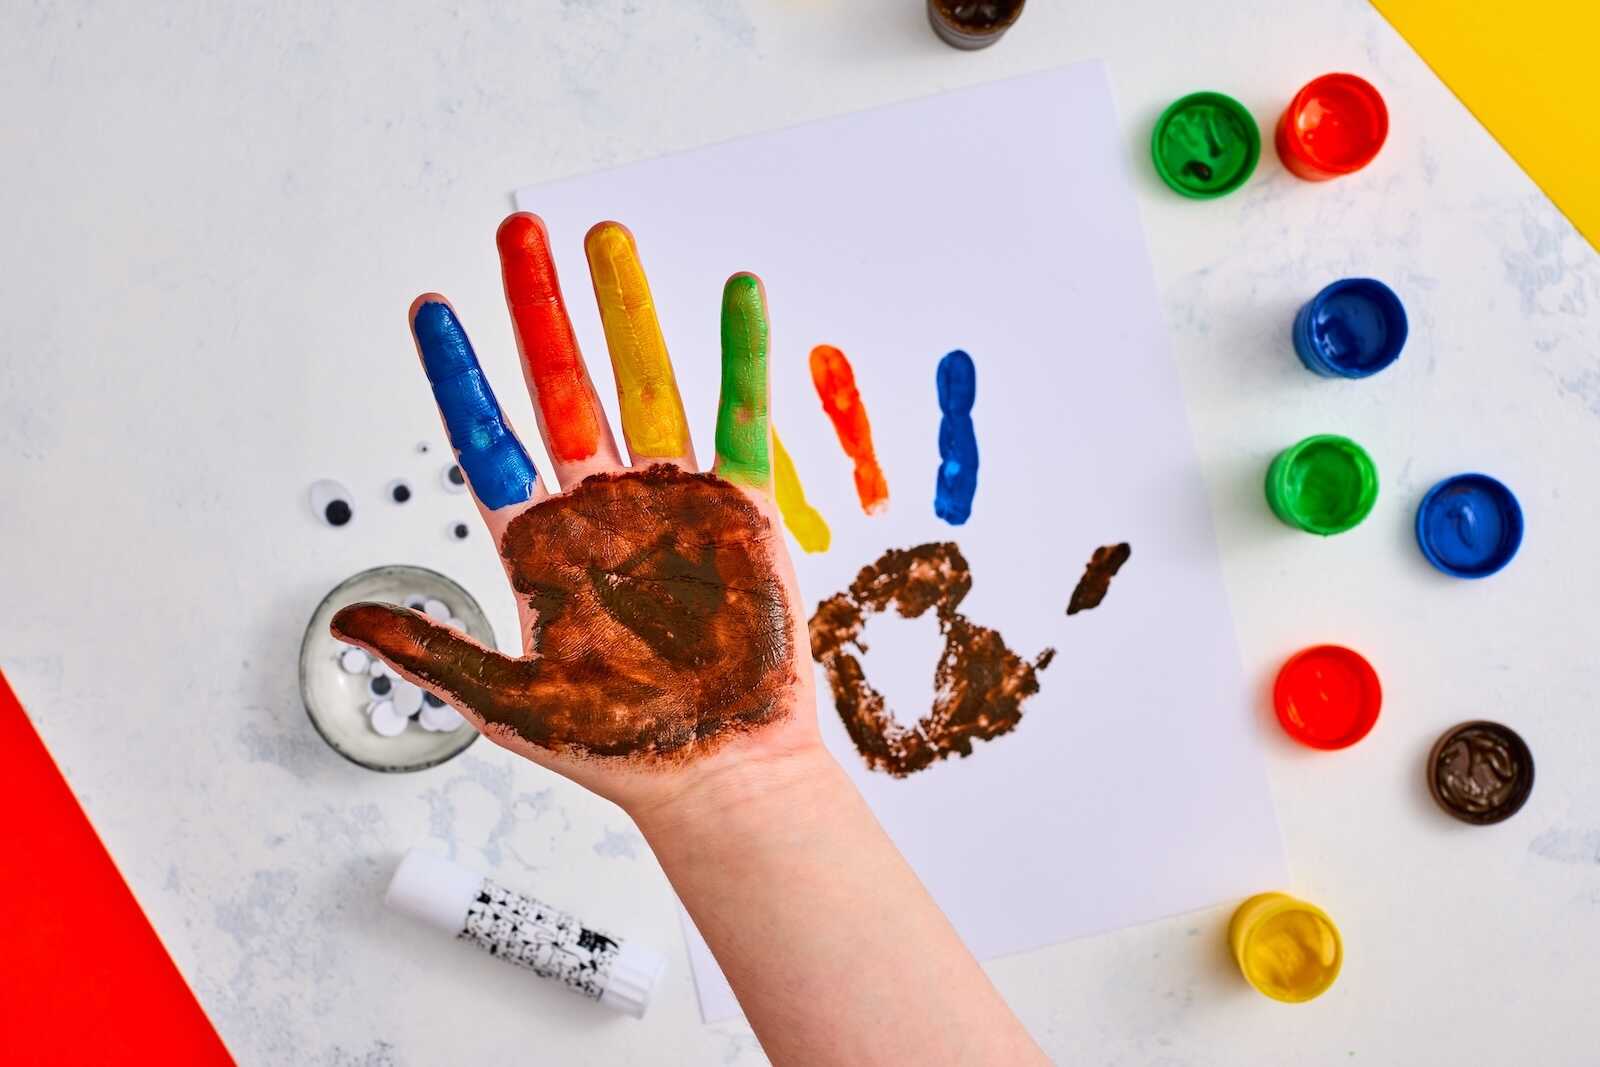
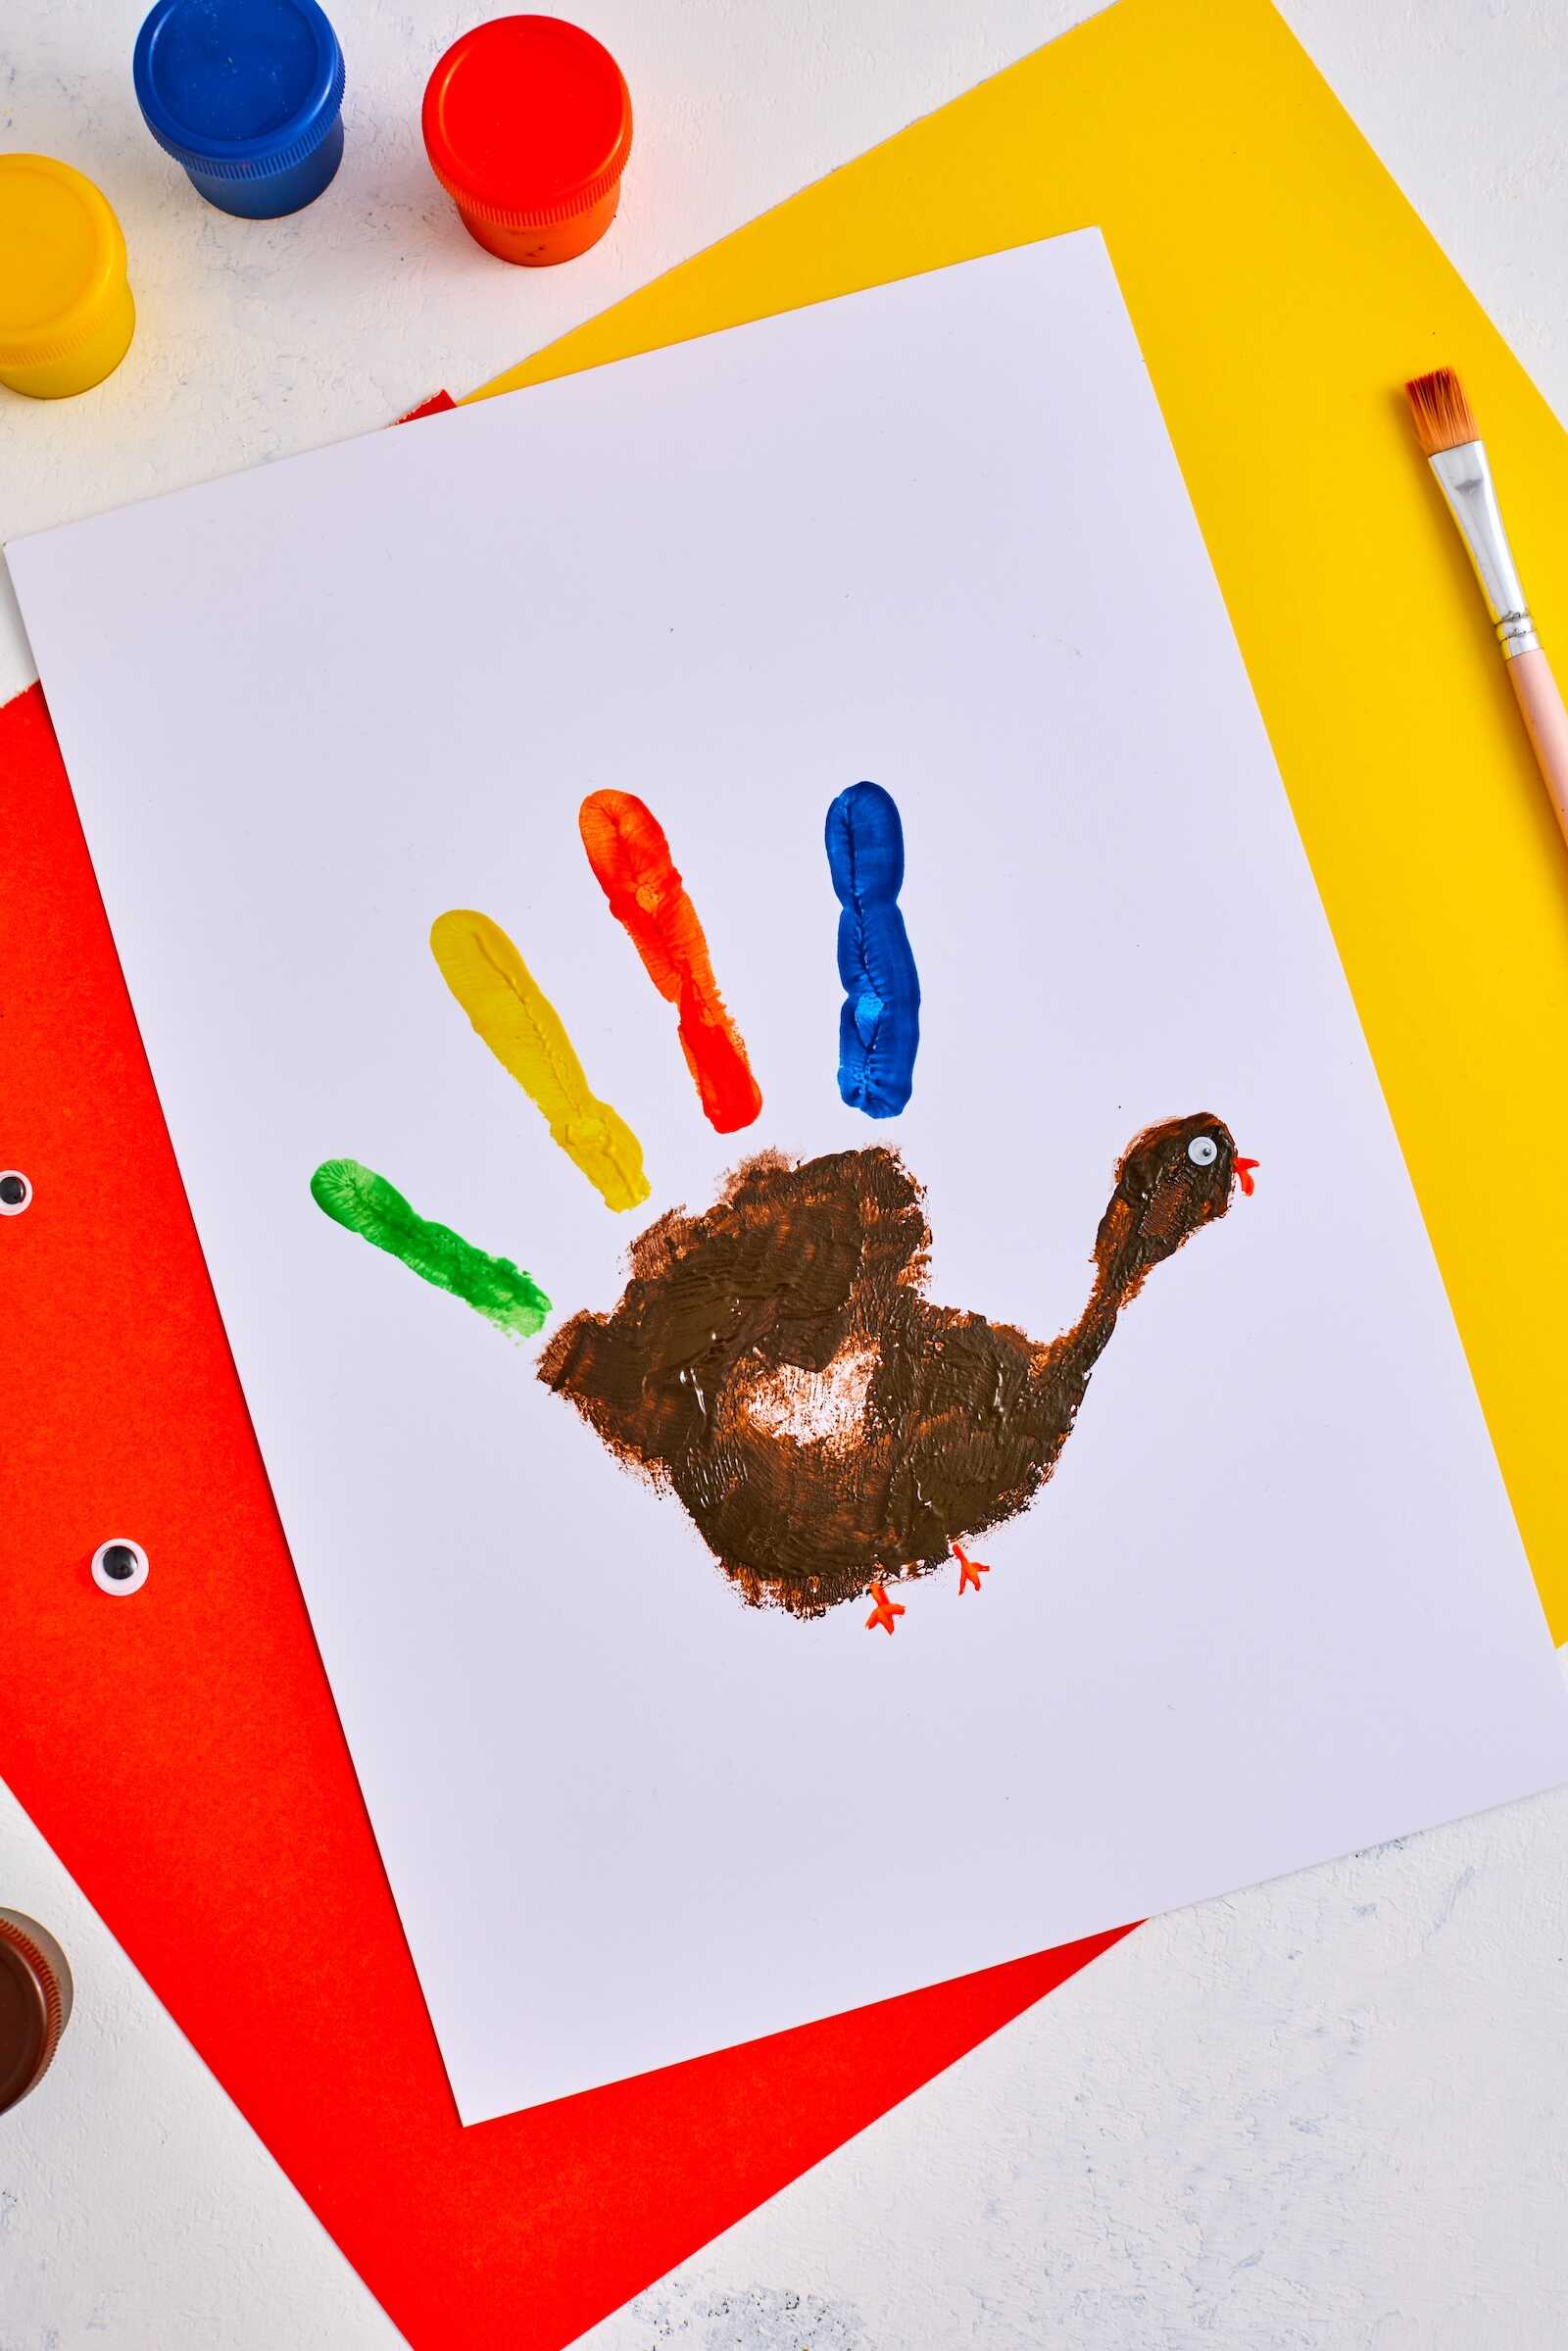
Step 2: Paint Each Remaining Finger a Different Color
To create the turkey’s feathers, paint each of the four fingers a different color. Bright fall colors like yellow, orange, red, purple, and green make the turkey look festive and fun.
Encourage your child to choose the colors. Allowing them to experiment fosters creativity and ownership of the project.
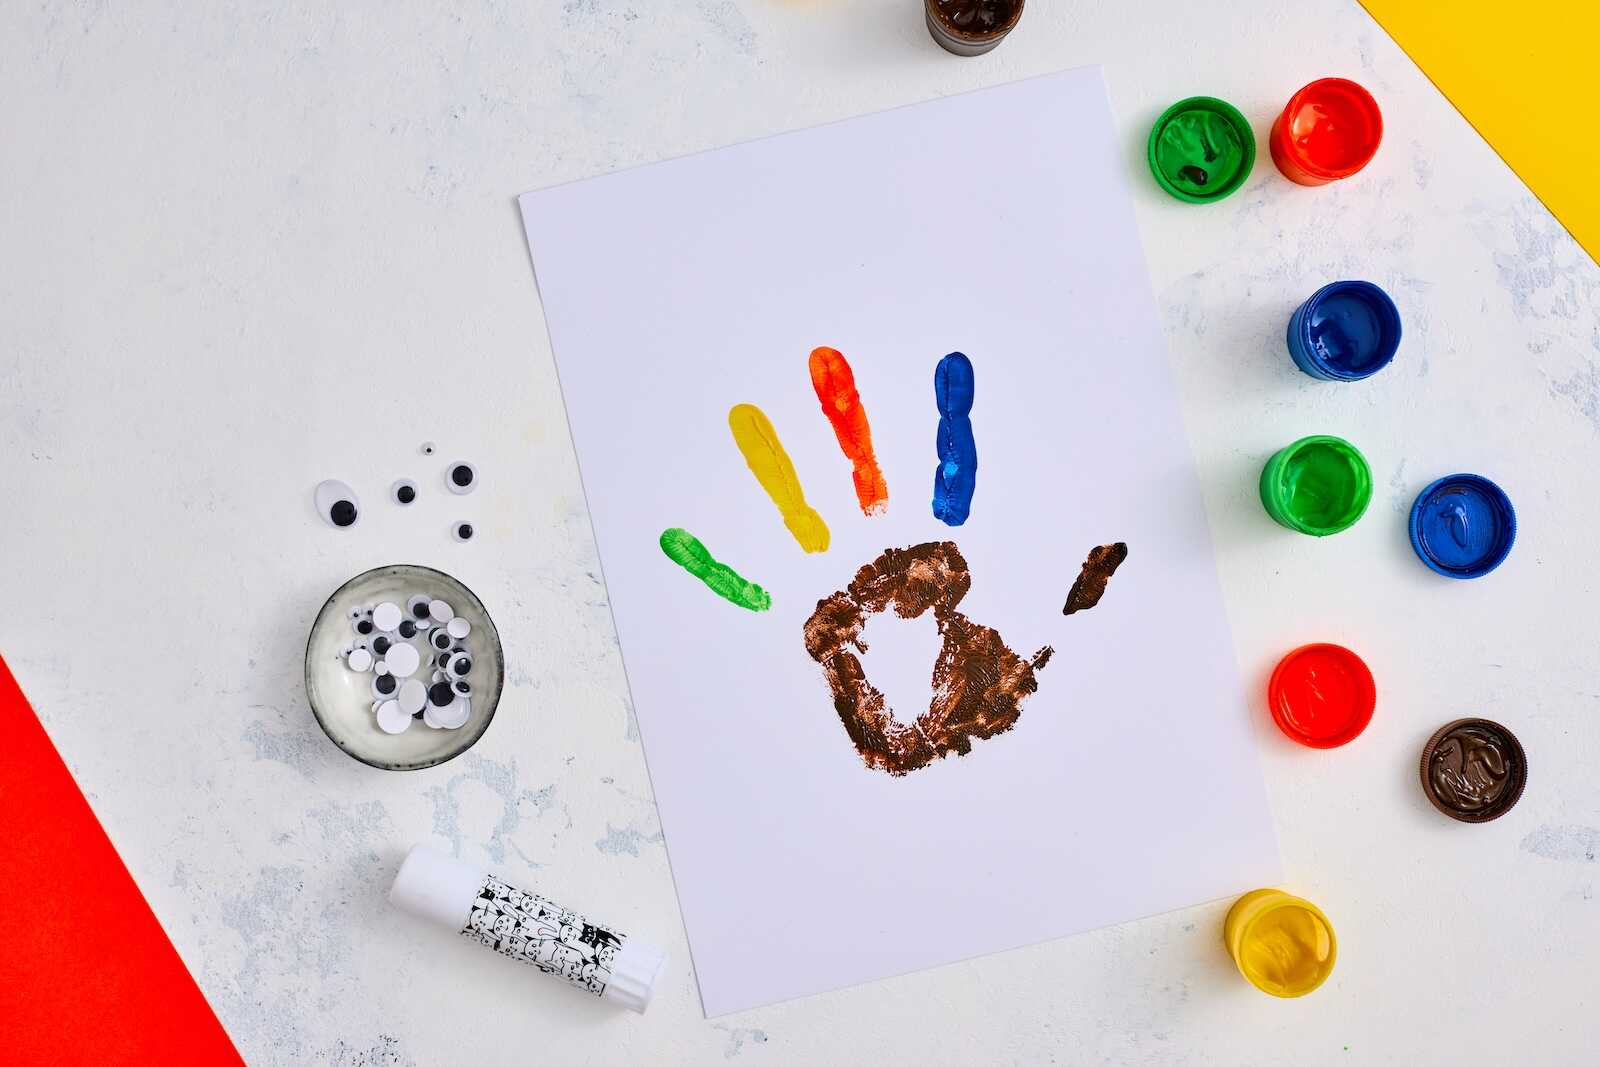
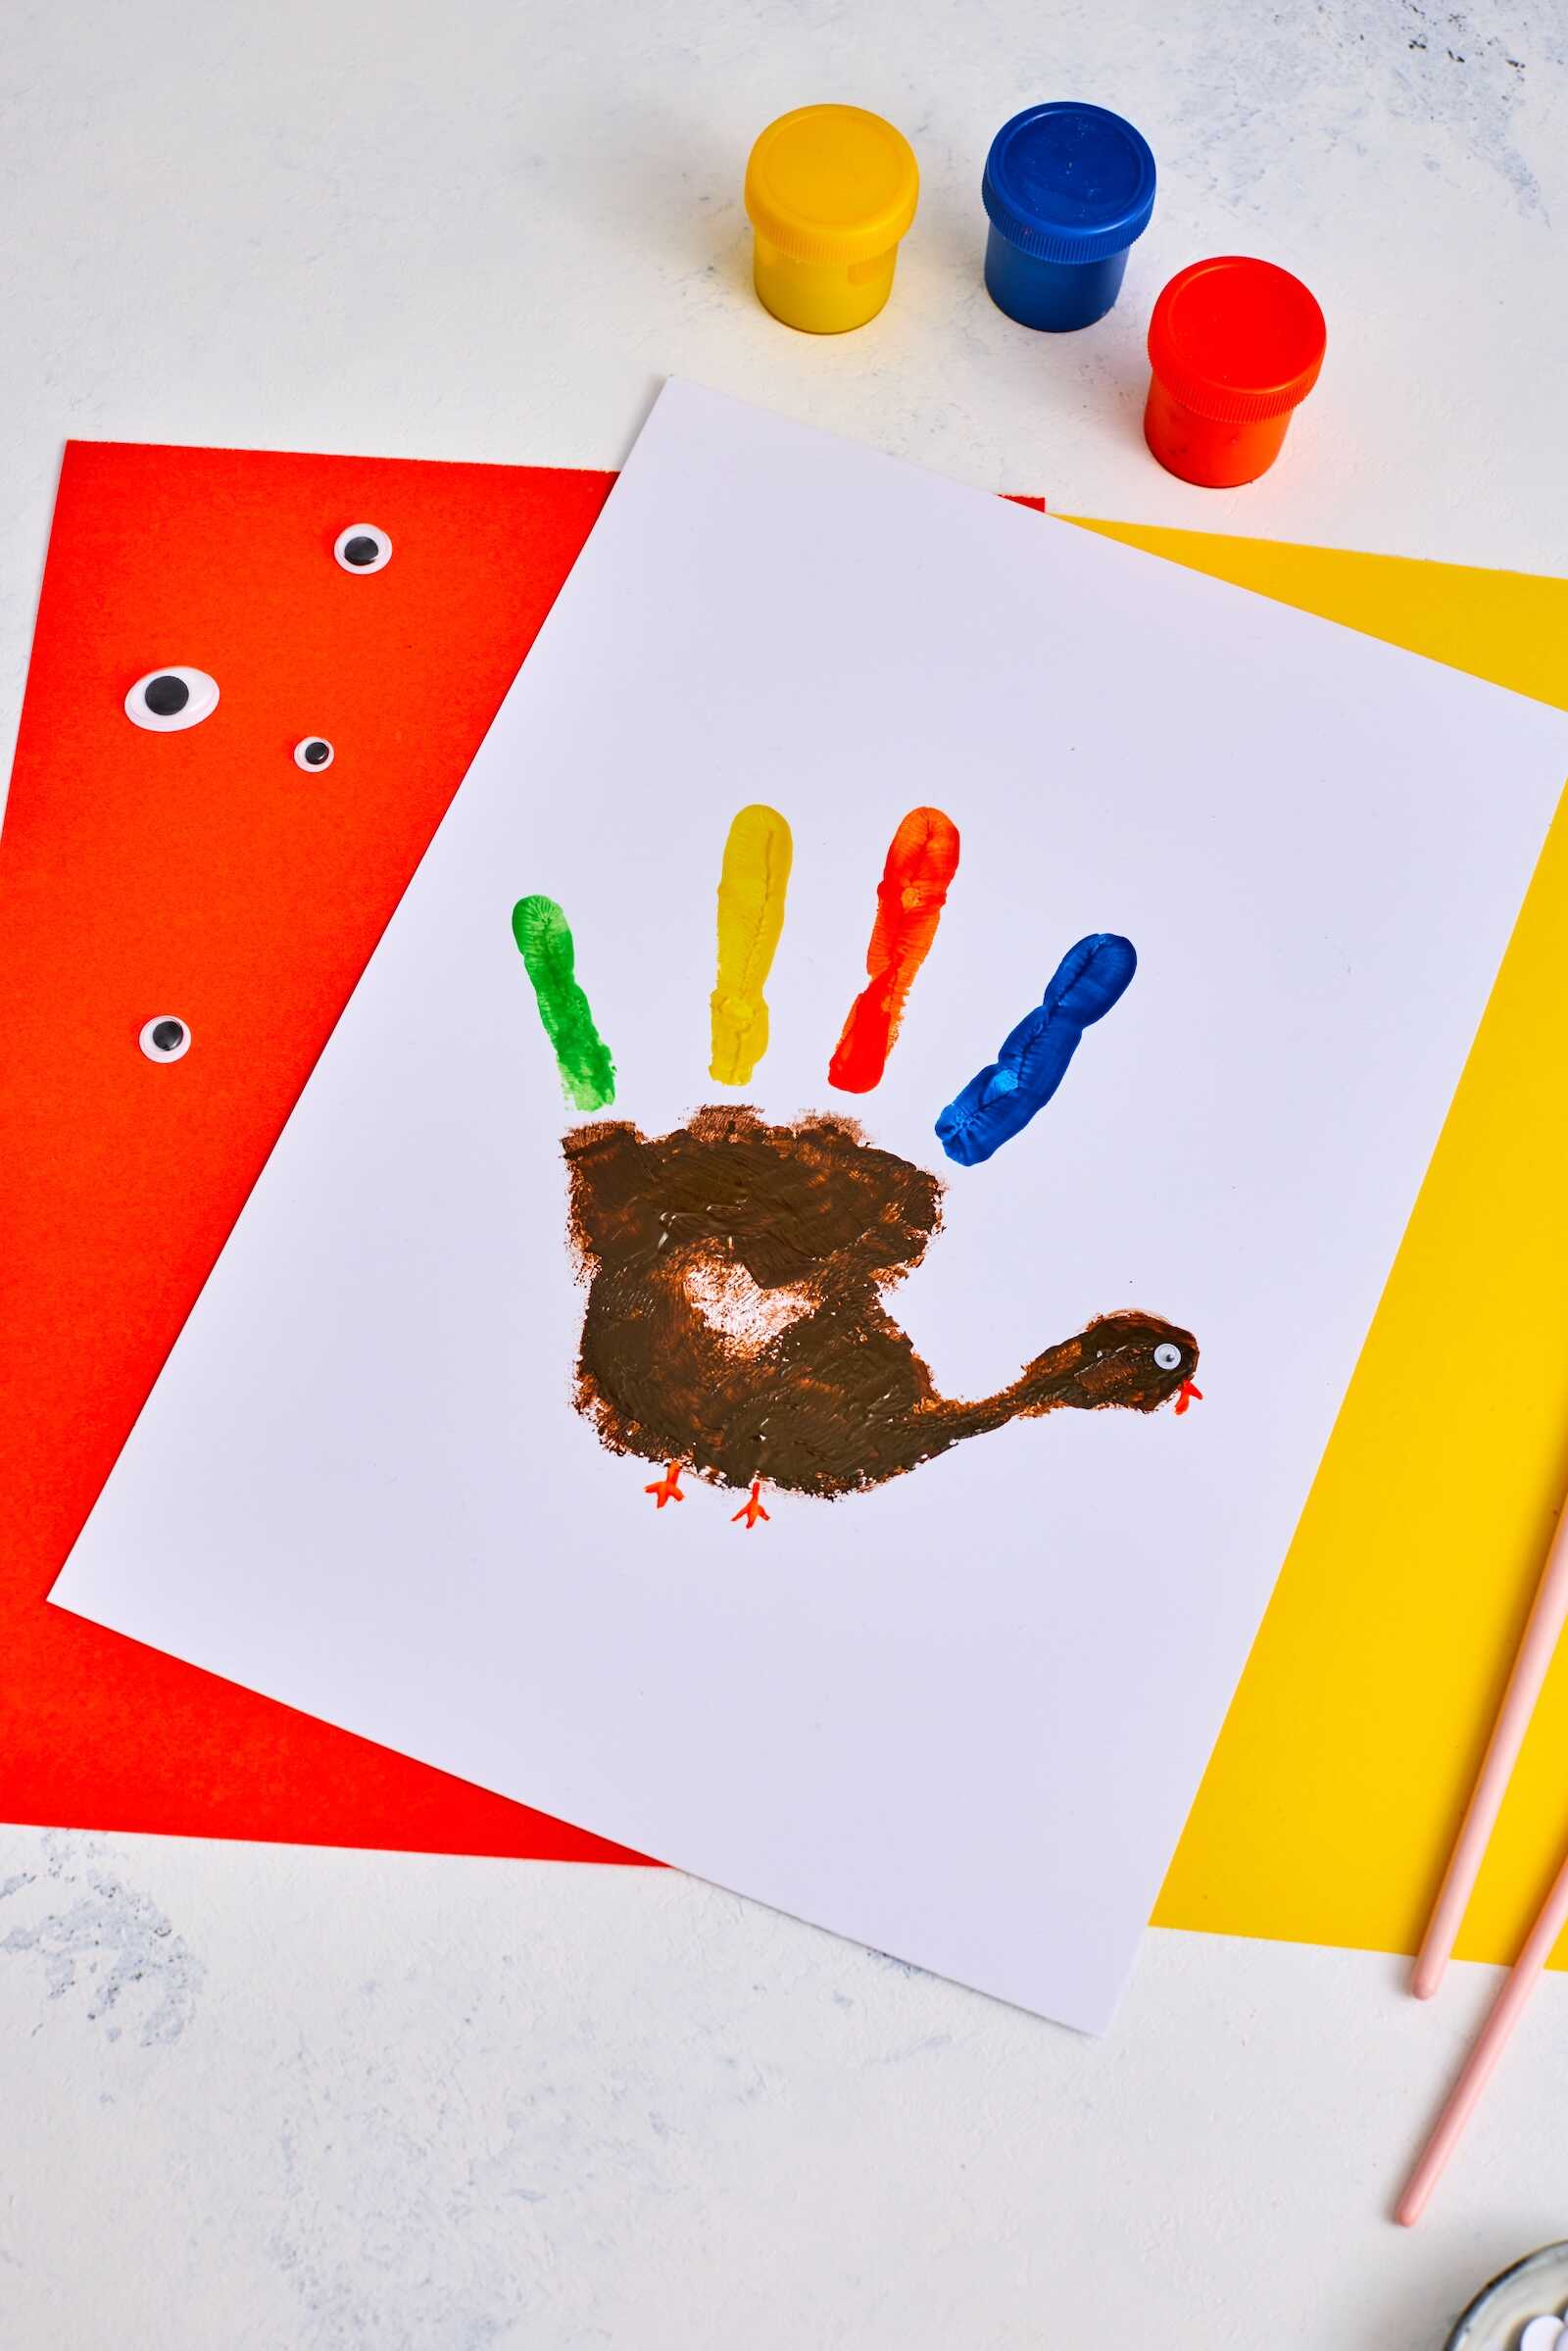
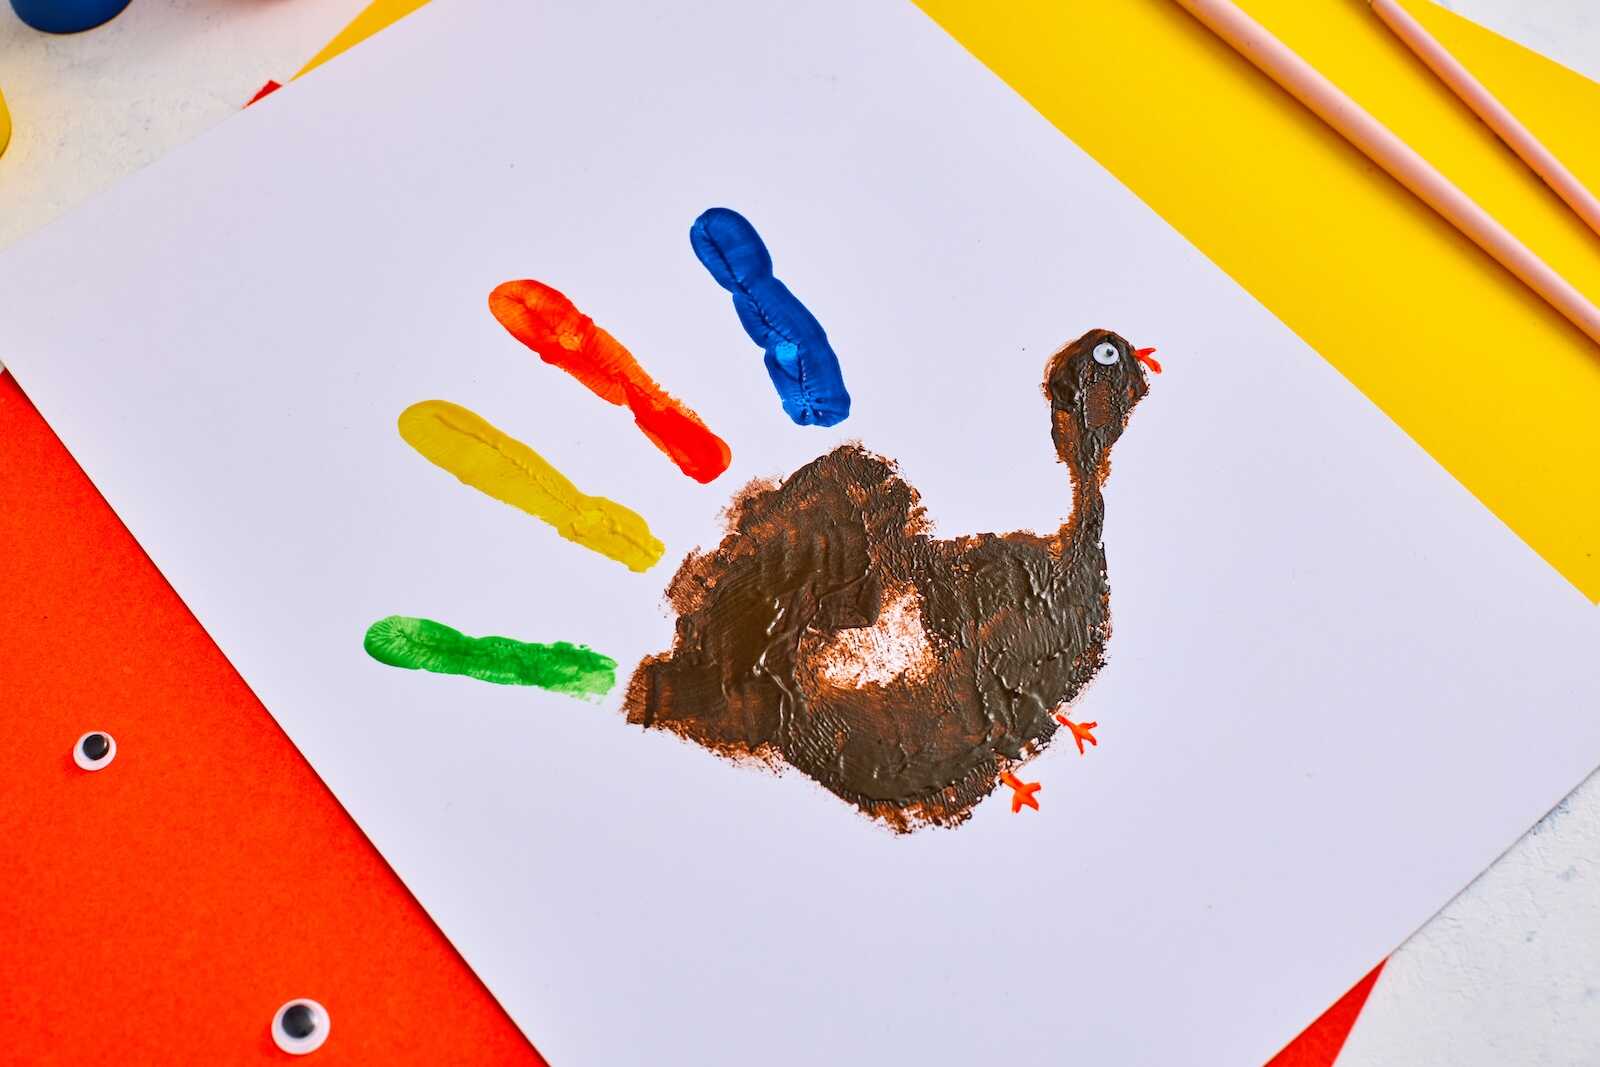
Step 3: Press the Painted Hand Onto the Cardstock
Carefully guide your child’s hand onto the cardstock. Press gently but firmly to ensure the palm and fingers transfer fully. Then lift straight up to avoid smudges.
If any spots look light or uneven, you can use a paintbrush to fill them in before it dries. Kids love watching their handprint turn into a turkey shape!

Step 4: Let the Paint Dry
Place the cardstock somewhere flat and safe while the paint dries completely. This usually takes 15–20 minutes depending on paint thickness. Use this time for cleanup, snack time, or reading a Thanksgiving story.
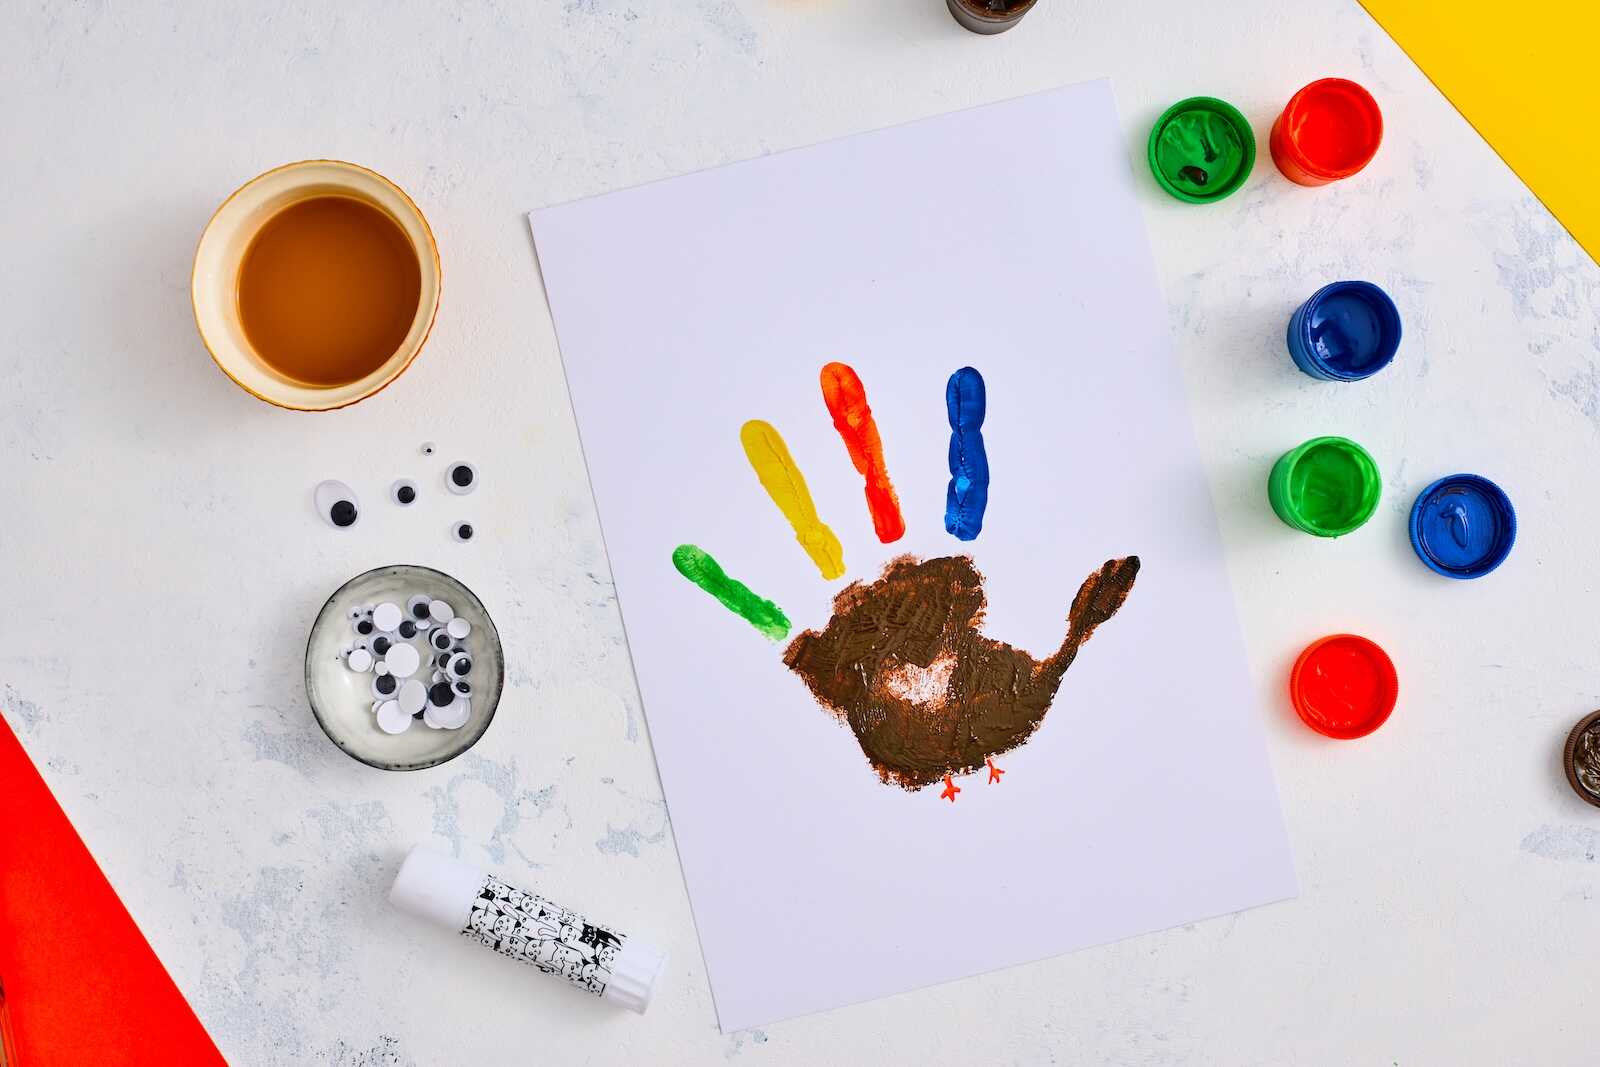
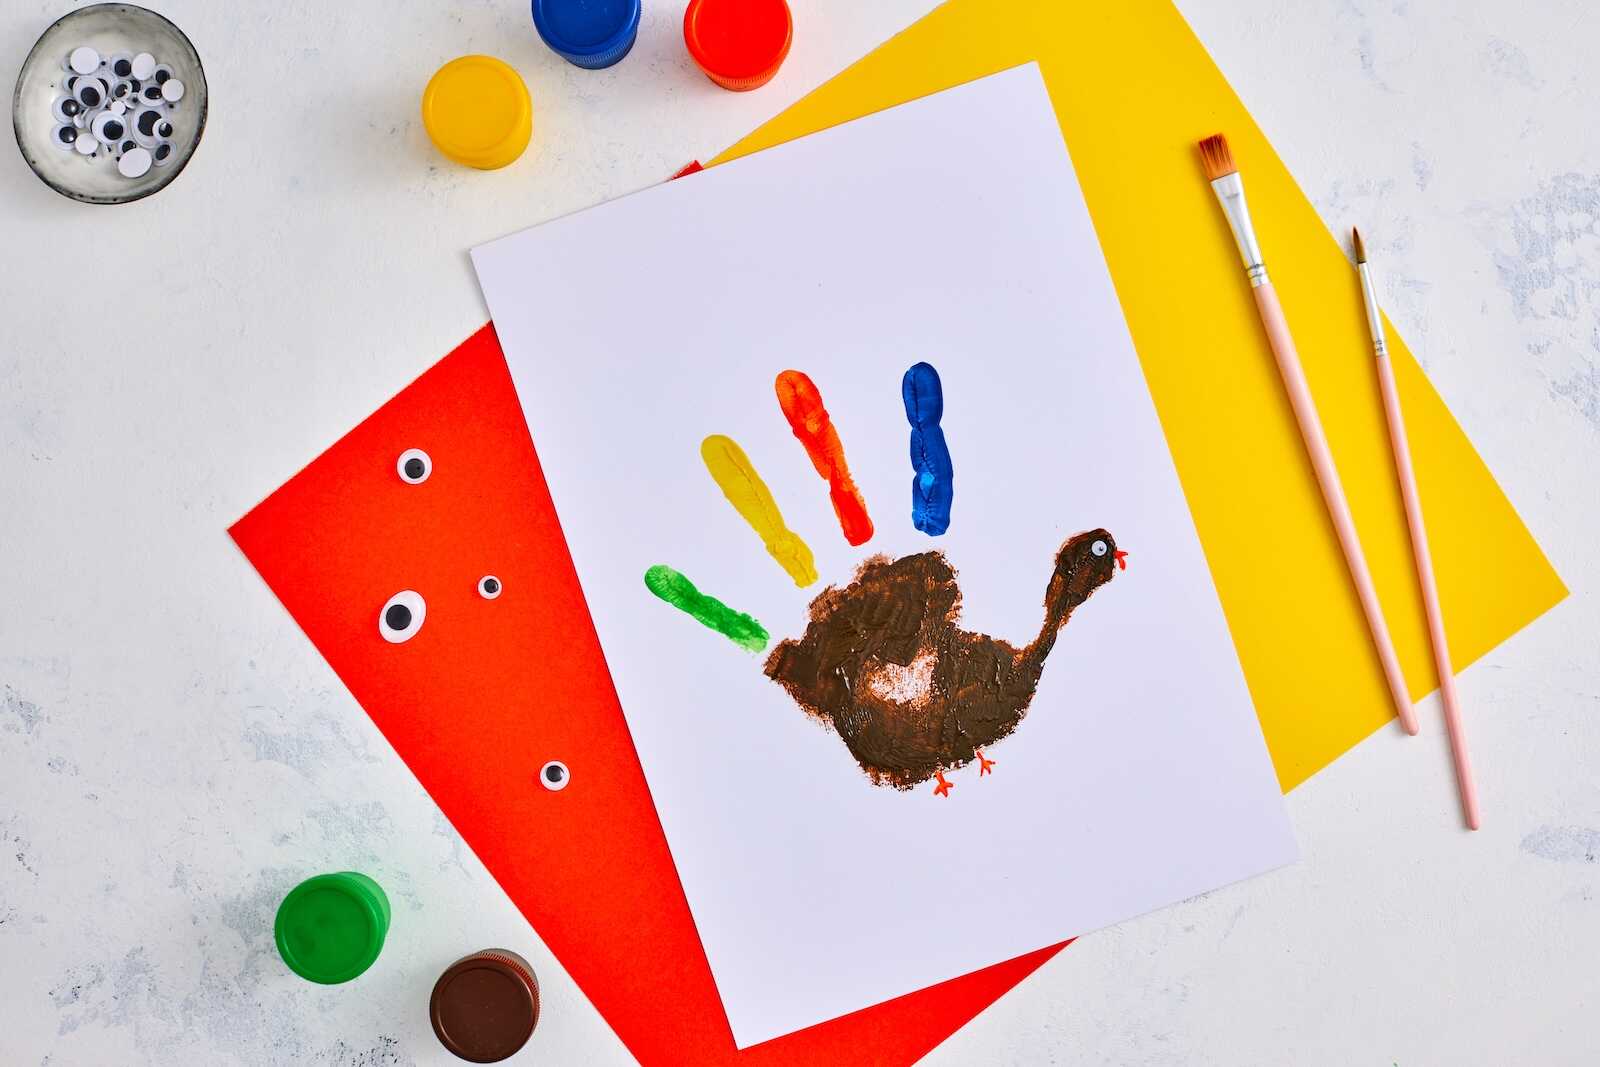
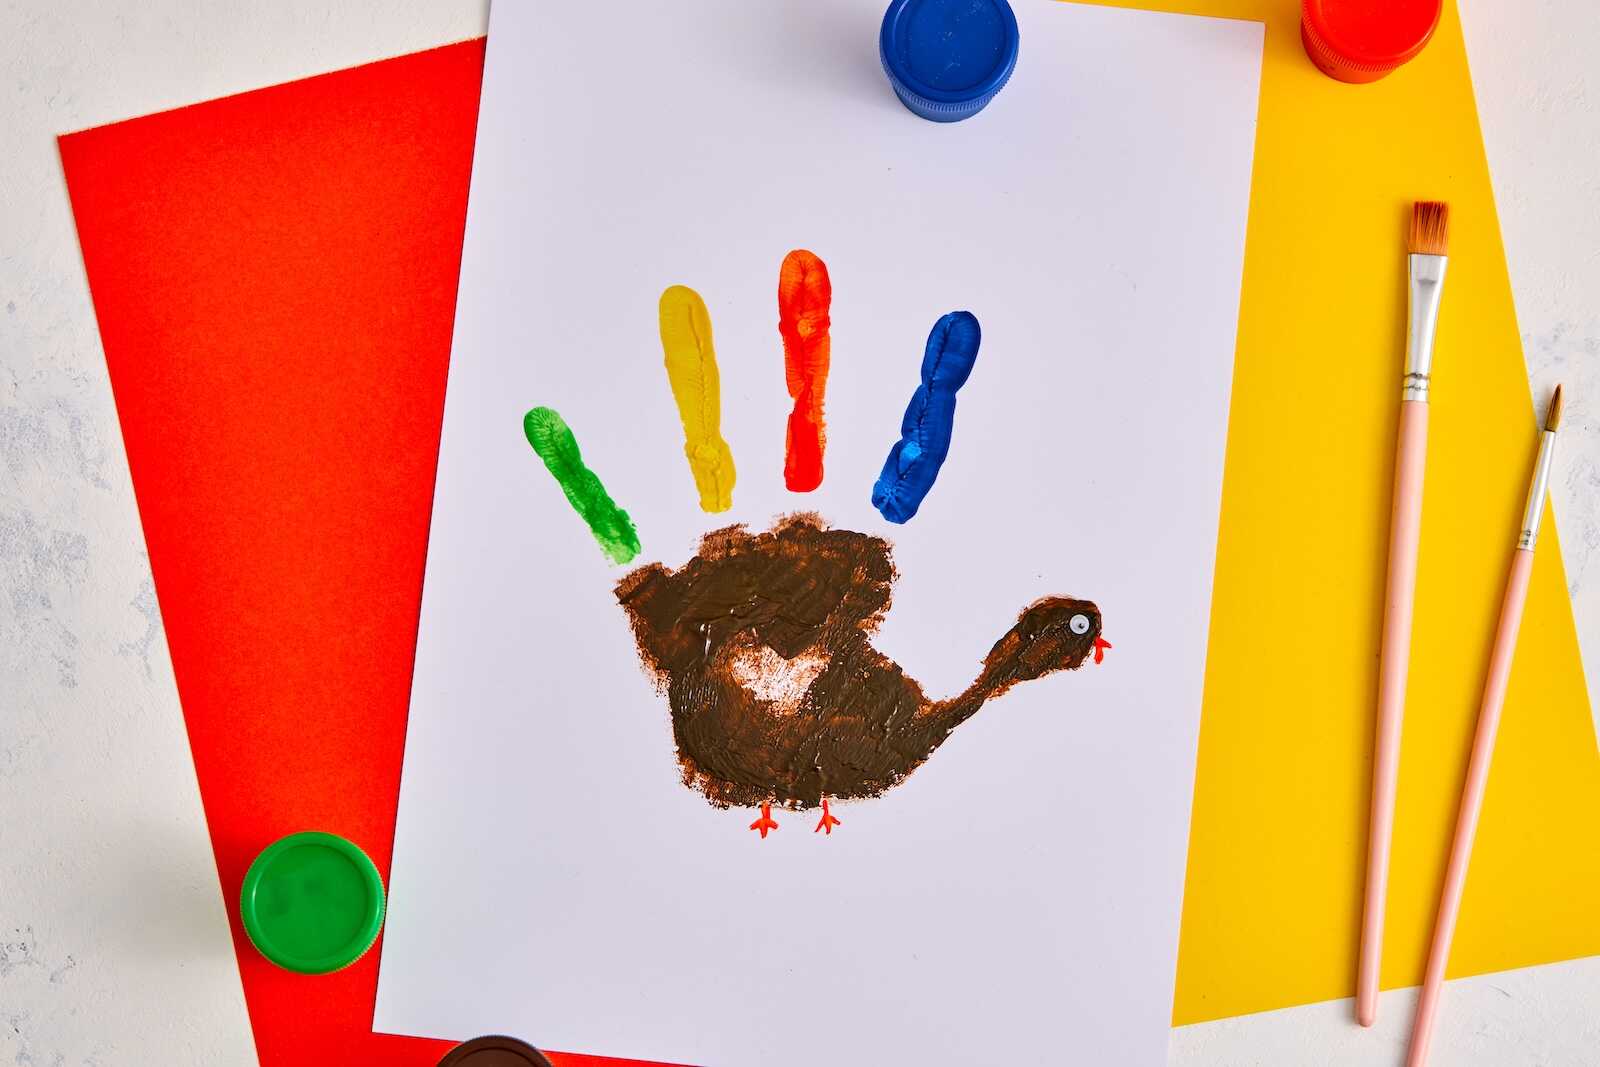
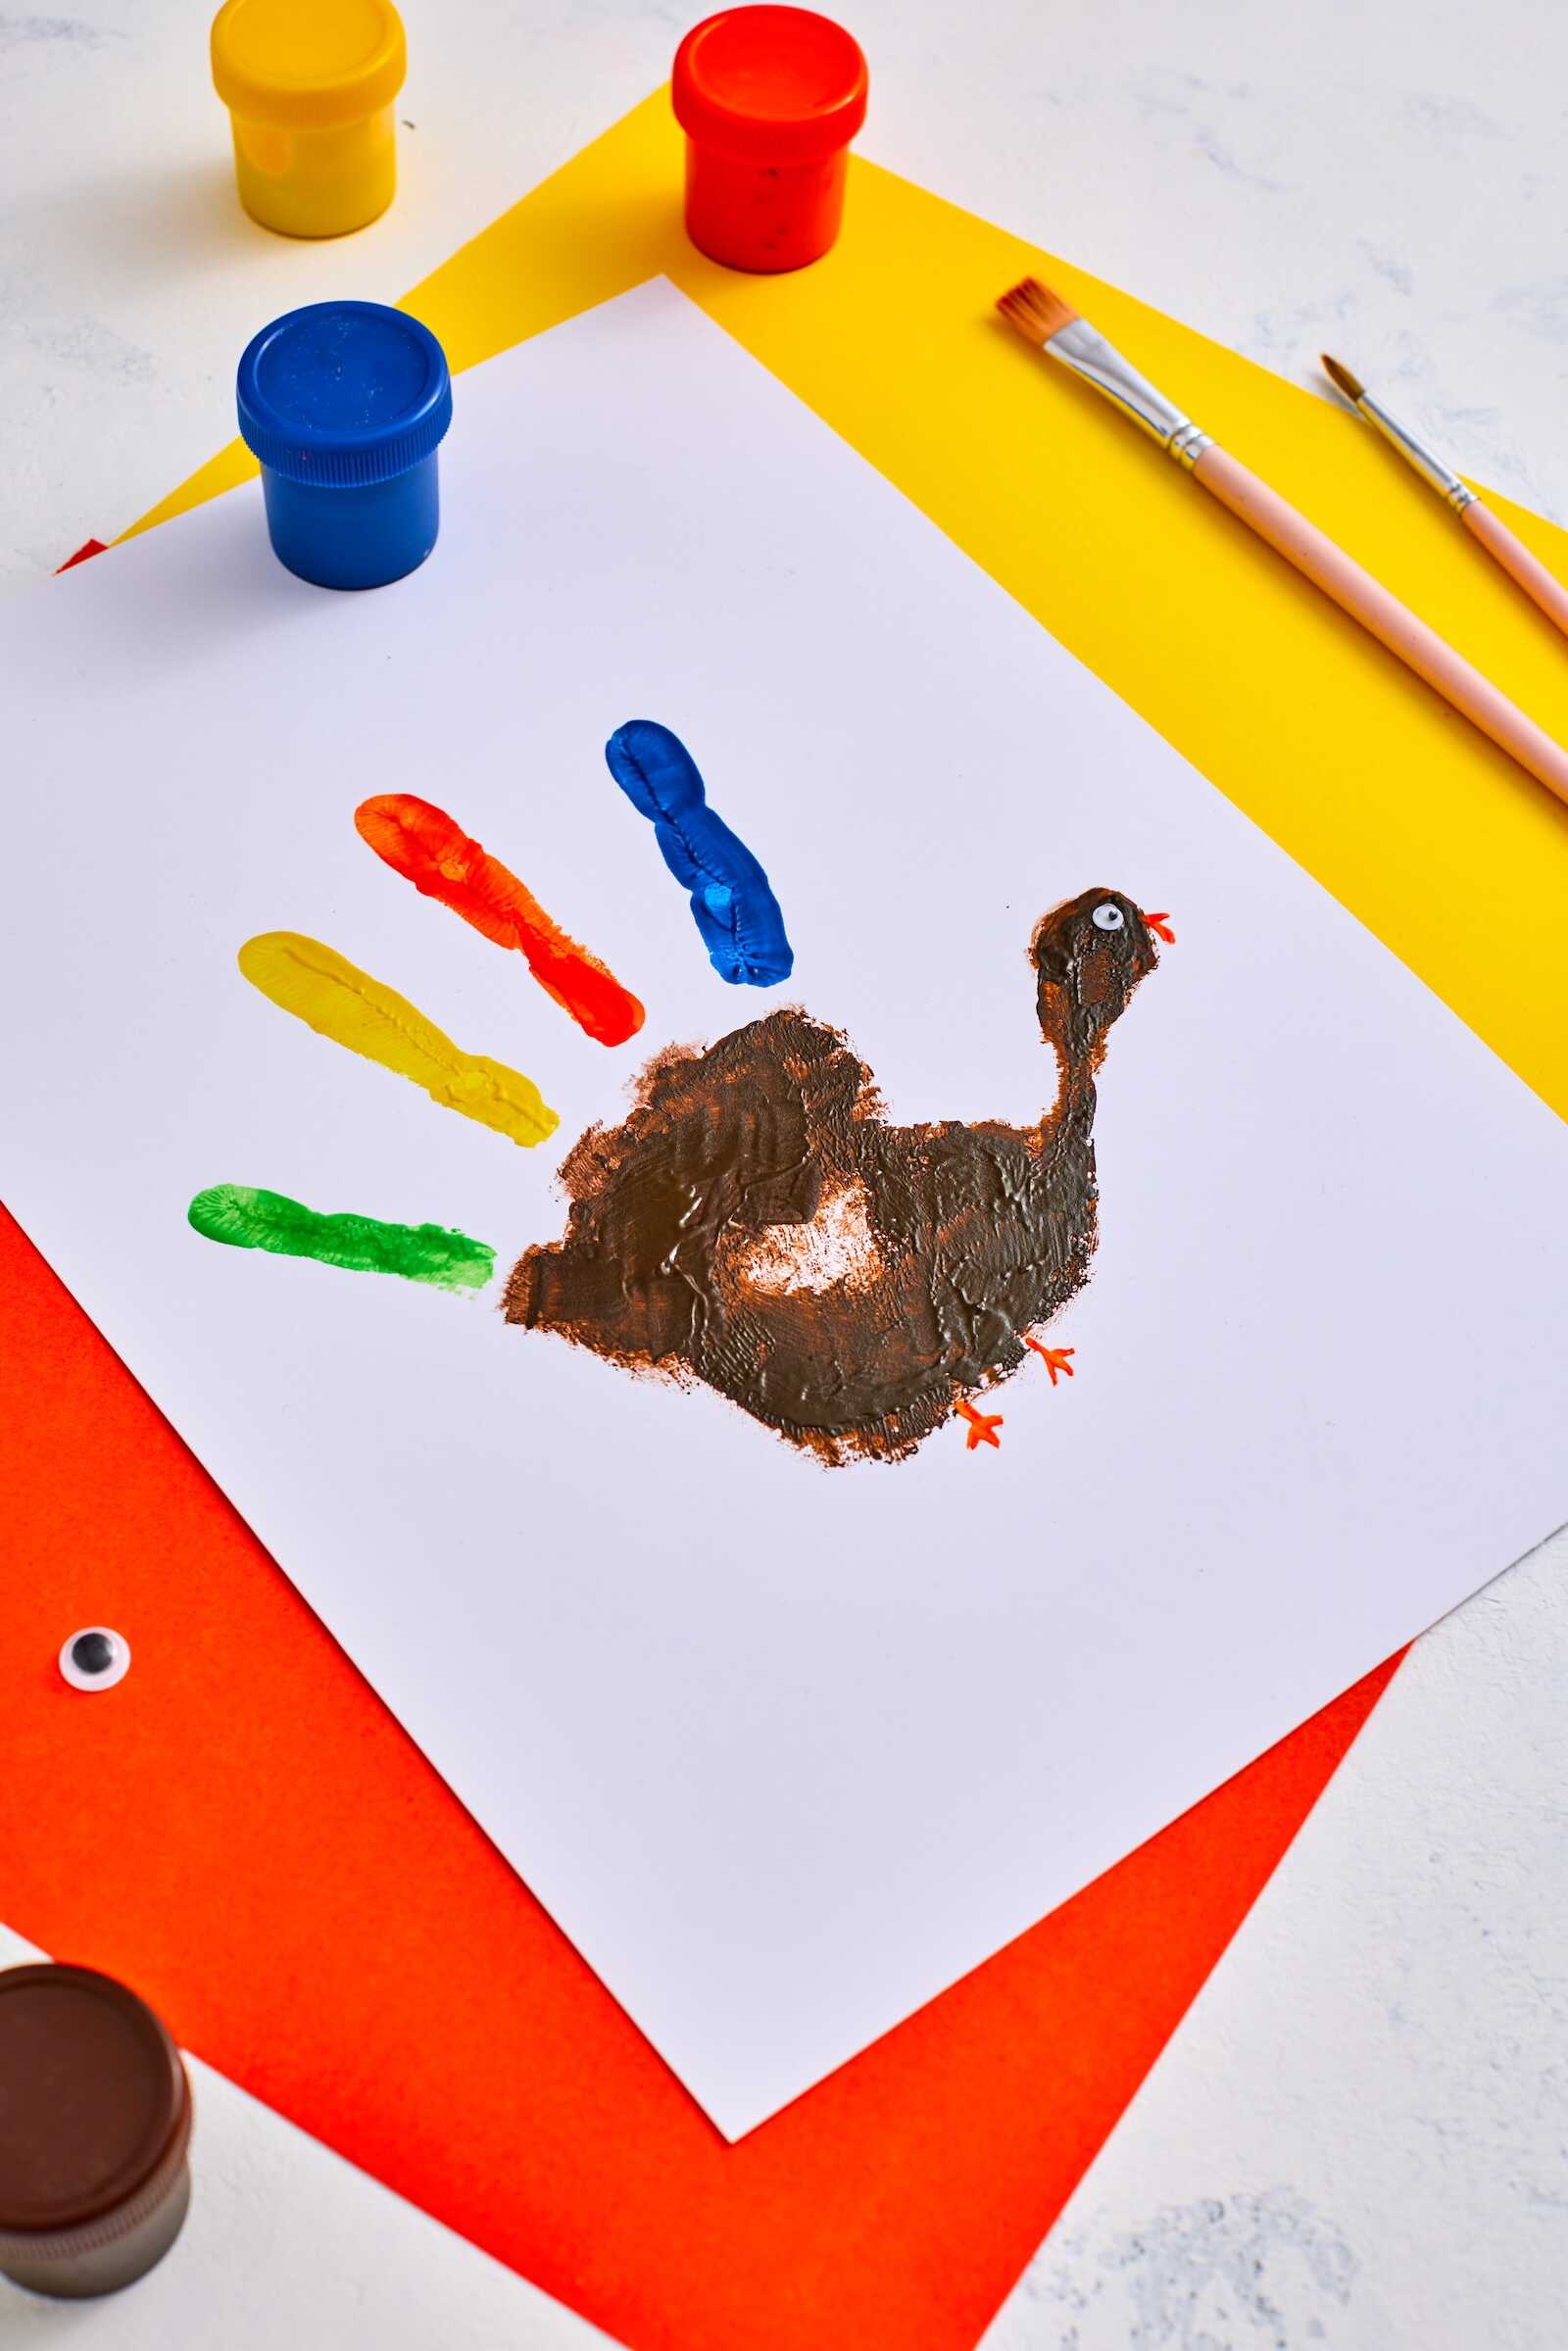
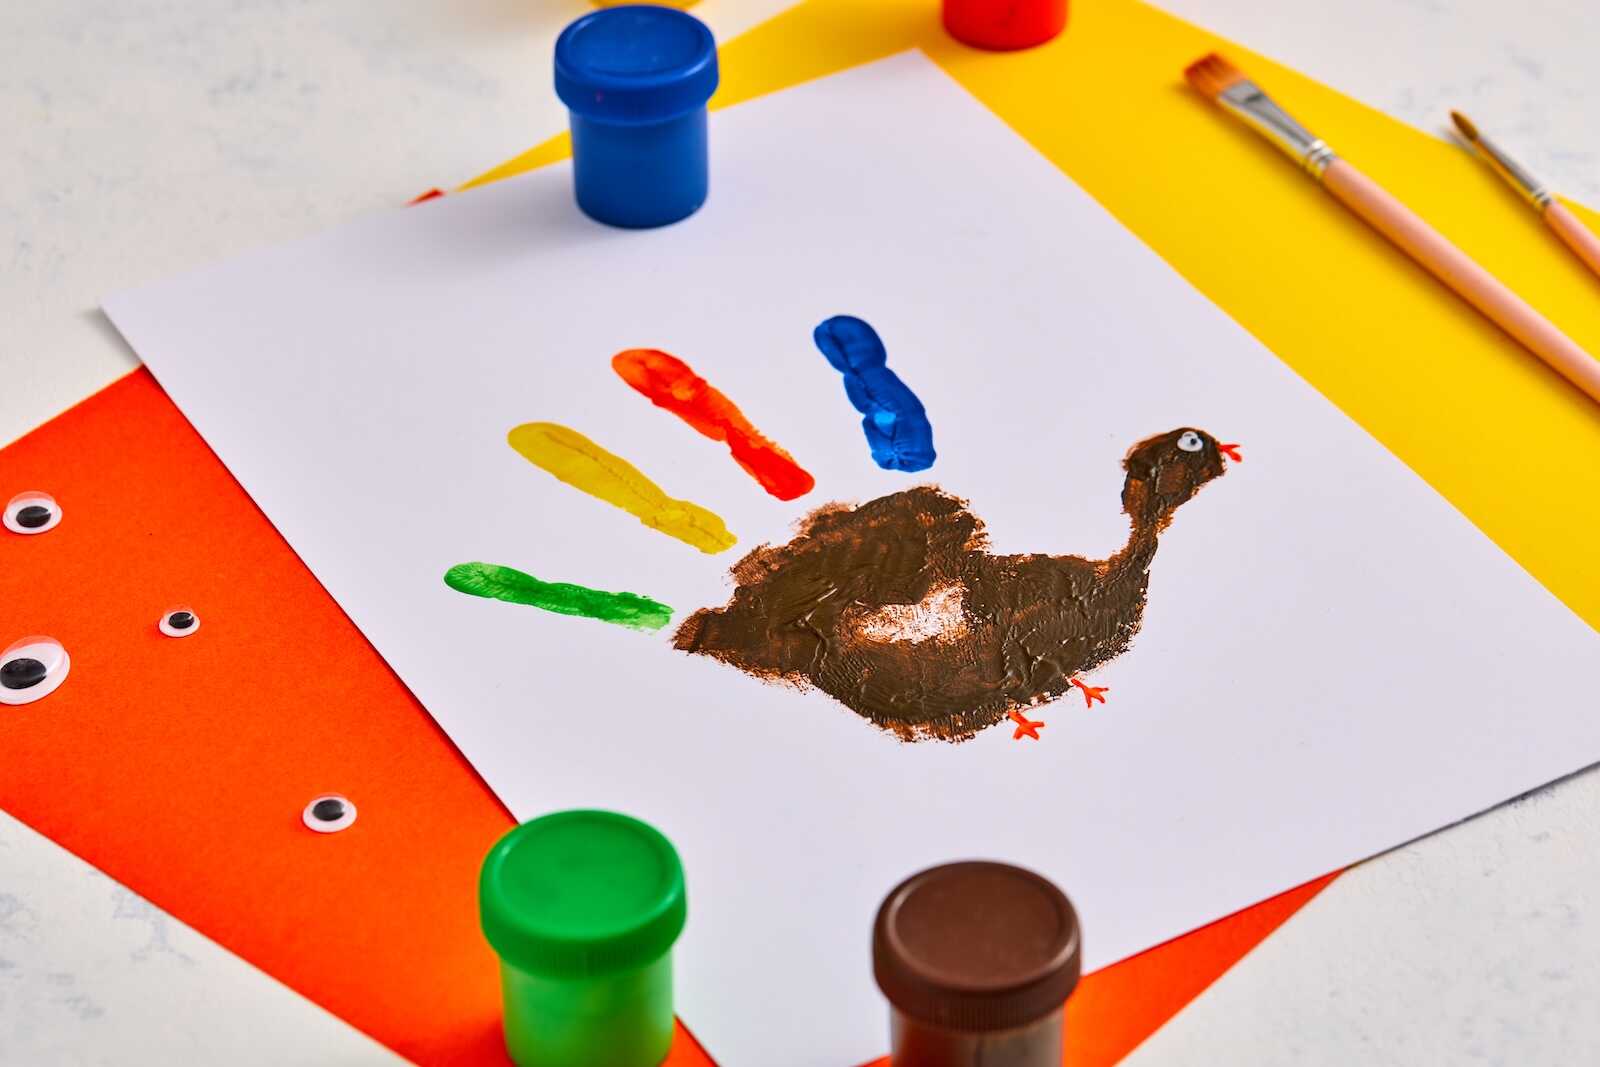
Step 5: Add the Face and Details
Once dry, it’s time to turn your handprint into a turkey character.
Use a black marker to draw:
- A dot for the eye (or glue on a googly eye for extra cuteness)
- A small triangle for the beak
- A wiggly shape for the wattle
- Two little stick legs and feet beneath the palm
If you prefer dimensional elements, glue on small paper cutouts for the beak, wattle, and feet. Older kids may enjoy designing custom shapes.

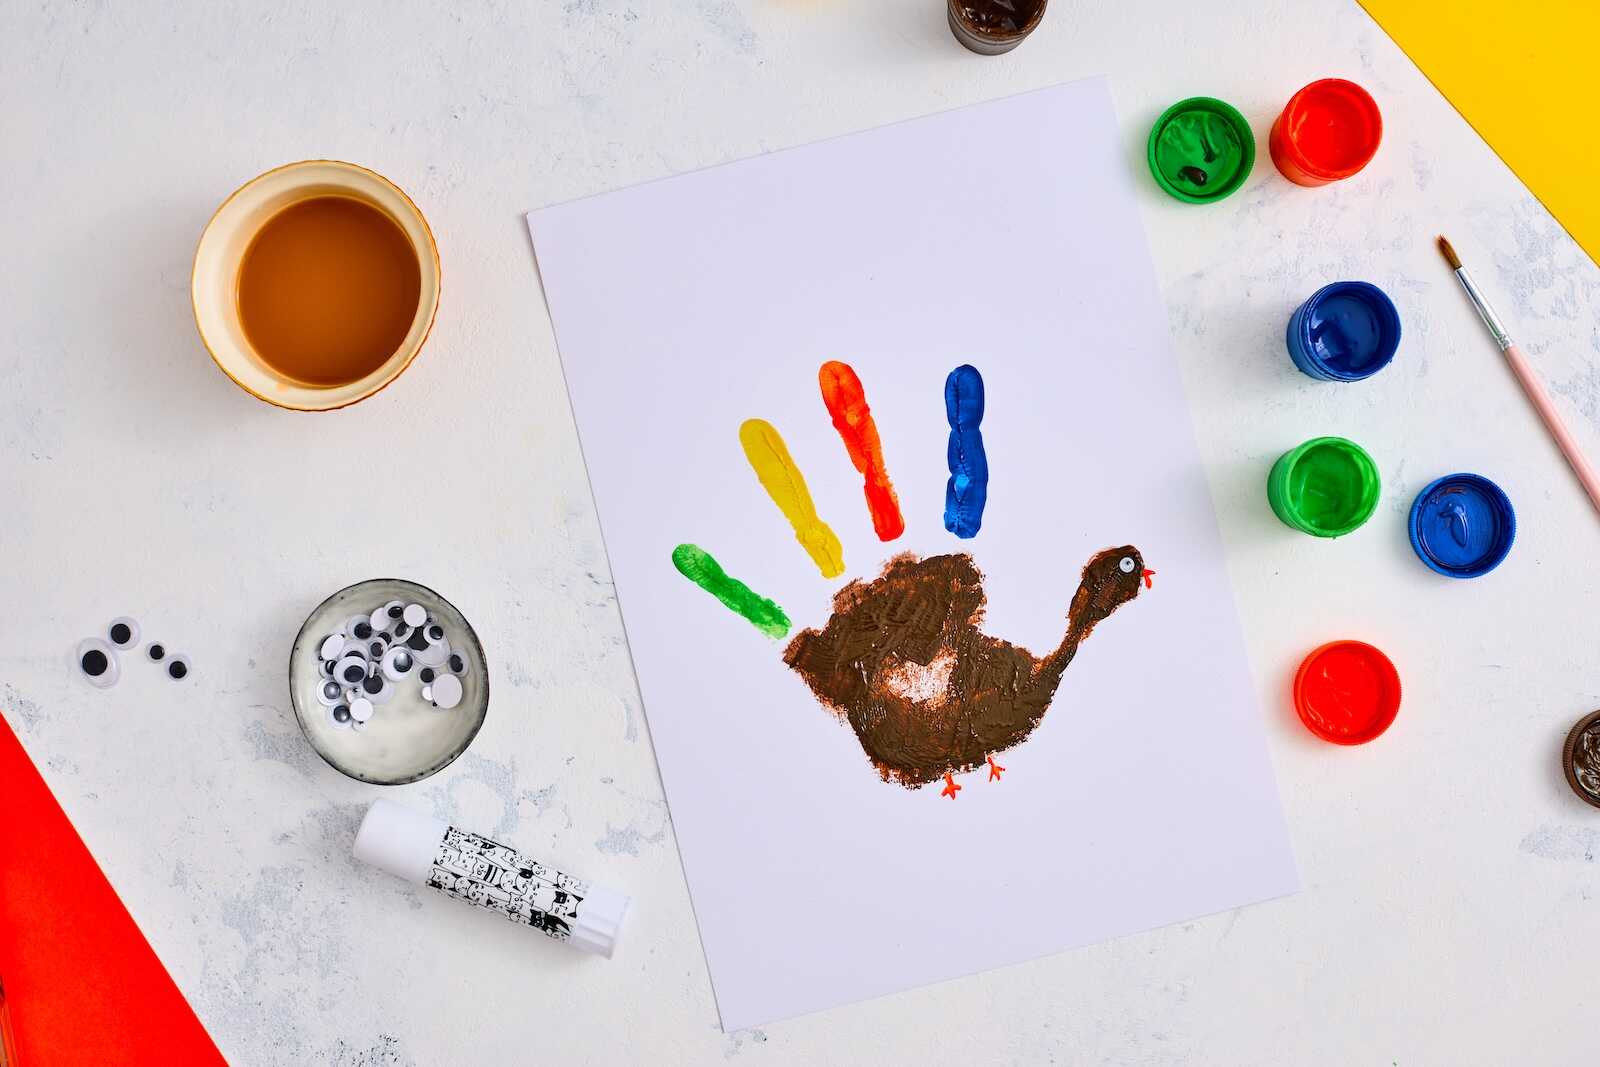
Step 6: Let Dry and Display
If you used glue or added new paint details, give your turkey a final drying period. Then display it proudly!
Frame it, tape it to the wall, use it for holiday décor, or gift it to a loved one—your child’s handprint turkey is ready to spread Thanksgiving cheer.
Tips for Crafting With Toddlers and Preschoolers
Crafting with little hands is precious—but it can also be chaotic! These tips help keep the experience fun:
Prep Everything Beforehand
Toddlers have short attention spans. Have paint poured, paper ready, and wipes nearby before starting.
Use a High Chair or Craft Tray
A defined space keeps mess contained and helps children stay focused.
Demonstrate First
Show them the handprint motion so they know what to expect.
Ask About Feather Colors
Letting toddlers choose colors helps them feel included and excited.
Keep It Quick
The painting portion should last only a couple minutes—longer activities can lead to meltdowns.
Let Them Lead
If their turkey feathers end up all one color or smudged, embrace it! Imperfect crafts are charming and authentic.
Variations to Try
This simple craft is highly adaptable. Here are fun versions to offer in classrooms, playgroups, or different age groups.
1. Glitter Turkey Feathers
After making the handprint, brush glue onto each “feather” and sprinkle with glitter. Use fall colors like gold, red, and orange.
2. Construction Paper Turkey
Instead of painting, trace your child’s hand on colorful construction paper and cut it out. This is great for classrooms or no-mess activities.
3. Family Handprint Turkey
Layer multiple handprints—parents, siblings, even grandparents—to create a turkey with feathers in graduating sizes. This makes a beautiful framed Thanksgiving keepsake.
4. Thankfulness Turkey
Have your child write (or dictate) things they’re thankful for on each finger/feather.
5. Photo Turkey Craft
Glue a small photo of your child’s face over the turkey’s head. It turns into a sentimental and adorable holiday decoration.
6. Jumbo Poster-Size Turkey
Create a large turkey using brown paint for the body and multiple handprints for feathers. This is perfect for classrooms or large family gatherings.
7. Dual-Medium Turkey
Combine watercolor feathers with acrylic palm paint for a textured, artistic look.
8. Turkey Cards
Fold cardstock in half and place the handprint on the front. Write a Thanksgiving greeting inside for teachers, grandparents, or neighbors.
Educational Benefits of This Craft
Parents and teachers love this activity because it’s more than just a cute holiday project—it’s also educational. Crafting supports:
Fine Motor Skills
Kids practice hand control while painting, pressing their hand, and drawing the turkey details.
Sensory Exploration
The feeling of paint on the skin stimulates sensory development.
Color Recognition
Choosing feather colors reinforces early color-matching and creativity.
Following Multi-Step Directions
Each step builds independence and listening skills.
Creativity & Imagination
Children get to design their own turkey faces, colors, and optional décor.
Emotional Expression
Kids love expressing themselves through art, and the finished result gives them pride.
How to Make This Craft in a Classroom or Group Setting
Planning this for school, daycare, or a holiday party? These tips ensure smooth success.
Use Stations
Set up paint stations by color. Move children through one at a time.
Pre-Label Papers
Write each child’s name in pencil before they begin.
Use Disposable Trays
Paper plates make perfect paint palettes and simplify cleanup.
Have Extra Supplies Ready
Keep spare cardstock on hand in case of smudges or re-do attempts.
Stagger Drying Areas
Use a clothesline with clothespins or set up a designated drying table.
Play Thanksgiving Music
Add a festive atmosphere while kids craft.
Troubleshooting & Quick Fixes
Craft mishaps happen—here’s how to fix common ones:
Smudged Handprint
Let it dry and outline it with a marker to sharpen the edges.
Paint Too Wet
Use a hairdryer on low to speed up drying.
Colors Ran Together
Turn the smudges into blended “tie-dye feathers”—kids think it looks magical.
Didn’t Press All the Way
Fill light spots with a brush after lifting the hand.
Glue Clumps
Use a craft stick to smooth it out before it dries.
Embrace imperfections—each turkey is unique, just like your child.
How to Display Your Child’s Handprint Turkey
This adorable craft deserves to be shown off! Here are some fun display ideas:
Frame It
A simple white or natural wood frame turns it into seasonal décor you can bring out each year.
Create a Thanksgiving Gallery Wall
Add it alongside fall leaves, pumpkin crafts, and family photos.
Use It as a Placemat
Laminate the handprint turkey and use it at your child’s spot at the Thanksgiving table.
Make a Scrapbook Page
Include the date, your child’s age, and a few notes about the memory.
Hang It on the Fridge
A classic choice—you’ll smile every time you walk by.
Gift It to Grandparents
They cherish keepsakes, especially personalized holiday art.
How to Turn the Handprint Turkey Into a Long-Term Keepsake
If you want this craft to last for years, consider these preservation tips:
Laminate It
Keeps moisture and fading at bay.
Spray With a Fixative
A clear craft sealant prevents smudging and yellowing.
Store in a Memory Box
Use an acid-free storage box or folder.
Scan or Photograph It
Turn it into a digital keepsake you can reprint anytime or use in photo books.
Make It a Thanksgiving Tradition
One of the sweetest things you can do is repeat this craft each year. Over time, you’ll have a collection of handprints showing how your child’s hands grow—and how their creativity evolves.
Here’s how to turn it into a tradition:
- Make one turkey each year with the date and your child’s age.
- Ask your child to choose new colors or add something creative each time.
- Display all the turkeys together for Thanksgiving guests to enjoy.
- Save them in a binder or holiday scrapbook to look back on year after year.
Imagine your child flipping through years of turkey handprints someday—they’ll treasure seeing their younger selves reflected in these simple crafts.
Final Thoughts
The Handprint Turkey Craft is more than just a quick art project—it’s a way to celebrate togetherness, creativity, and the warmth of Thanksgiving. With just a few supplies and a few minutes of painting fun, you can create a keepsake that captures childhood magic in the sweetest way.
Whether you’re doing this with your own kids, your classroom, or a group of cousins at the Thanksgiving table, this craft brings joy, laughter, and a little bit of mess (the best kind!). Display your child’s turkey proudly and enjoy knowing you’ve created a memory that will last long after the holiday season ends.