
Turkey Headband Craft: Easy Thanksgiving Craft for Kids
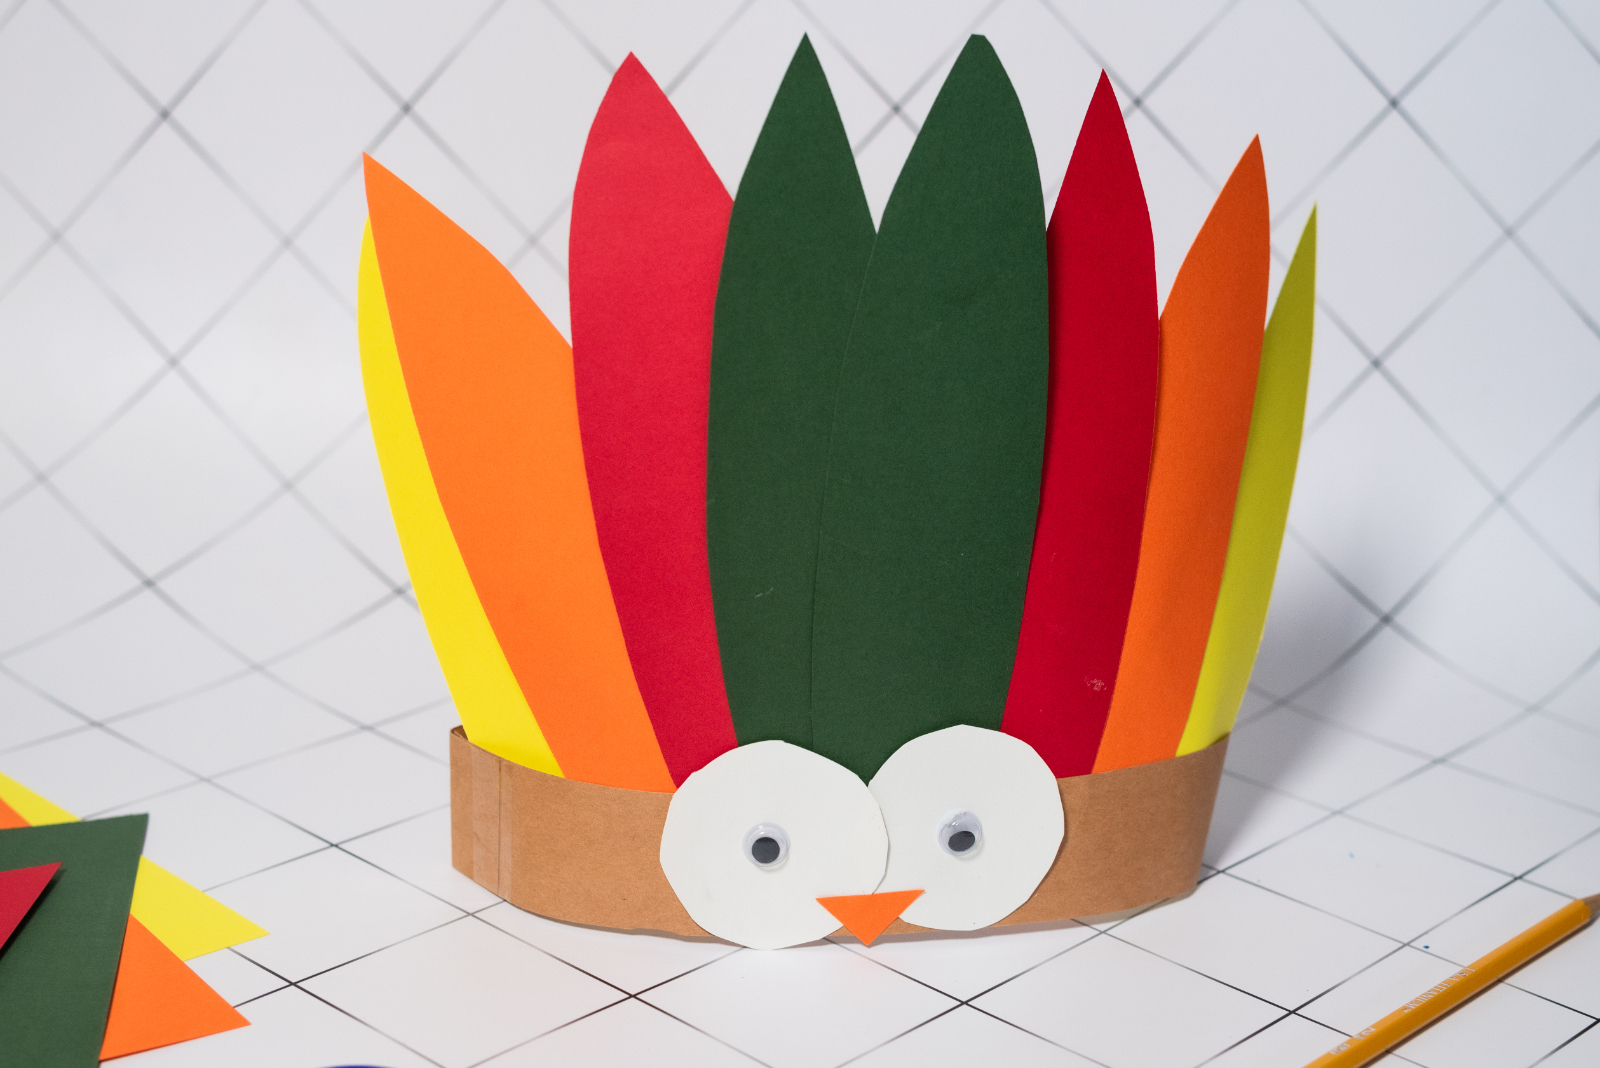
Thanksgiving crafts are a fun way to keep kids entertained while getting them excited about the holiday. This Turkey Headband Craft is colorful, simple to make, and requires only a handful of inexpensive craft supplies. Once finished, kids can wear their adorable turkey creation for Thanksgiving dinner, classroom celebrations, fall parties, or just for fun at home.
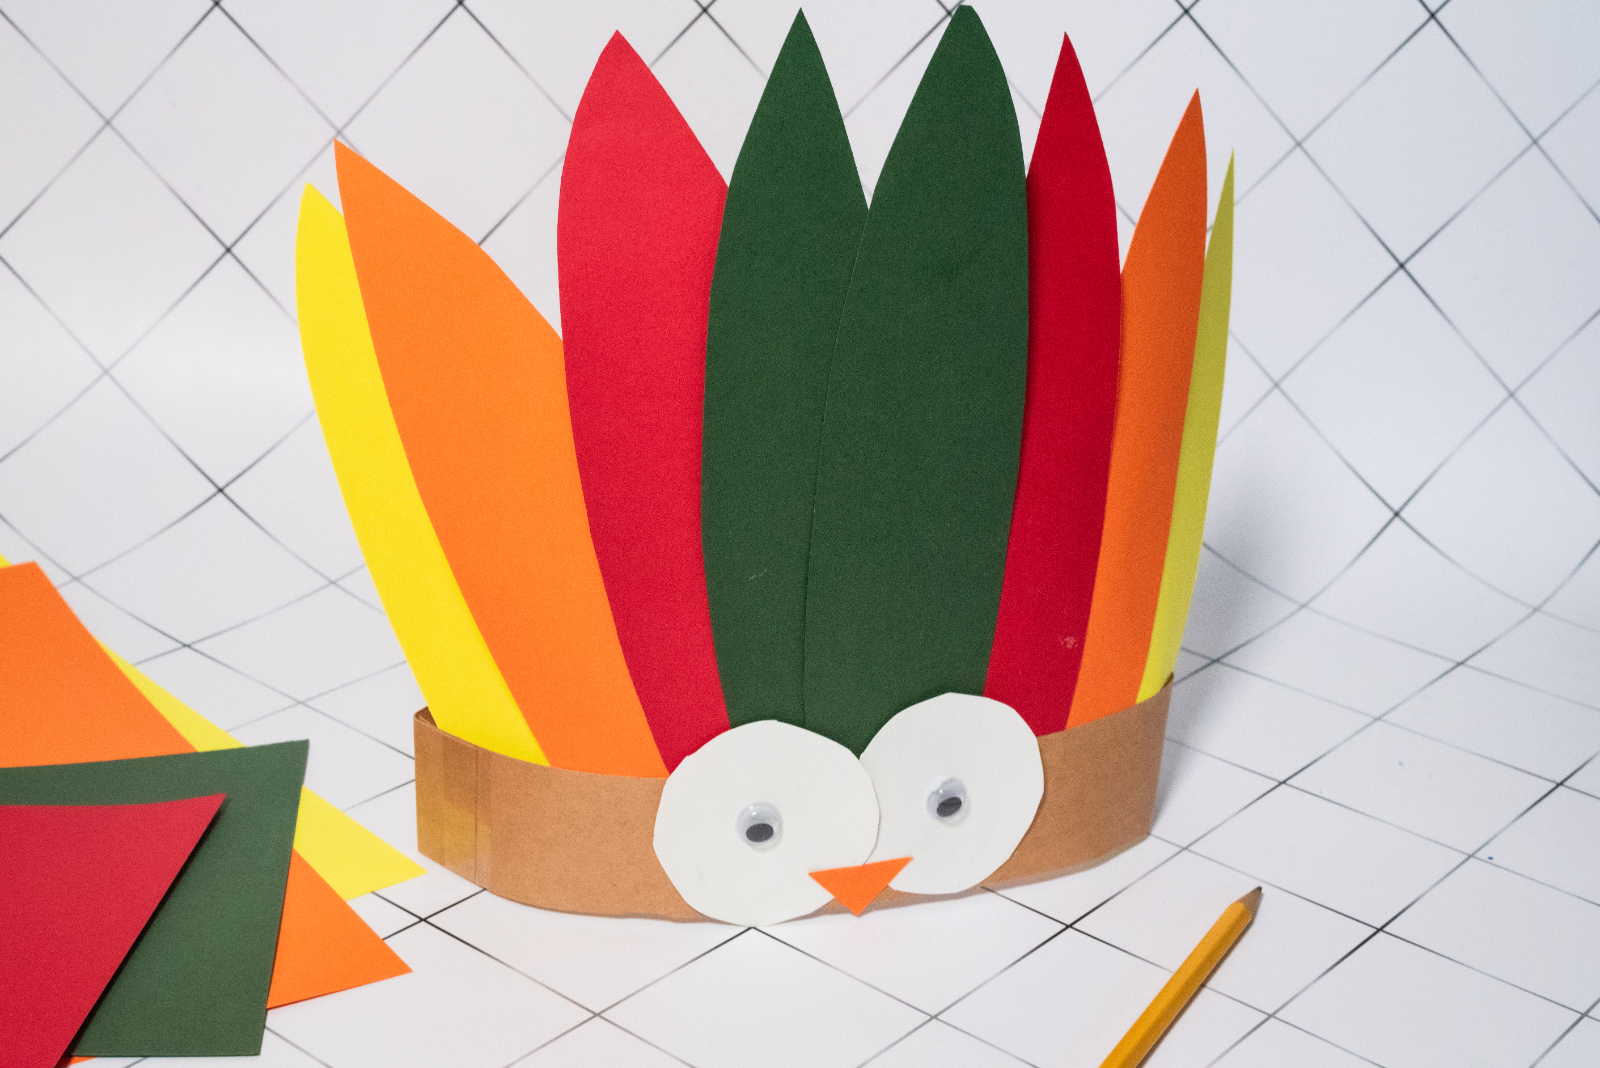
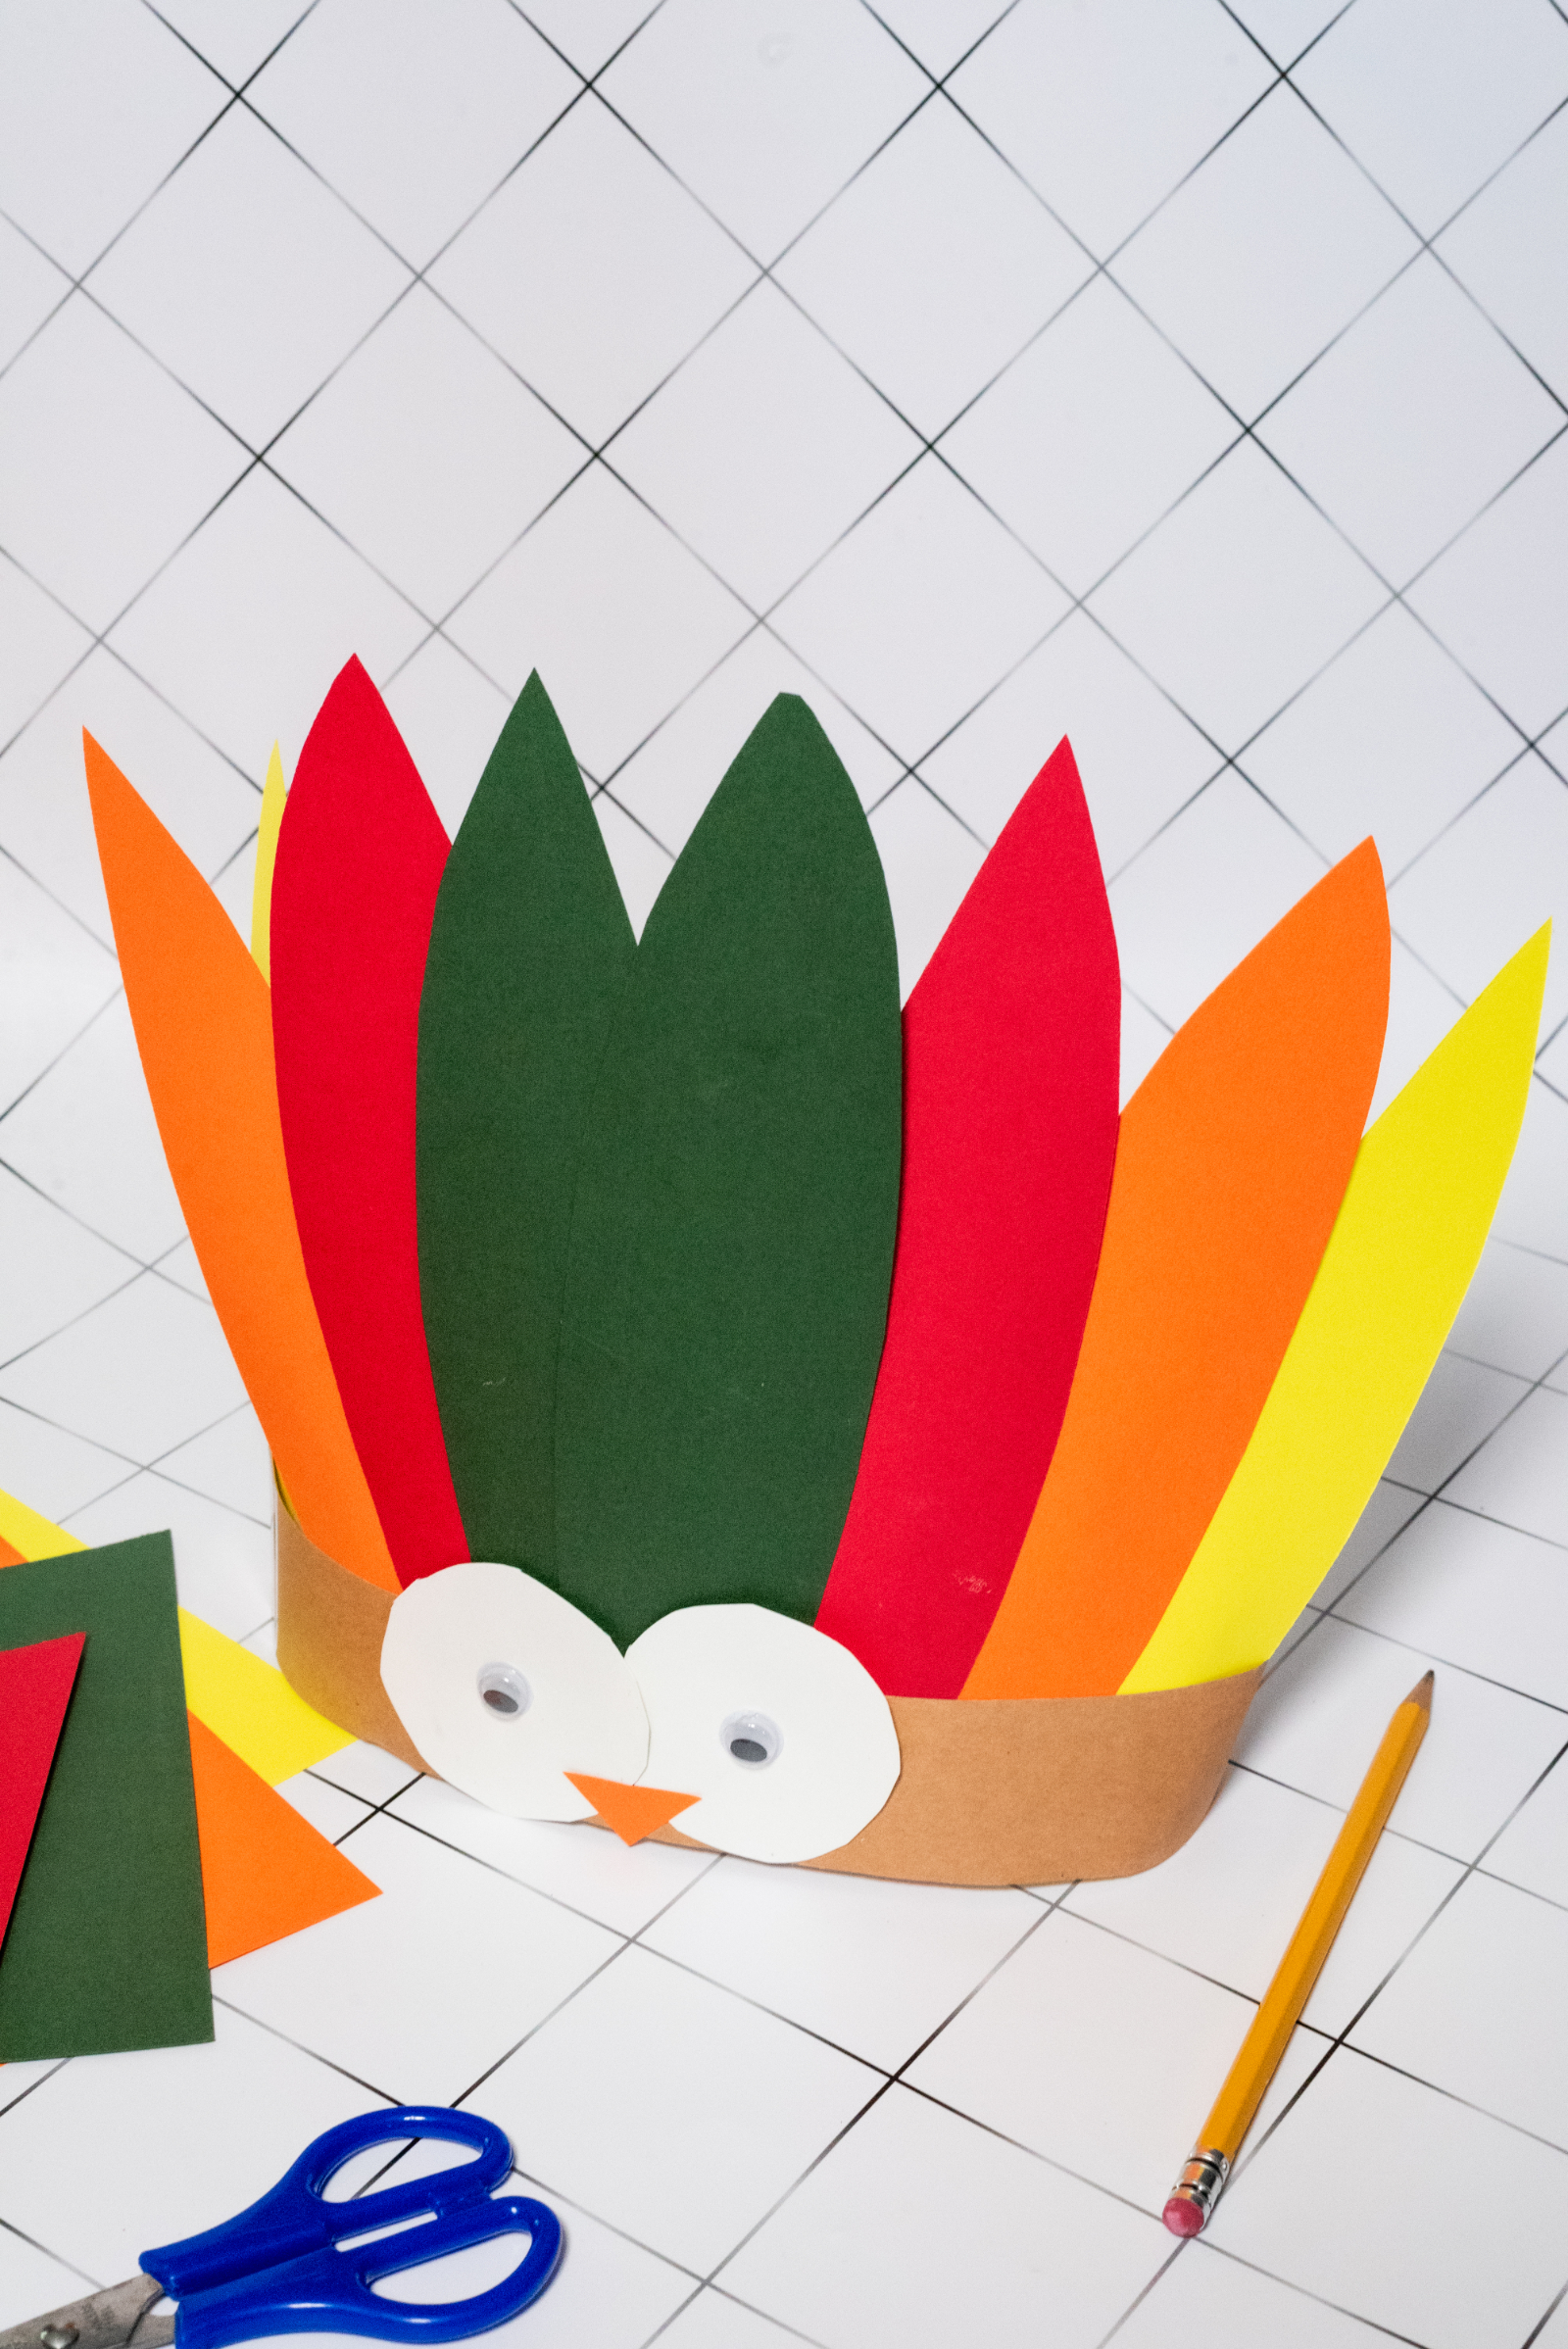
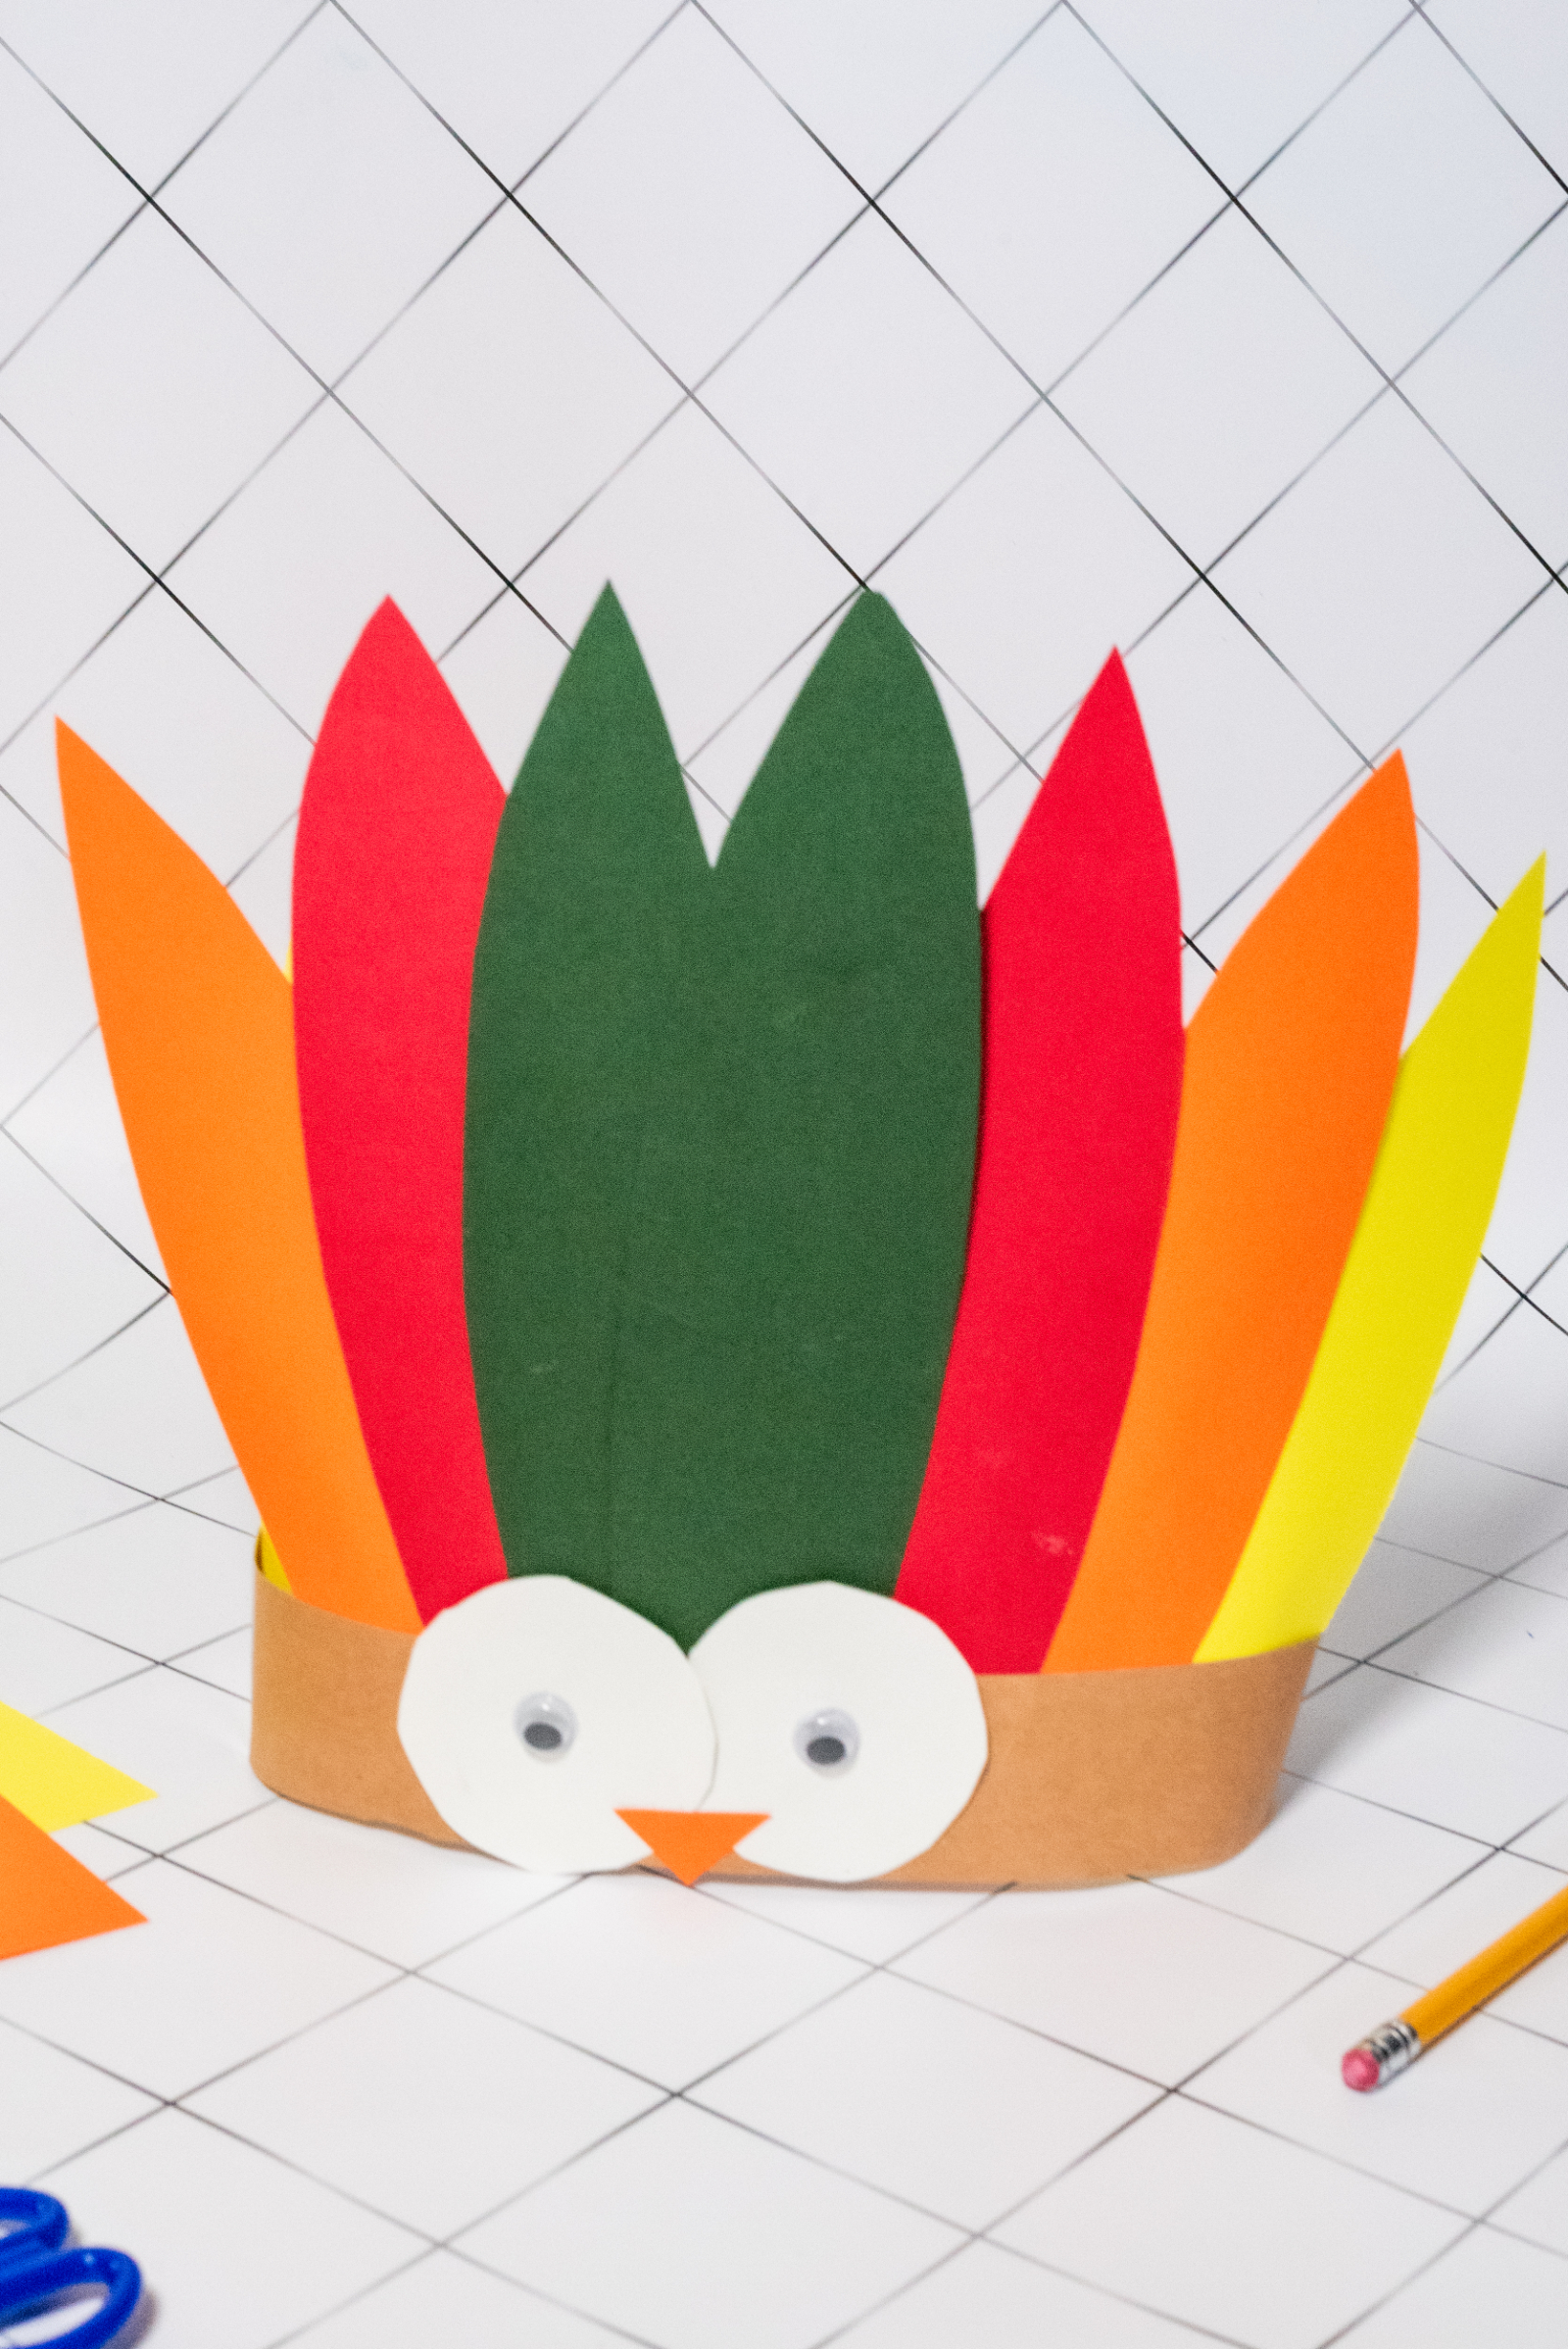
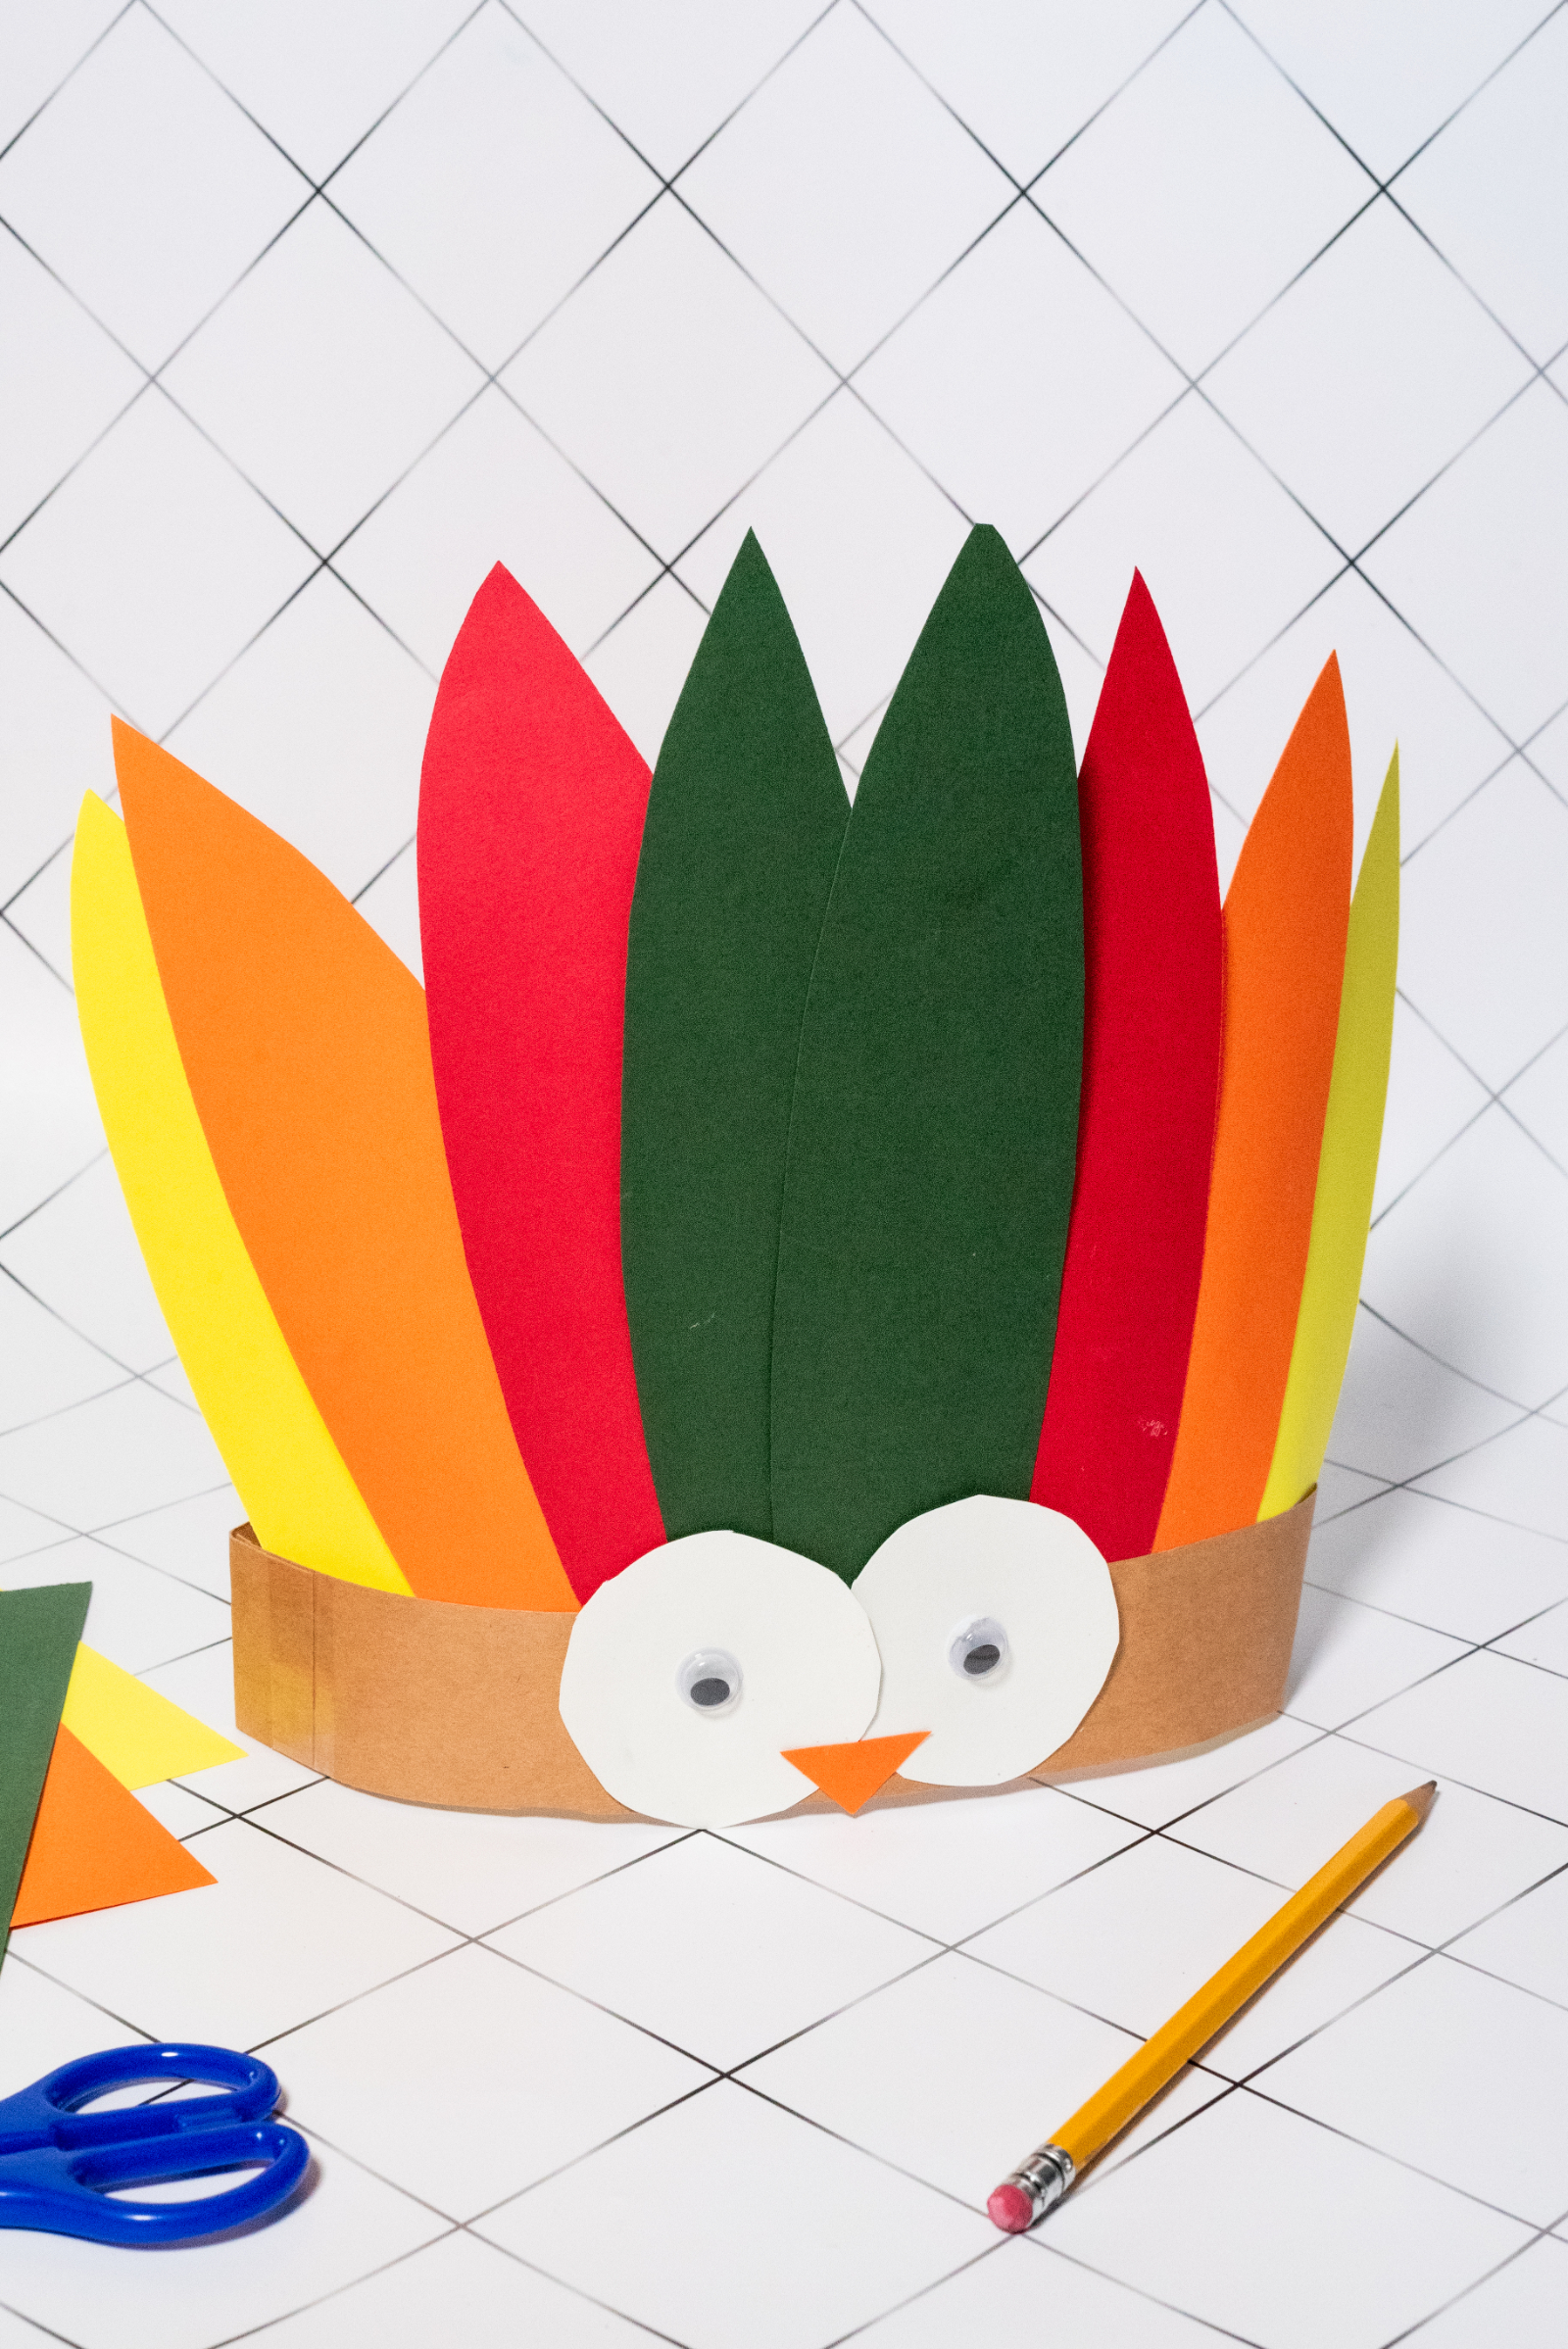
One of the best things about this turkey headband craft is that it doesn’t require complicated templates or specialty craft supplies. The turkey feathers are made from colorful construction paper, the face comes together with oversized eyes and a bright orange beak, and the light brown paper band can be adjusted to fit your child’s head.
If you’re looking for an easy Thanksgiving craft for kids, this is a great project for preschoolers and elementary-aged children. Younger kids may need some help cutting and assembling the headband, while older children can complete most of the project independently.
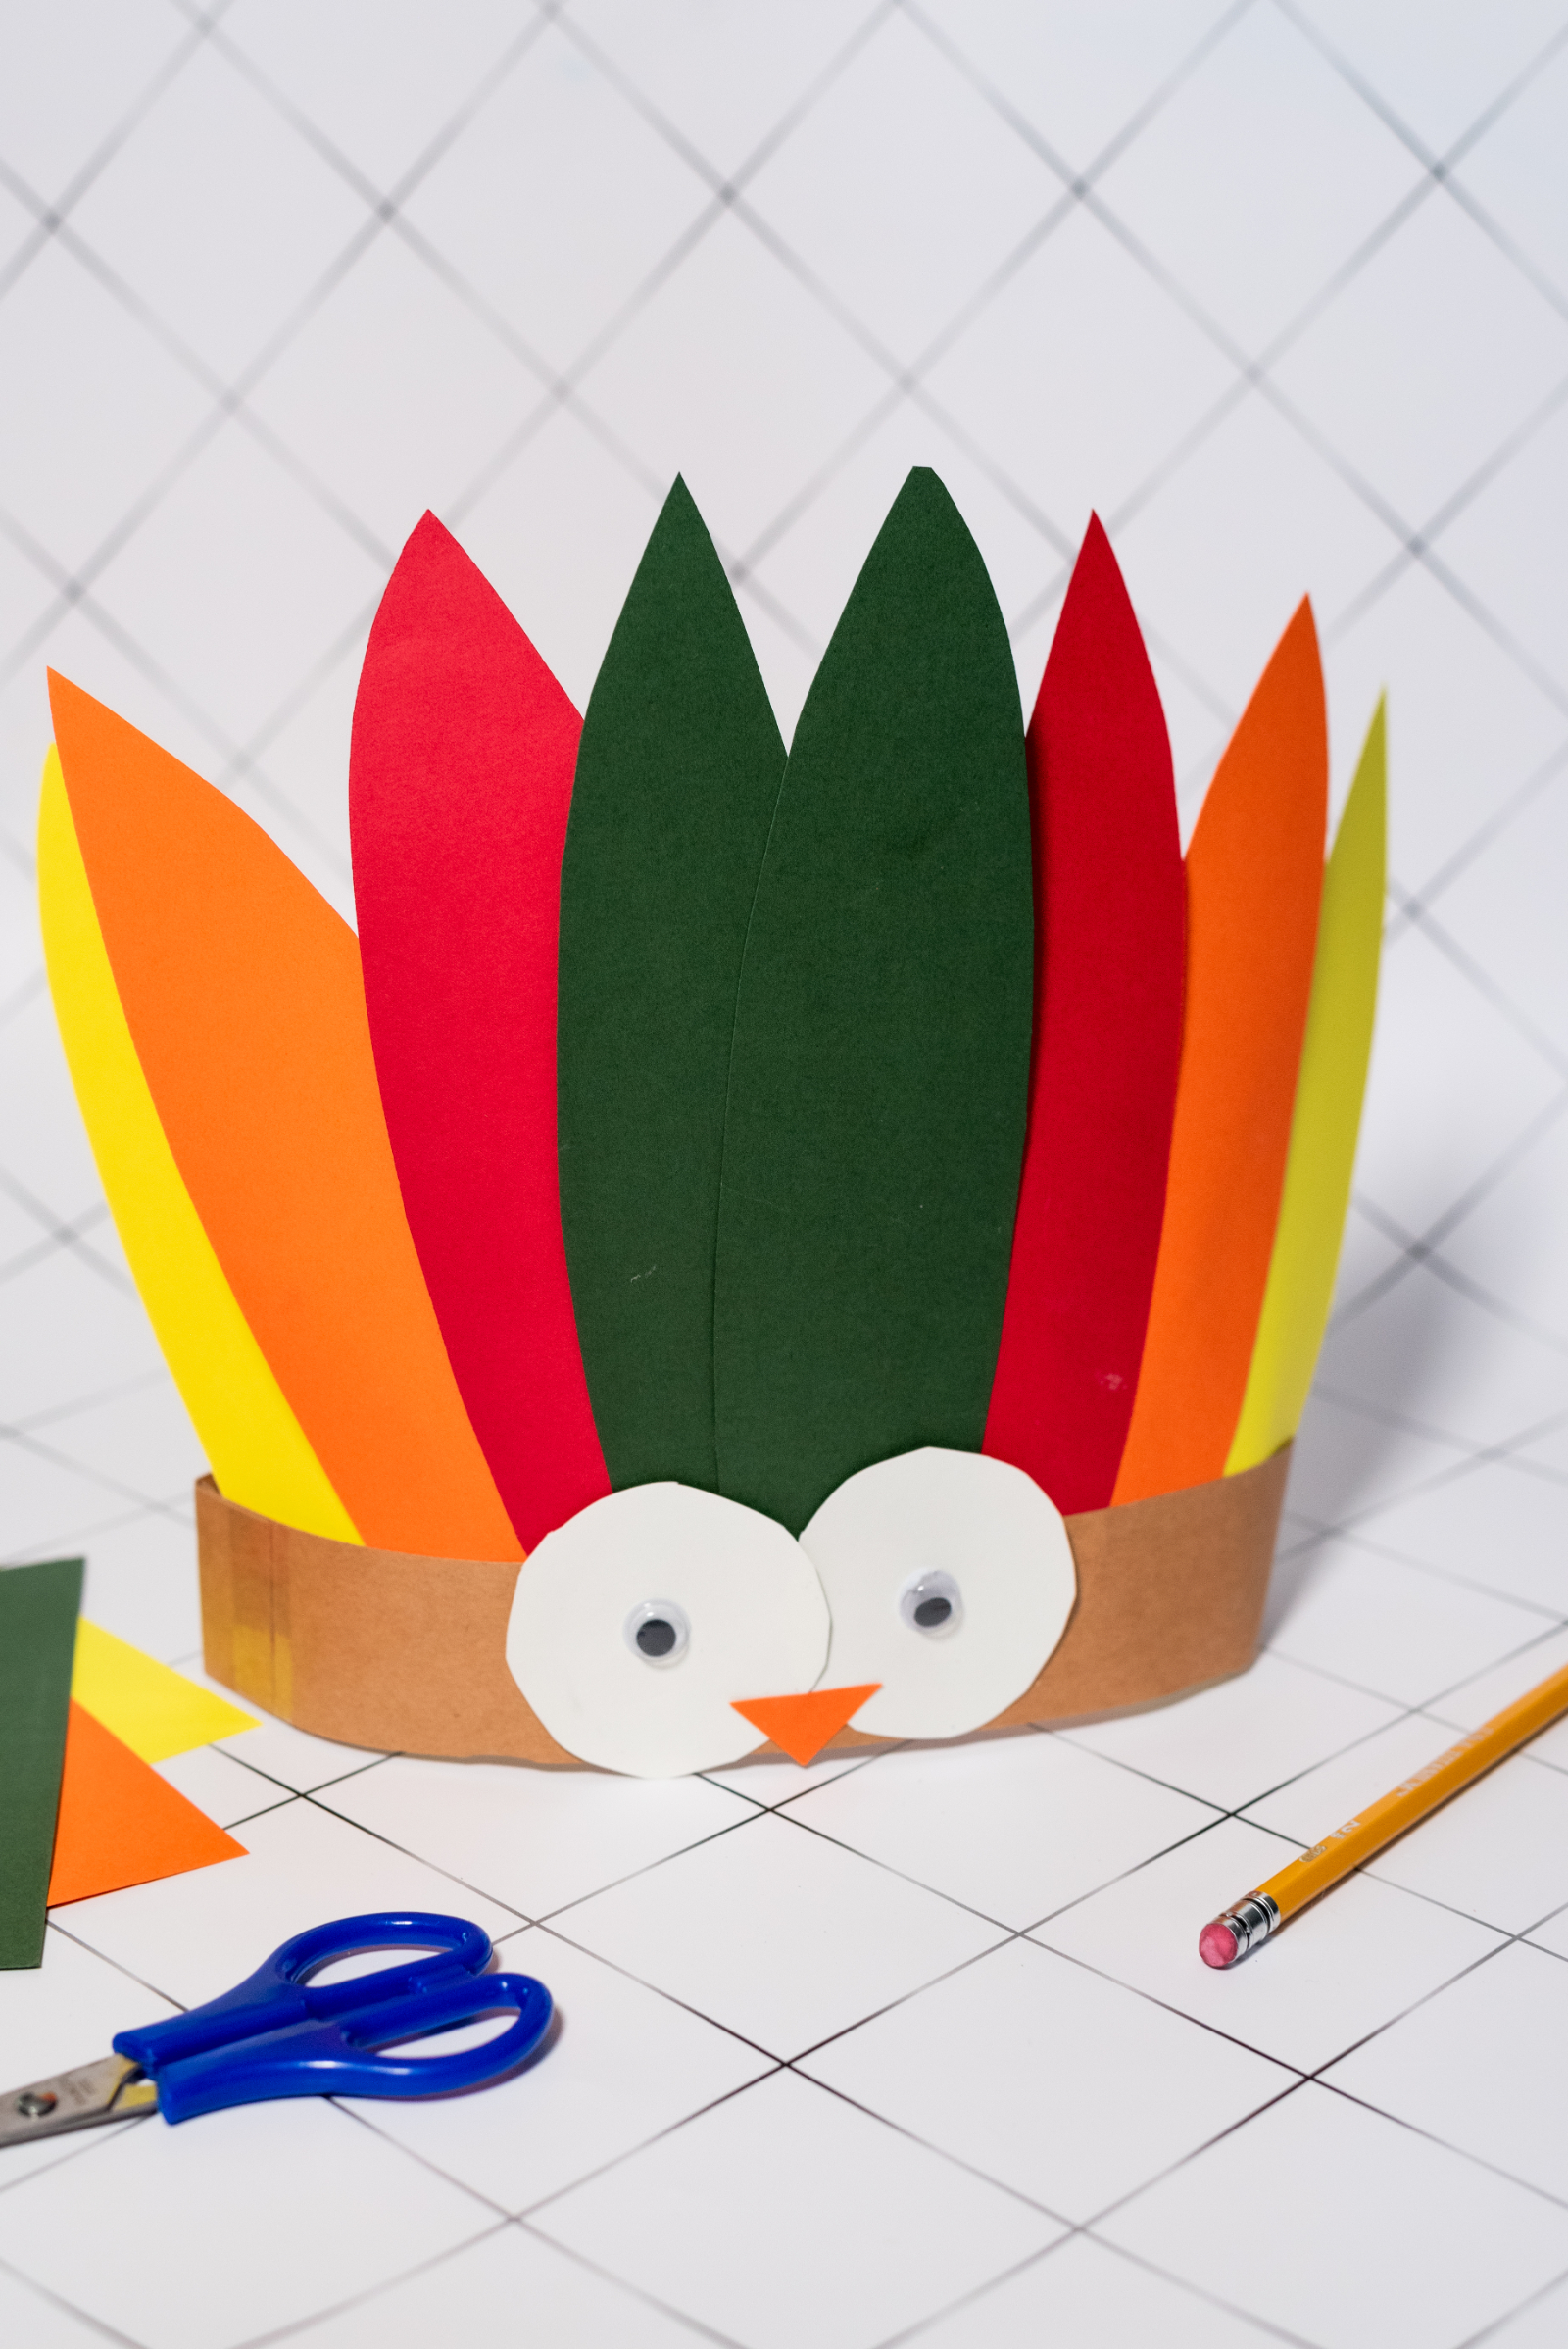
Easy Turkey Headband Craft for Thanksgiving
Turkey crafts are a Thanksgiving classic, but making something kids can actually wear adds an extra layer of fun. Instead of creating a turkey that gets hung on the refrigerator, kids get to turn themselves into a silly Thanksgiving turkey.
The colorful feather fan makes this headband especially cute in photos. Kids can wear their finished headbands during Thanksgiving dinner, a classroom party, a family gathering, or while participating in other Thanksgiving activities.
This is also an easy craft to prepare for a group. Most of the supplies can be purchased inexpensively, and you can cut some of the pieces ahead of time when crafting with younger children.
Materials Needed
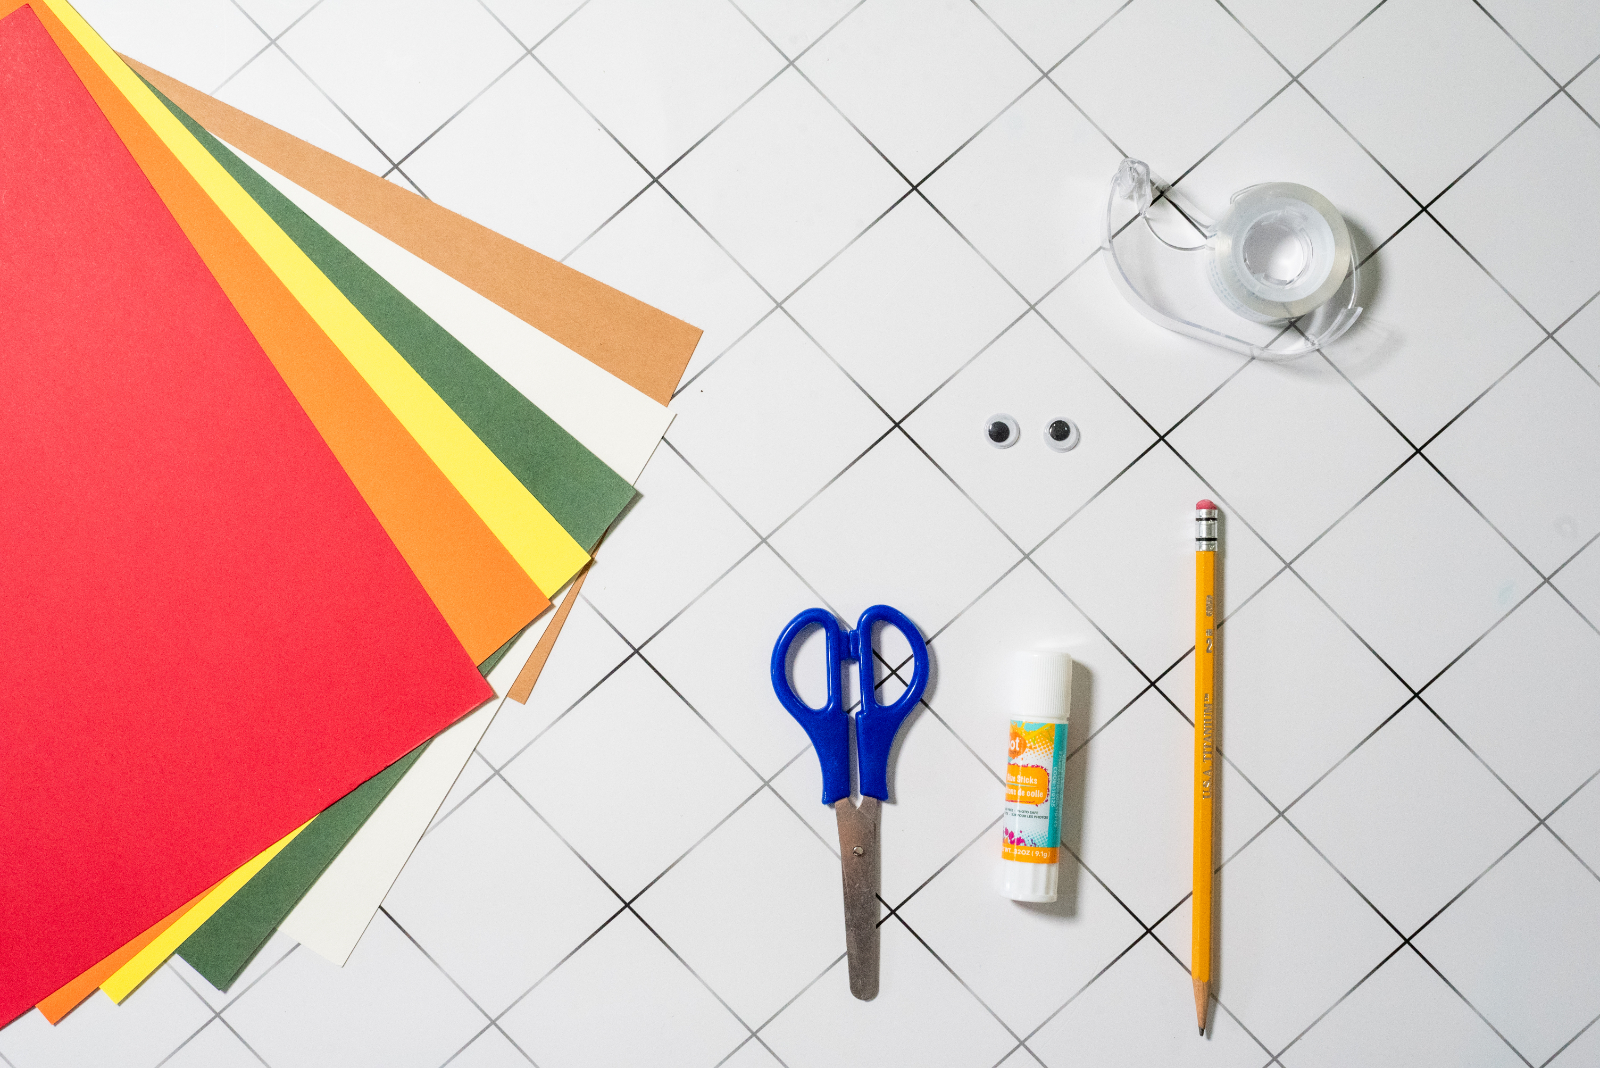
You only need basic arts and crafts supplies to make this easy turkey headband.
- Construction paper in light brown for the main headband strip
- Colorful construction paper in red, yellow, orange, and green for the turkey feathers
- White construction paper for the large eye backings
- Pencil for tracing the feathers and face pieces
- Plastic googly eyes
- School glue stick or liquid school glue
- Scissors
- Tape for securing the headband loop
Helpful tip: The orange construction paper used for one of the feathers can also be used to make the turkey’s beak. There is no need for an additional sheet of orange paper.
How to Make a Turkey Headband Craft
This project is easy to customize, so don’t worry about making every feather or facial feature perfectly symmetrical. Part of the charm of homemade Thanksgiving crafts is seeing each child’s personality reflected in the finished project.
Step 1: Cut and Tape the Headband Base
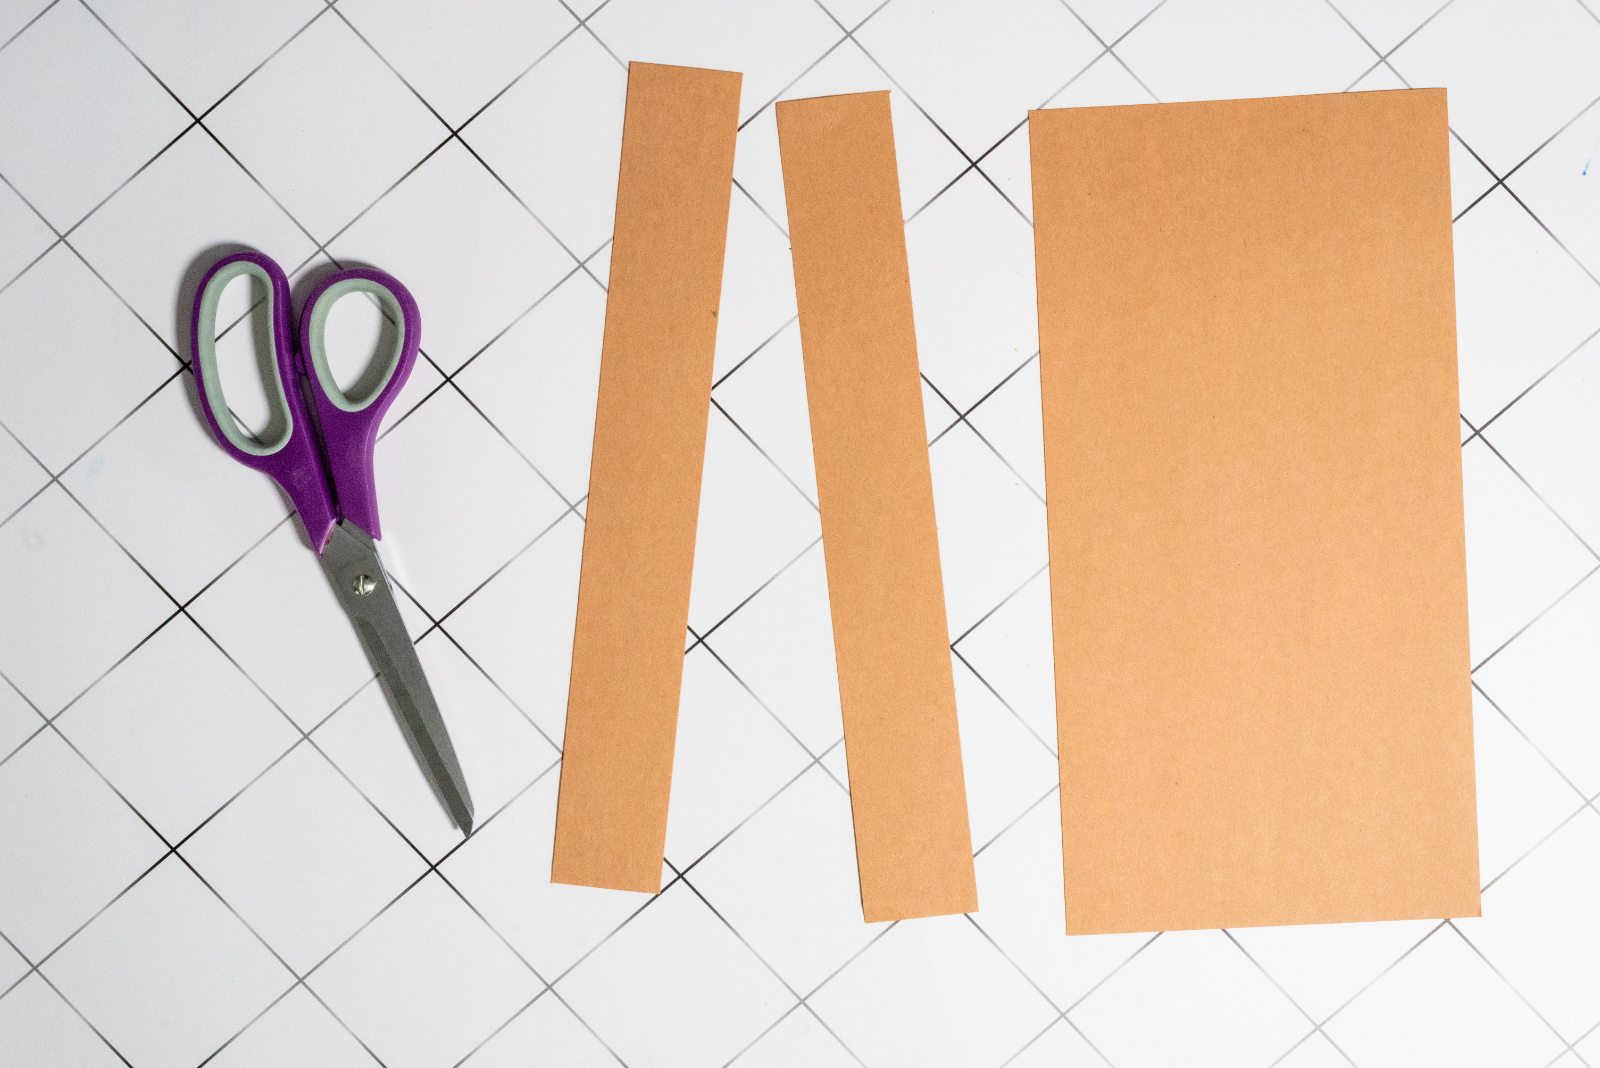
Begin with a sheet of light brown construction paper. Cut two wide, long strips of paper that will become the base of your turkey headband.
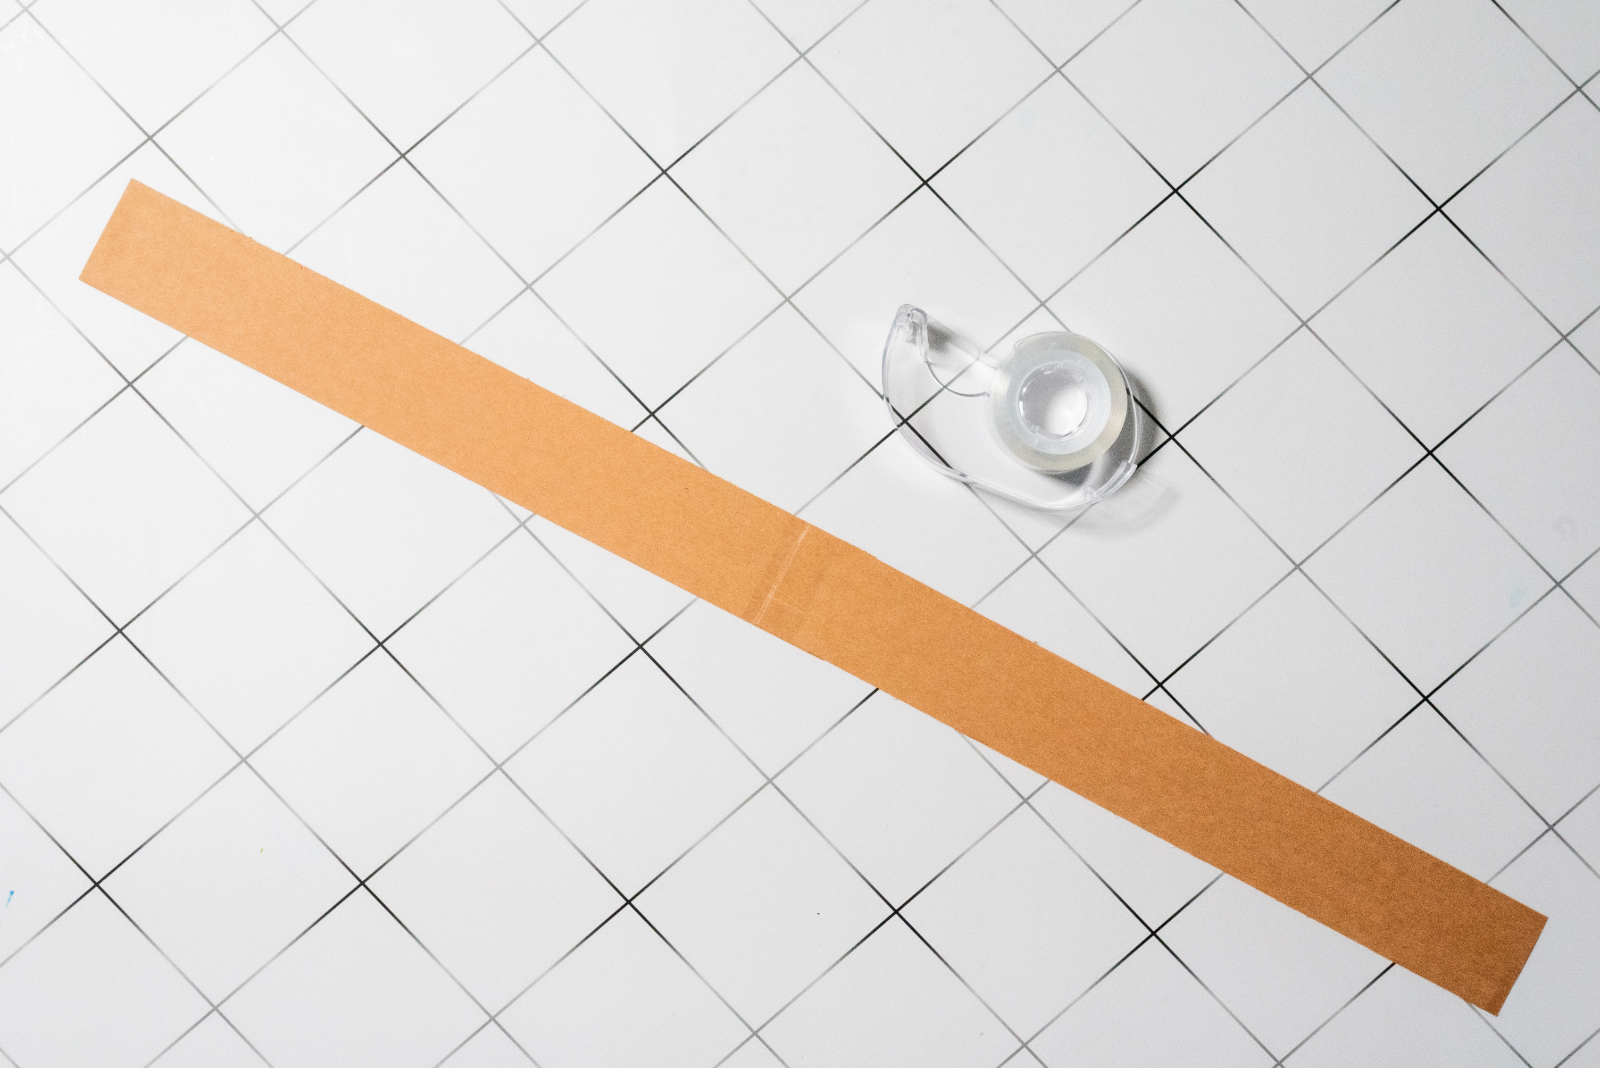
Place the ends of the two strips together and secure them with a piece of tape. You should now have one extra-long strip of brown construction paper.
Before closing the headband, gently wrap the paper strip around your child’s head to determine the correct size. You want it to fit securely without being too tight.
Once you’ve found the right fit, overlap the remaining ends and secure them with another piece of tape.
If you’re making this craft with several children, write each child’s name on the inside of the brown strip before assembling the rest of the turkey. This makes it much easier to keep track of everyone’s headband.

Step 2: Trace and Cut the Turkey Feathers
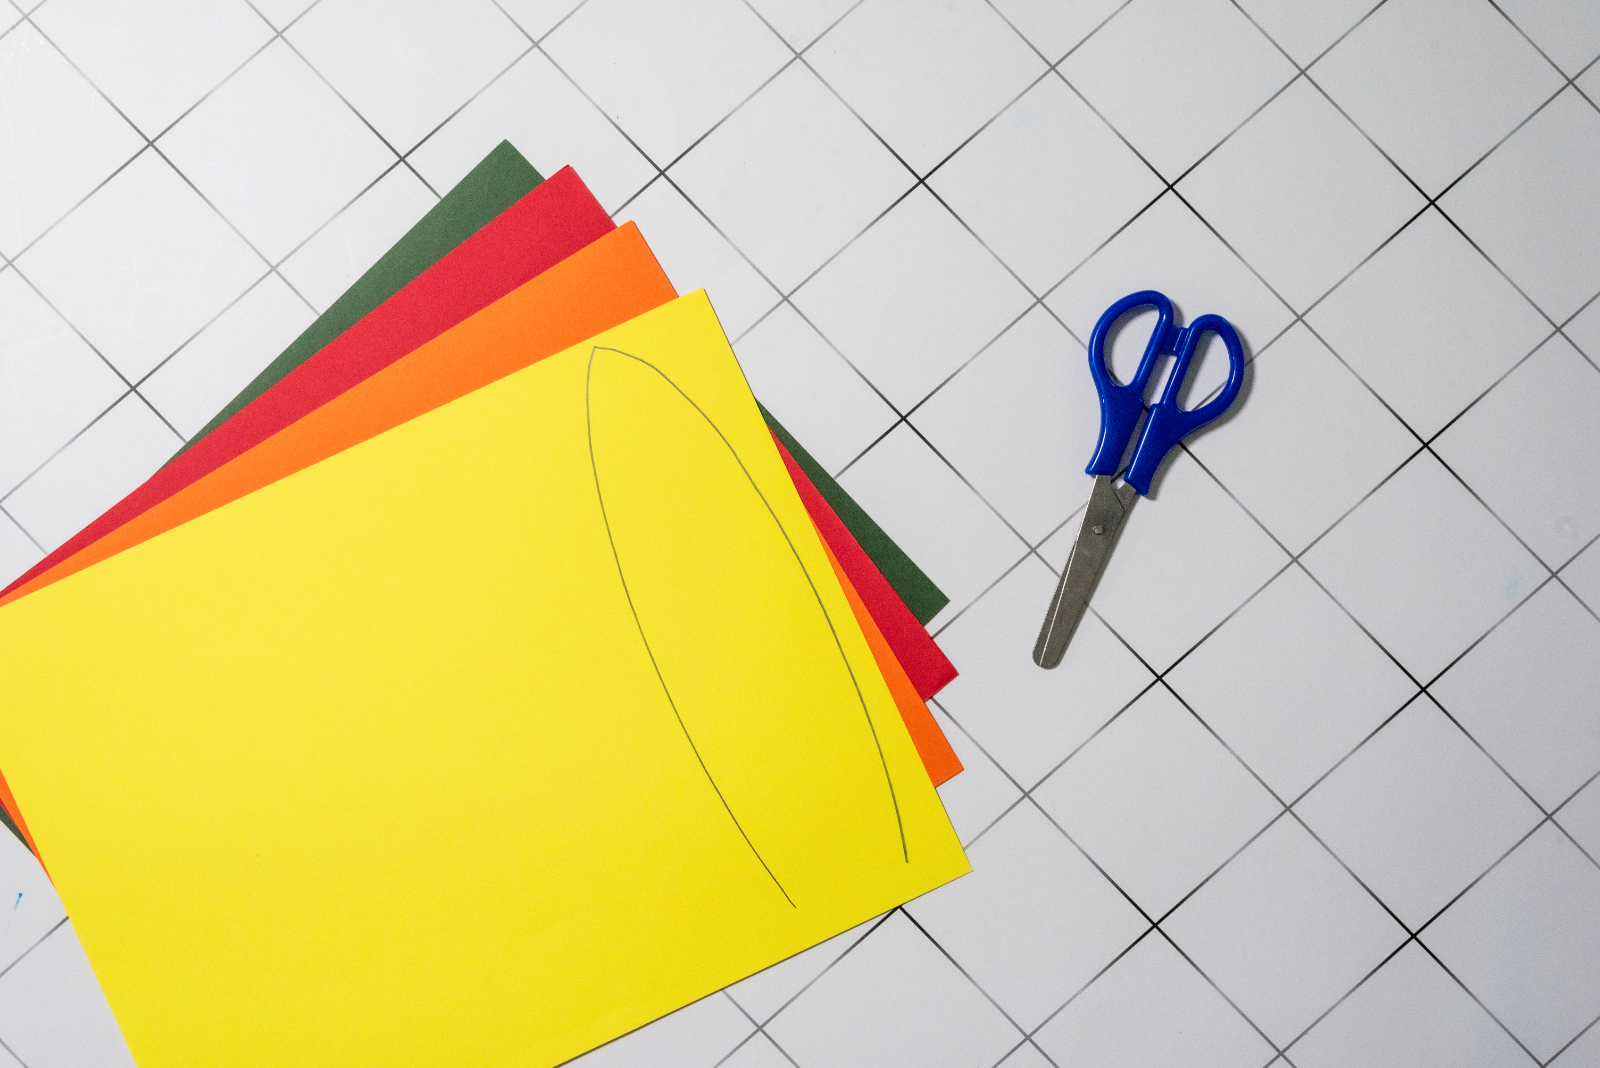
Next, grab the red, yellow, orange, and green construction paper.
Using a pencil, lightly sketch large, elongated oval shapes onto the paper. These will become your turkey’s colorful tail feathers.
The feathers don’t need to be perfect. In fact, slightly different shapes and sizes can make the finished turkey look even more playful. Just make sure they’re large enough to extend above the brown headband when attached.
Carefully cut out each feather using scissors.
For younger children, an adult can draw and cut the feather shapes ahead of time. Older kids can practice their fine motor skills by tracing and cutting the feathers themselves.
You can also make additional feathers if you want an especially full turkey tail.
Step 3: Cut Out the Turkey Beak and Eye Backings
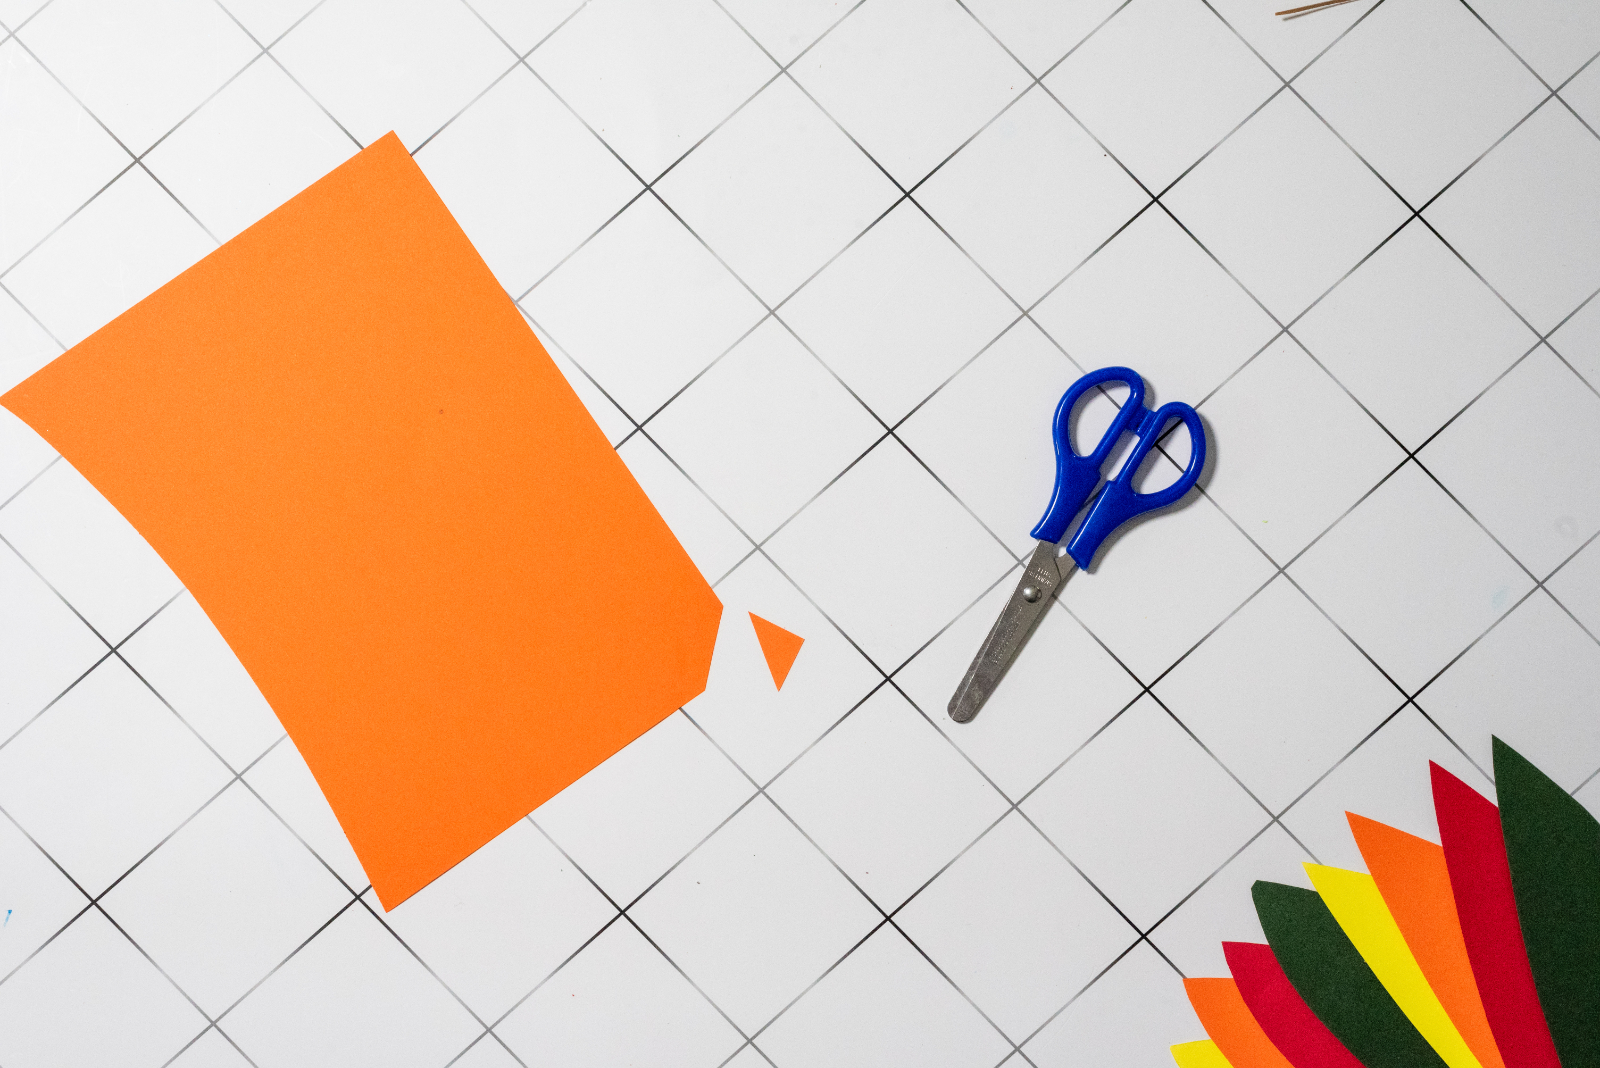
Before putting away the orange construction paper, use it to create the turkey’s beak.
Draw a small, sharp triangle with the point facing downward. Carefully cut out the triangle and set it aside.
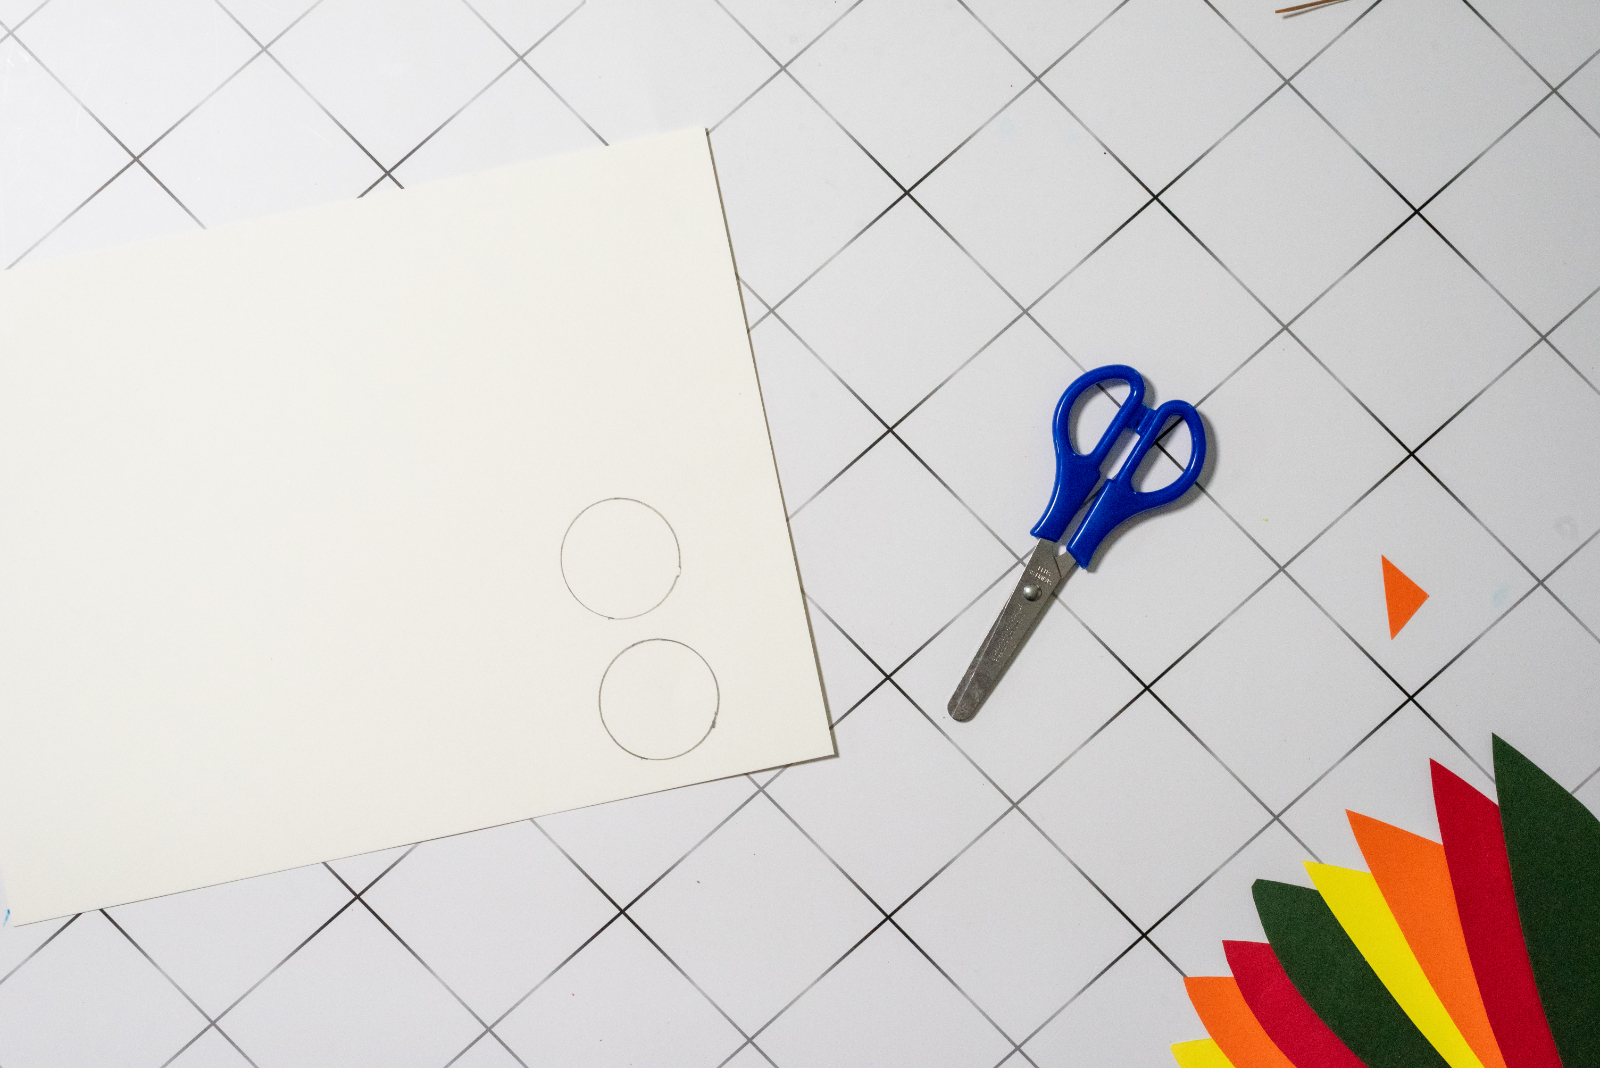
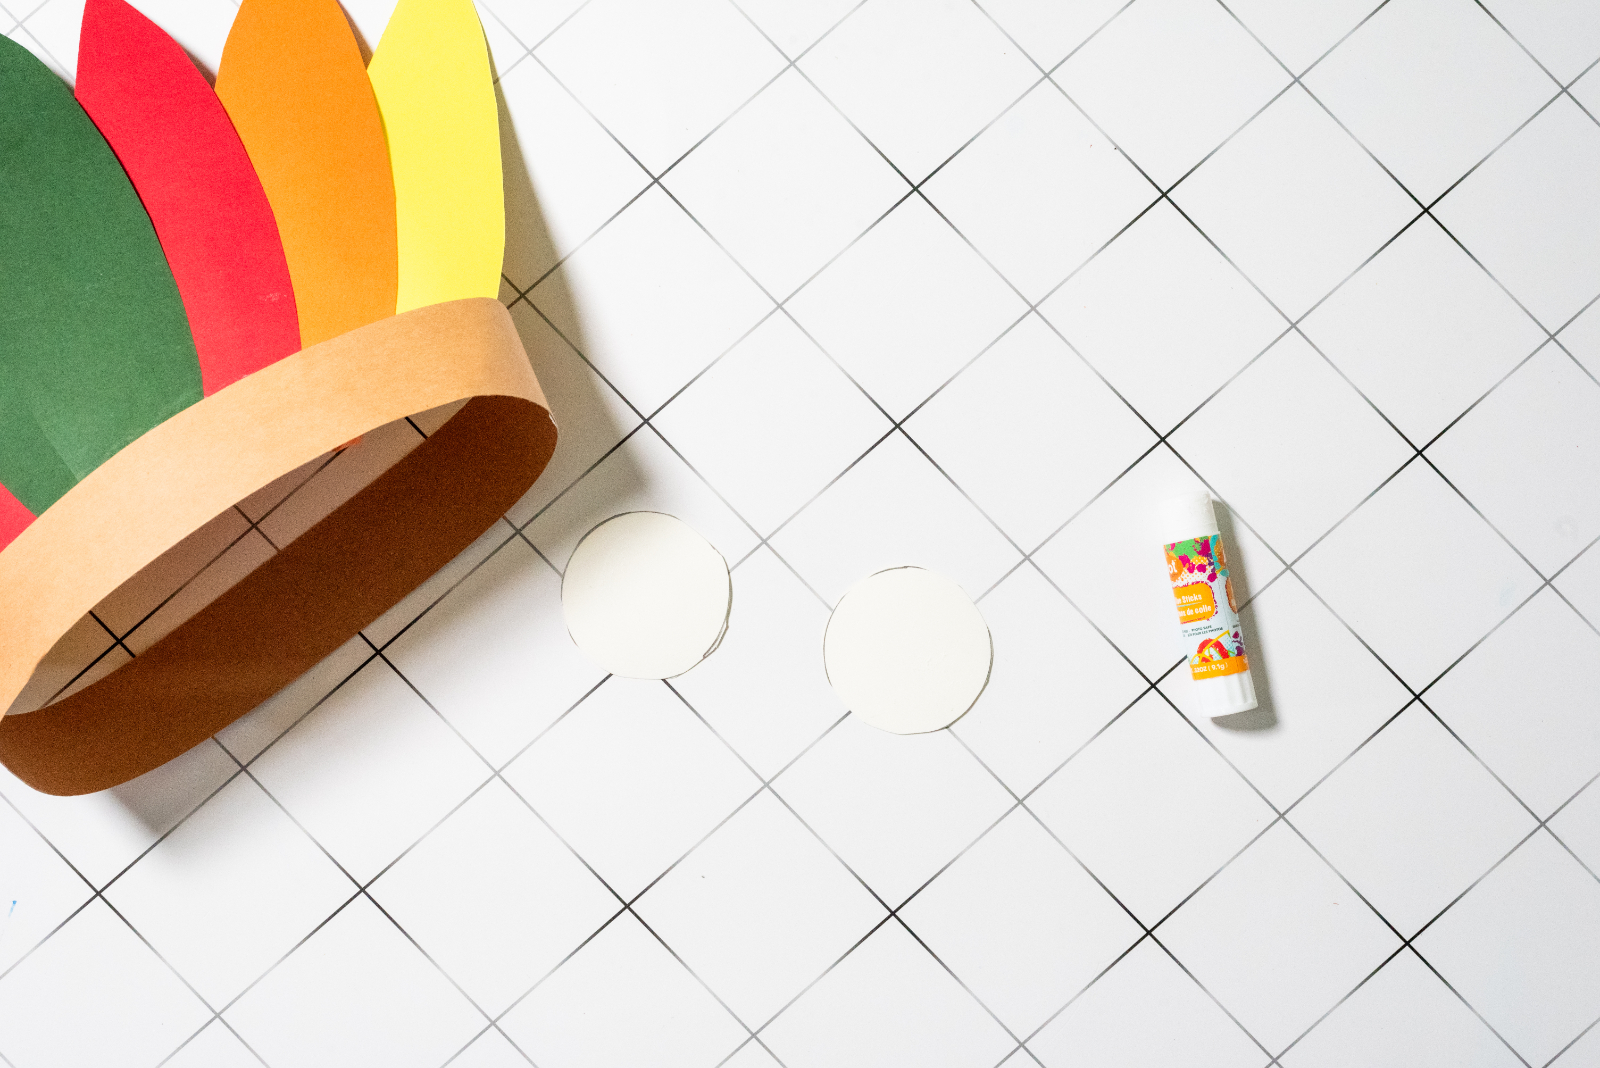
Next, take your white construction paper and draw two large circles. These circles will become the oversized white backings for the turkey’s eyes.
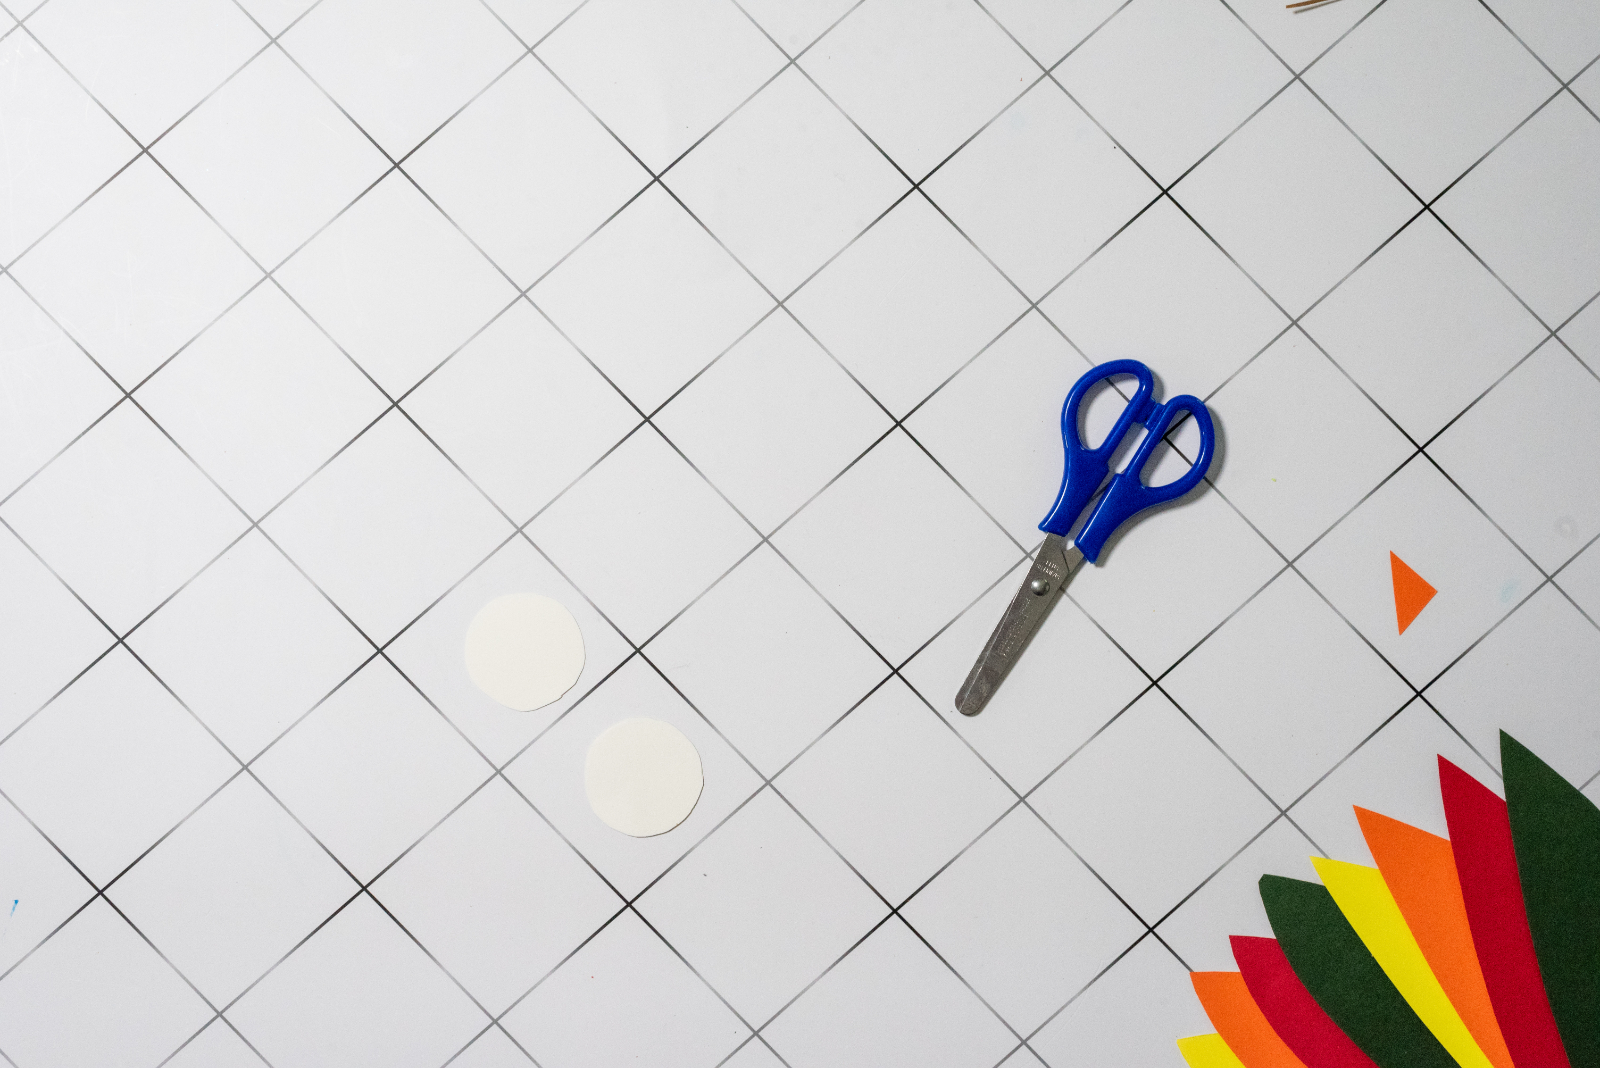
Cut out both circles.
The large white circles combined with smaller plastic googly eyes give the turkey a funny, wide-eyed expression that kids will love.
Step 4: Assemble the Colorful Feather Fan
Now it’s time to create the turkey’s tail.
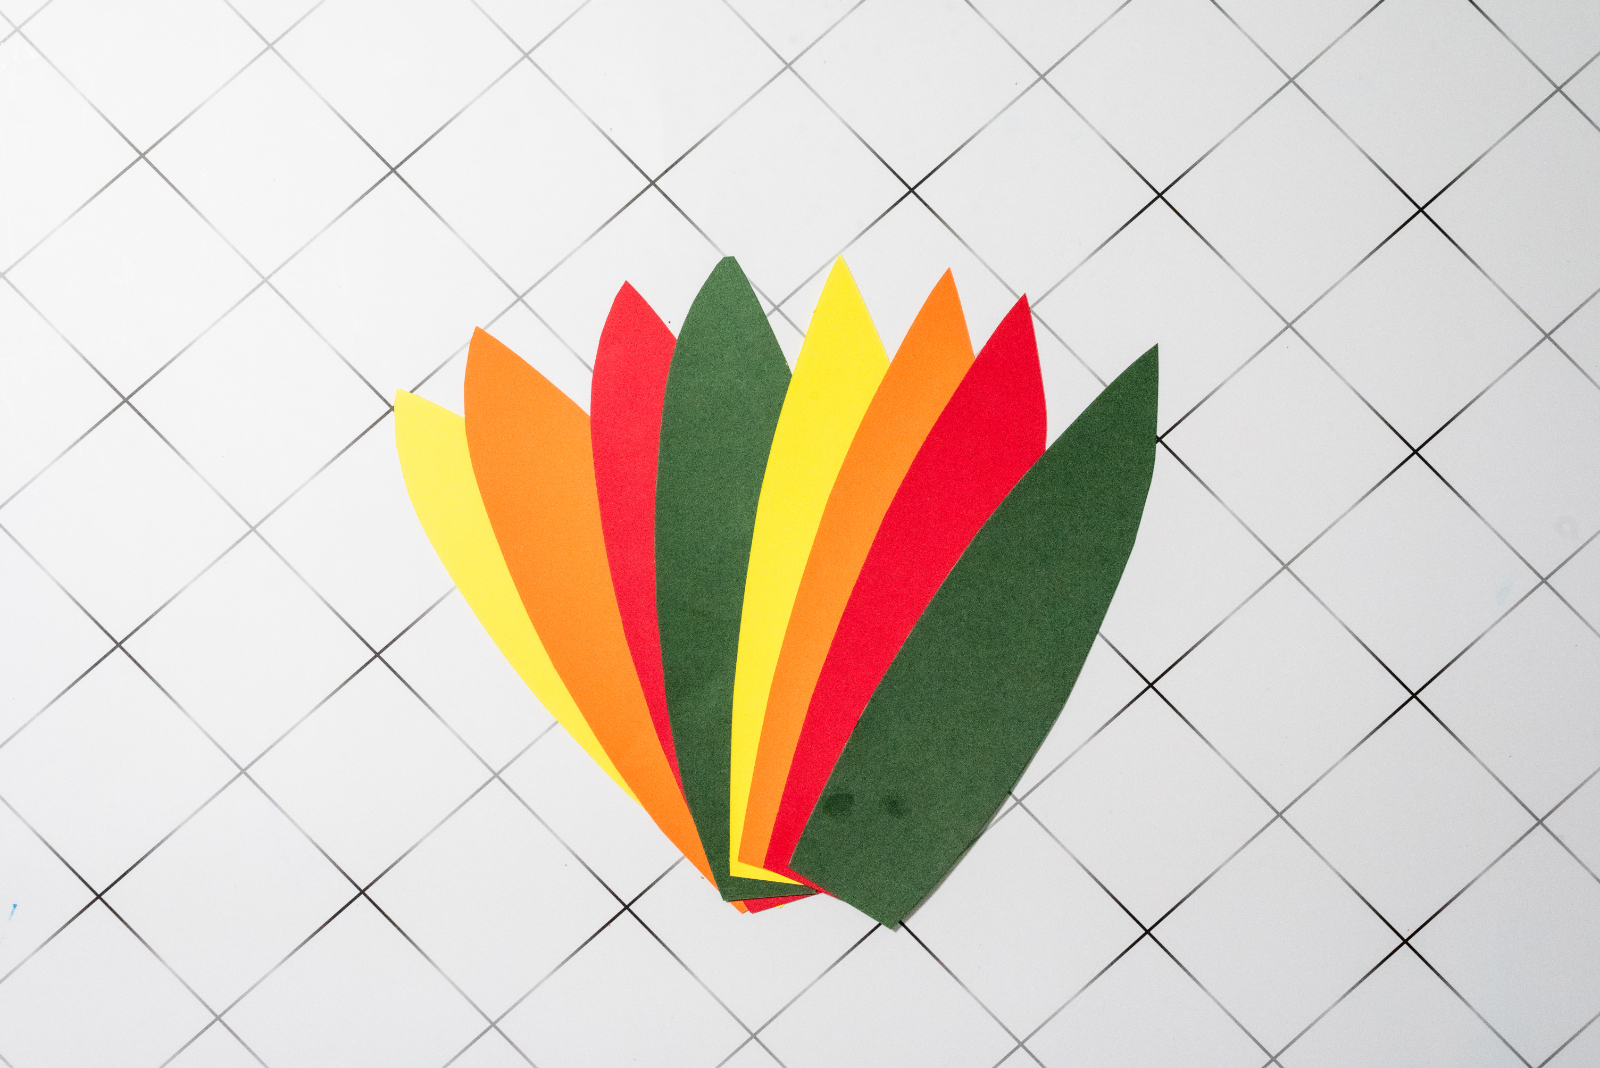
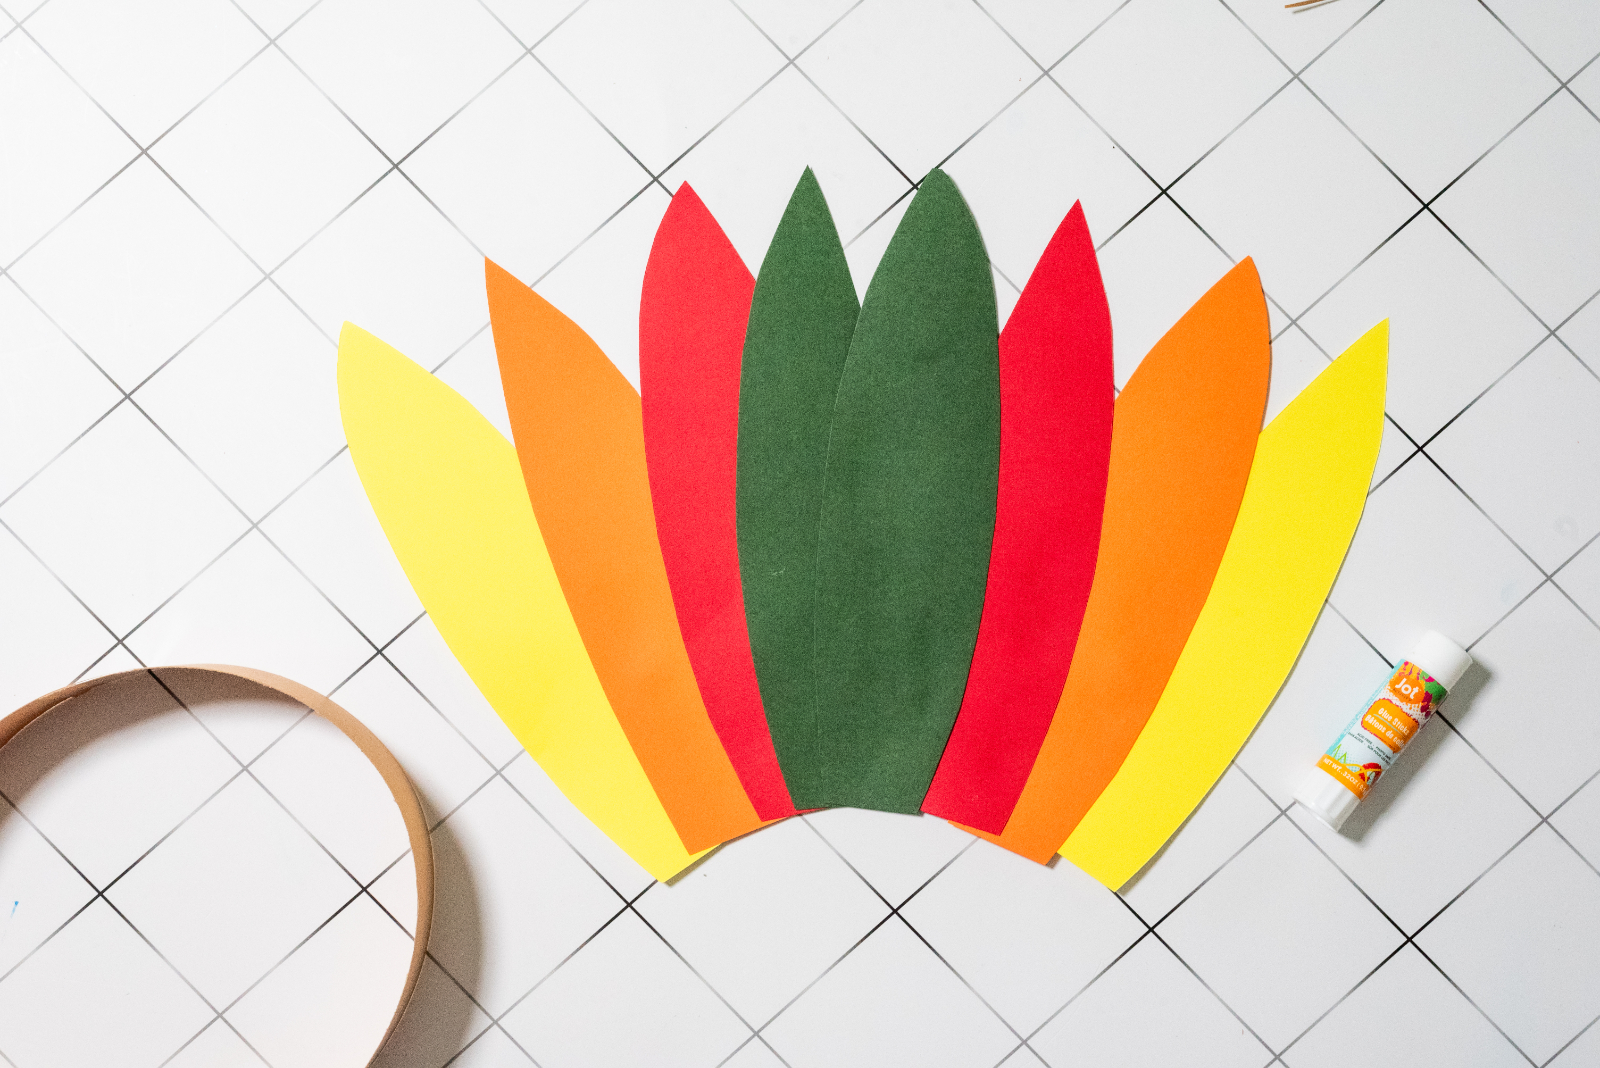
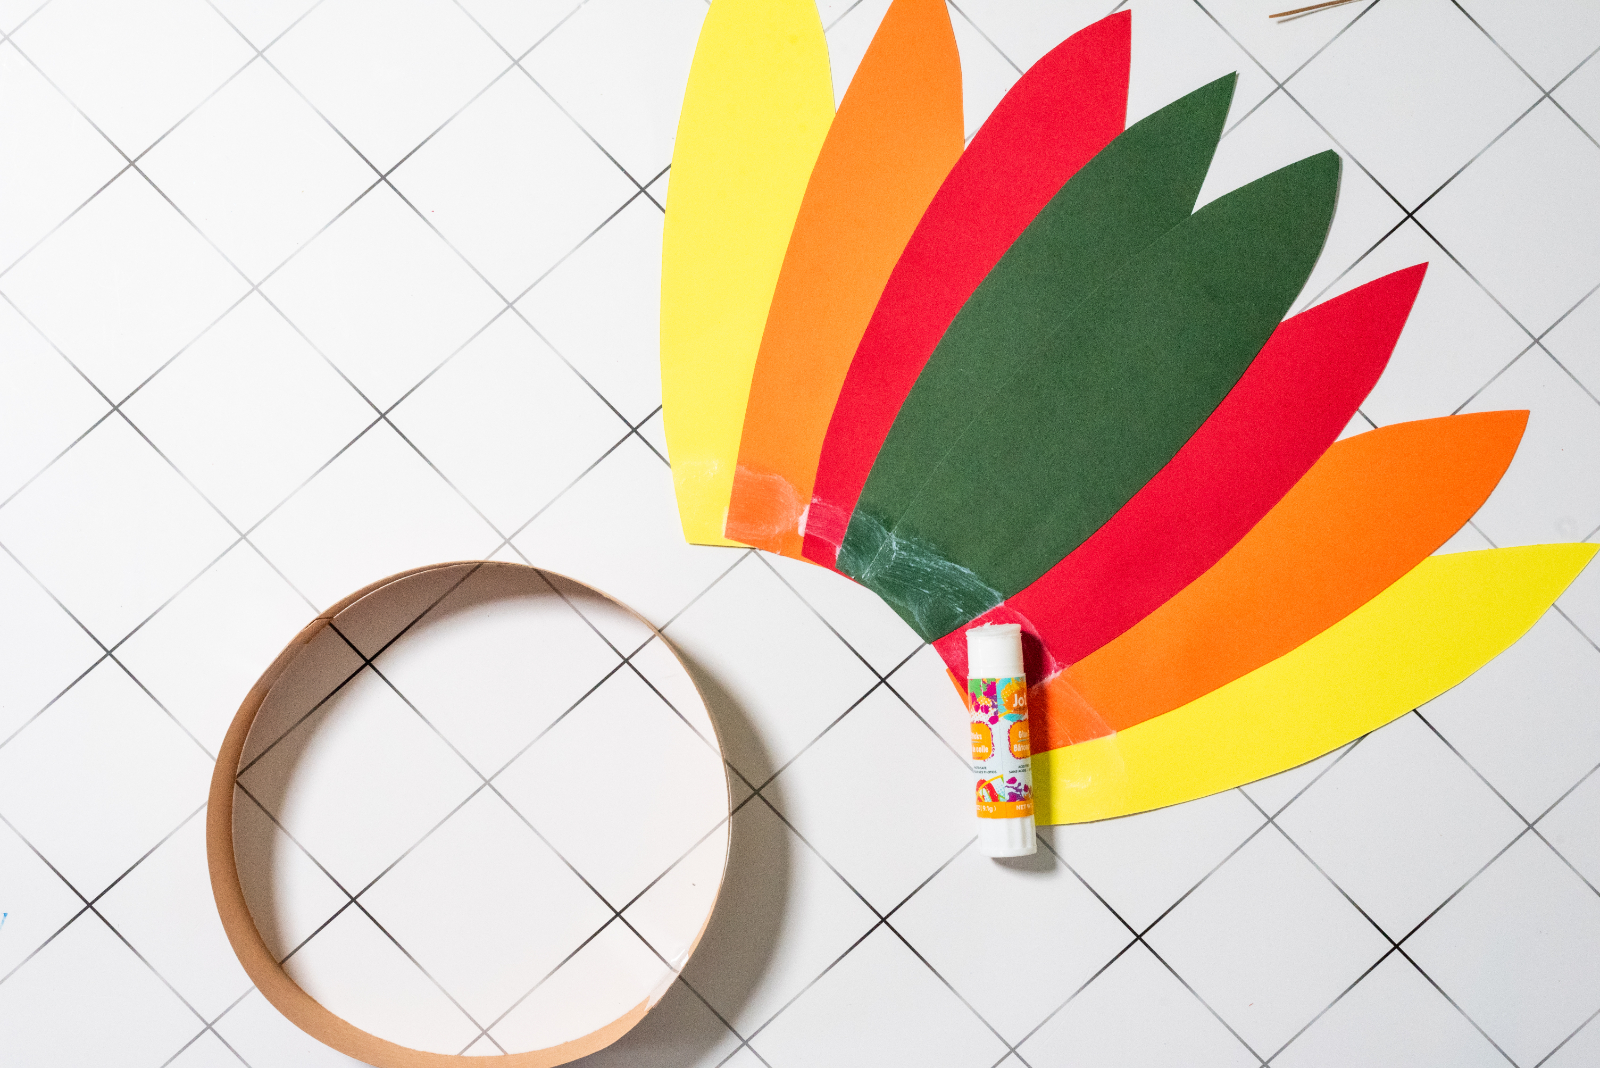
Arrange your red, yellow, orange, and green feathers in a fanned-out pattern. Slightly overlap the bottom portion of each feather so that the tops spread outward.
Play around with the arrangement before gluing anything down. You can alternate the colors or simply arrange them however your child likes best.
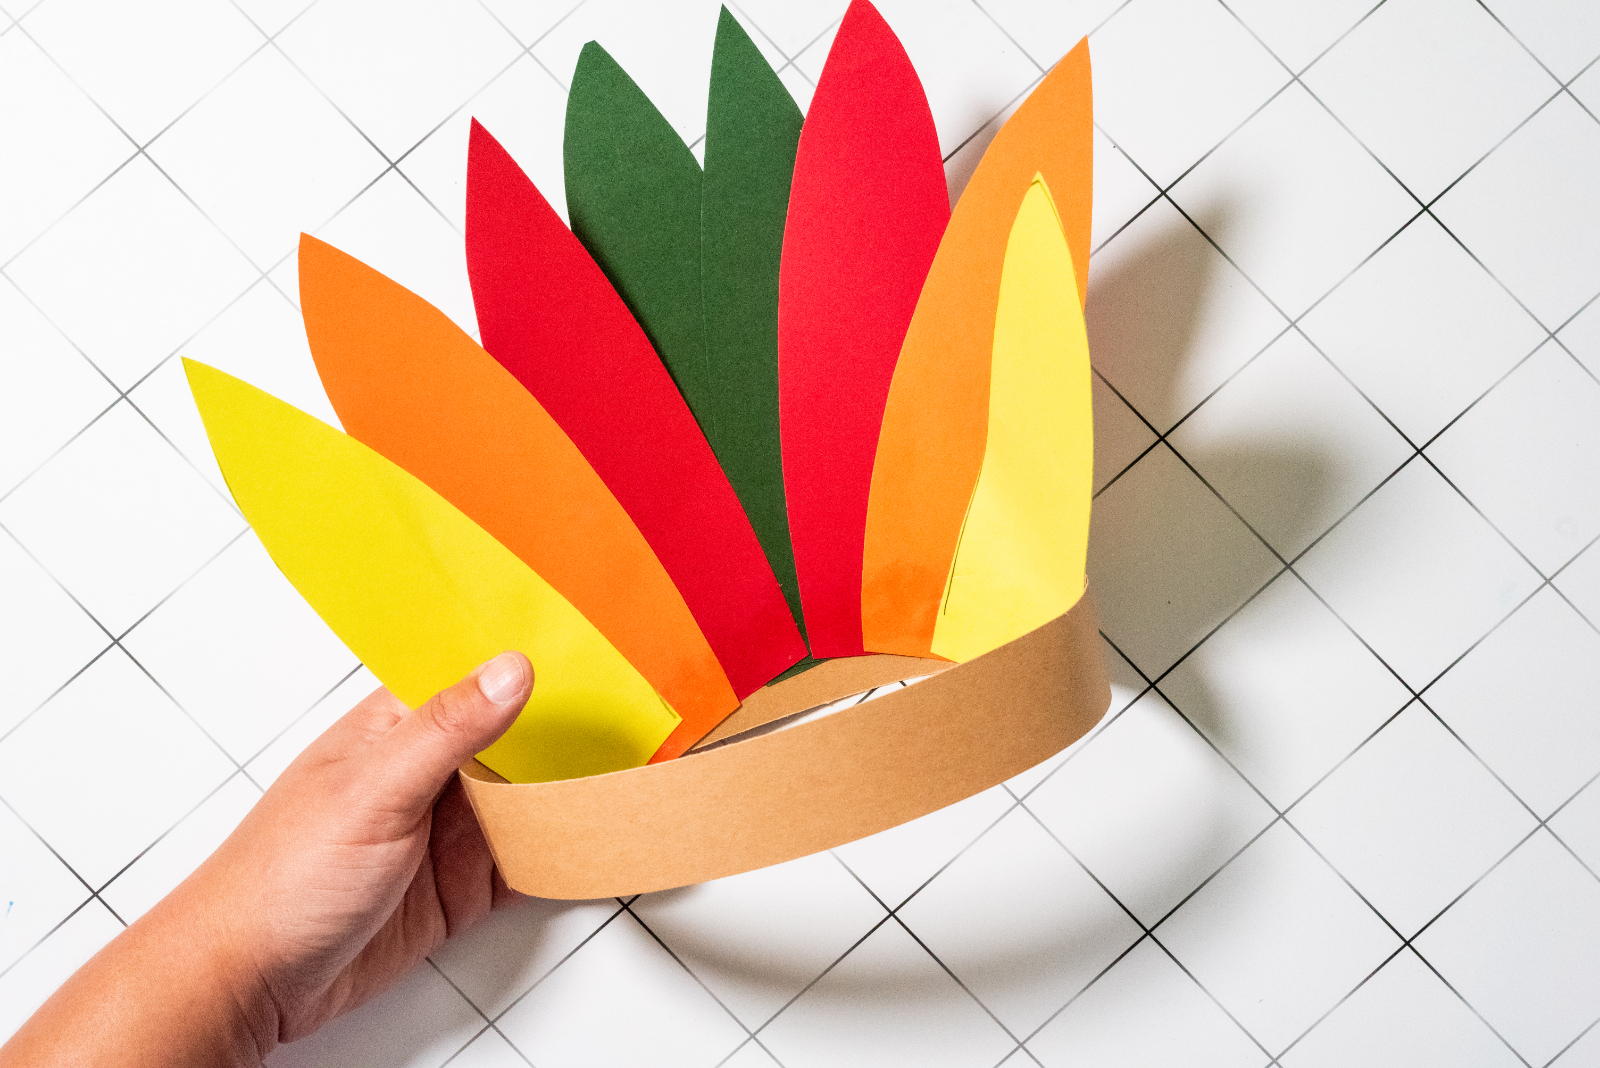
Once you’re happy with the feather fan, glue the feathers securely to the center-back portion of the brown headband.
The feathers should extend upward above the headband so they are clearly visible when your child wears it.
If you’re using liquid school glue, give the feathers a little time to dry before moving on to the next step. This helps prevent them from shifting while you’re attaching the turkey’s face.
Step 5: Make the Turkey’s Googly Eyes
Take the two large white paper circles you cut earlier and glue them onto the front of the brown headband.
Place the circles side by side near the center of the turkey’s face. It’s completely fine if they touch or overlap slightly.
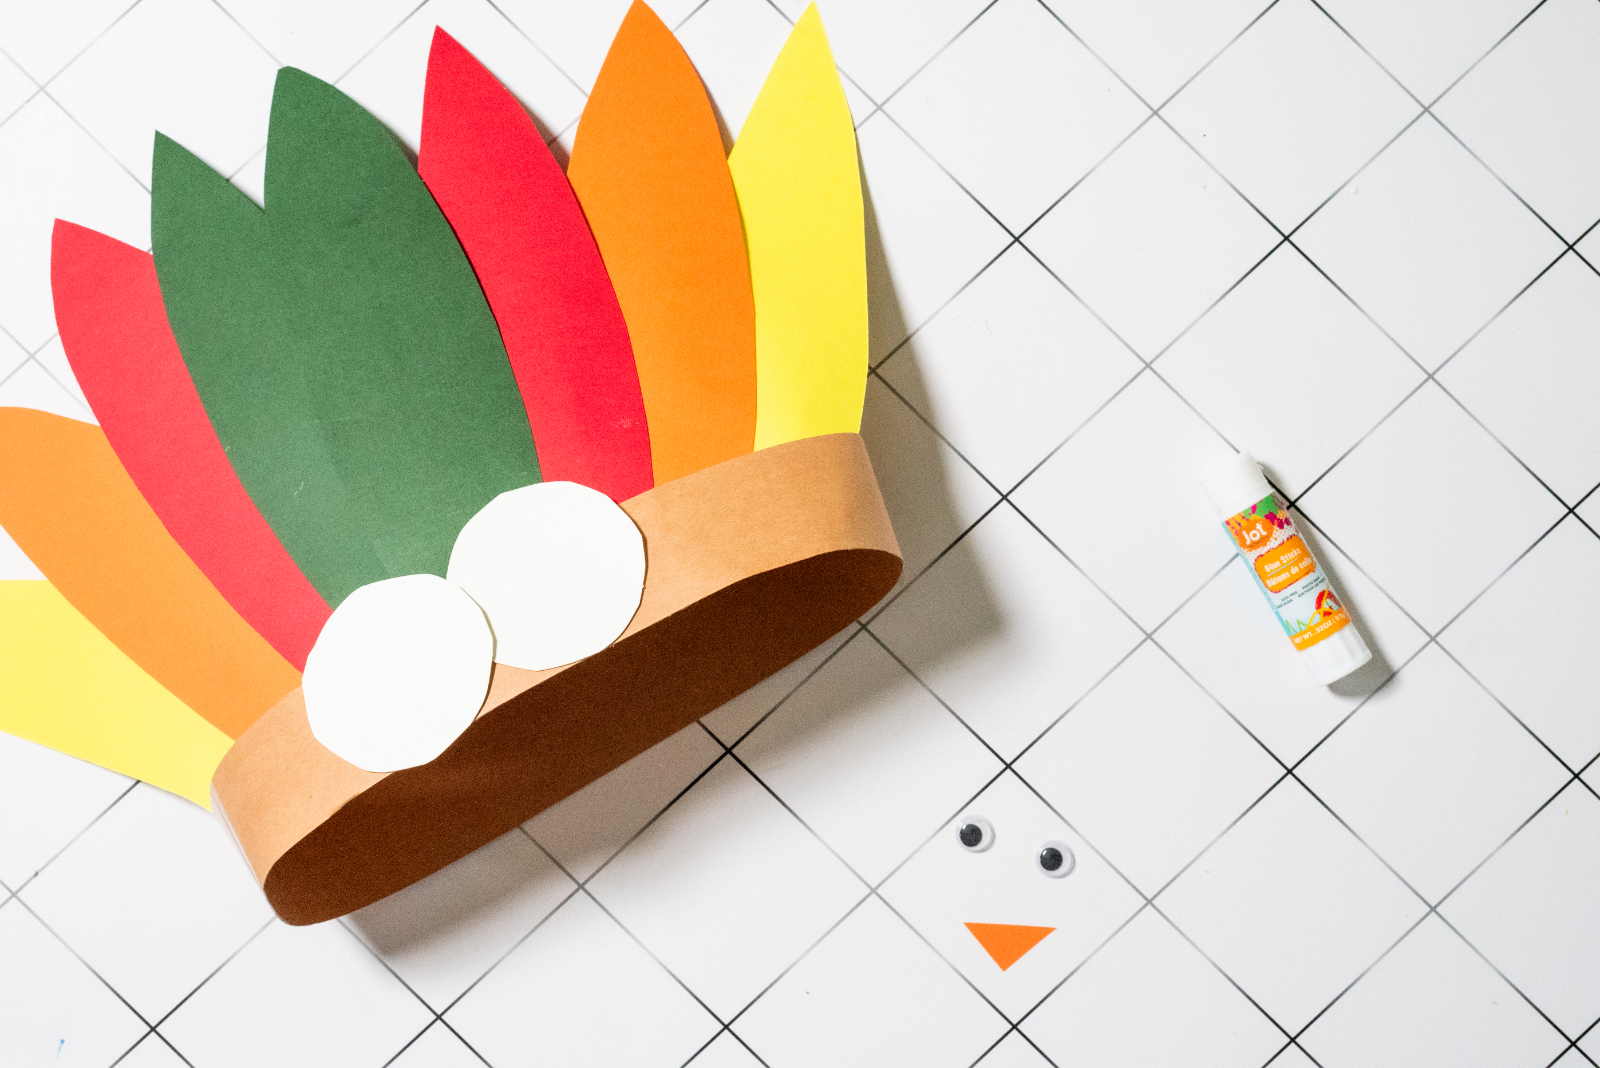
Next, attach one plastic googly eye to the center of each white circle.
If your googly eyes have adhesive backs, simply peel away the backing and press them into place. If they don’t, use a small amount of school glue.
Oversized googly eyes work especially well for this project because they give the turkey a silly expression.
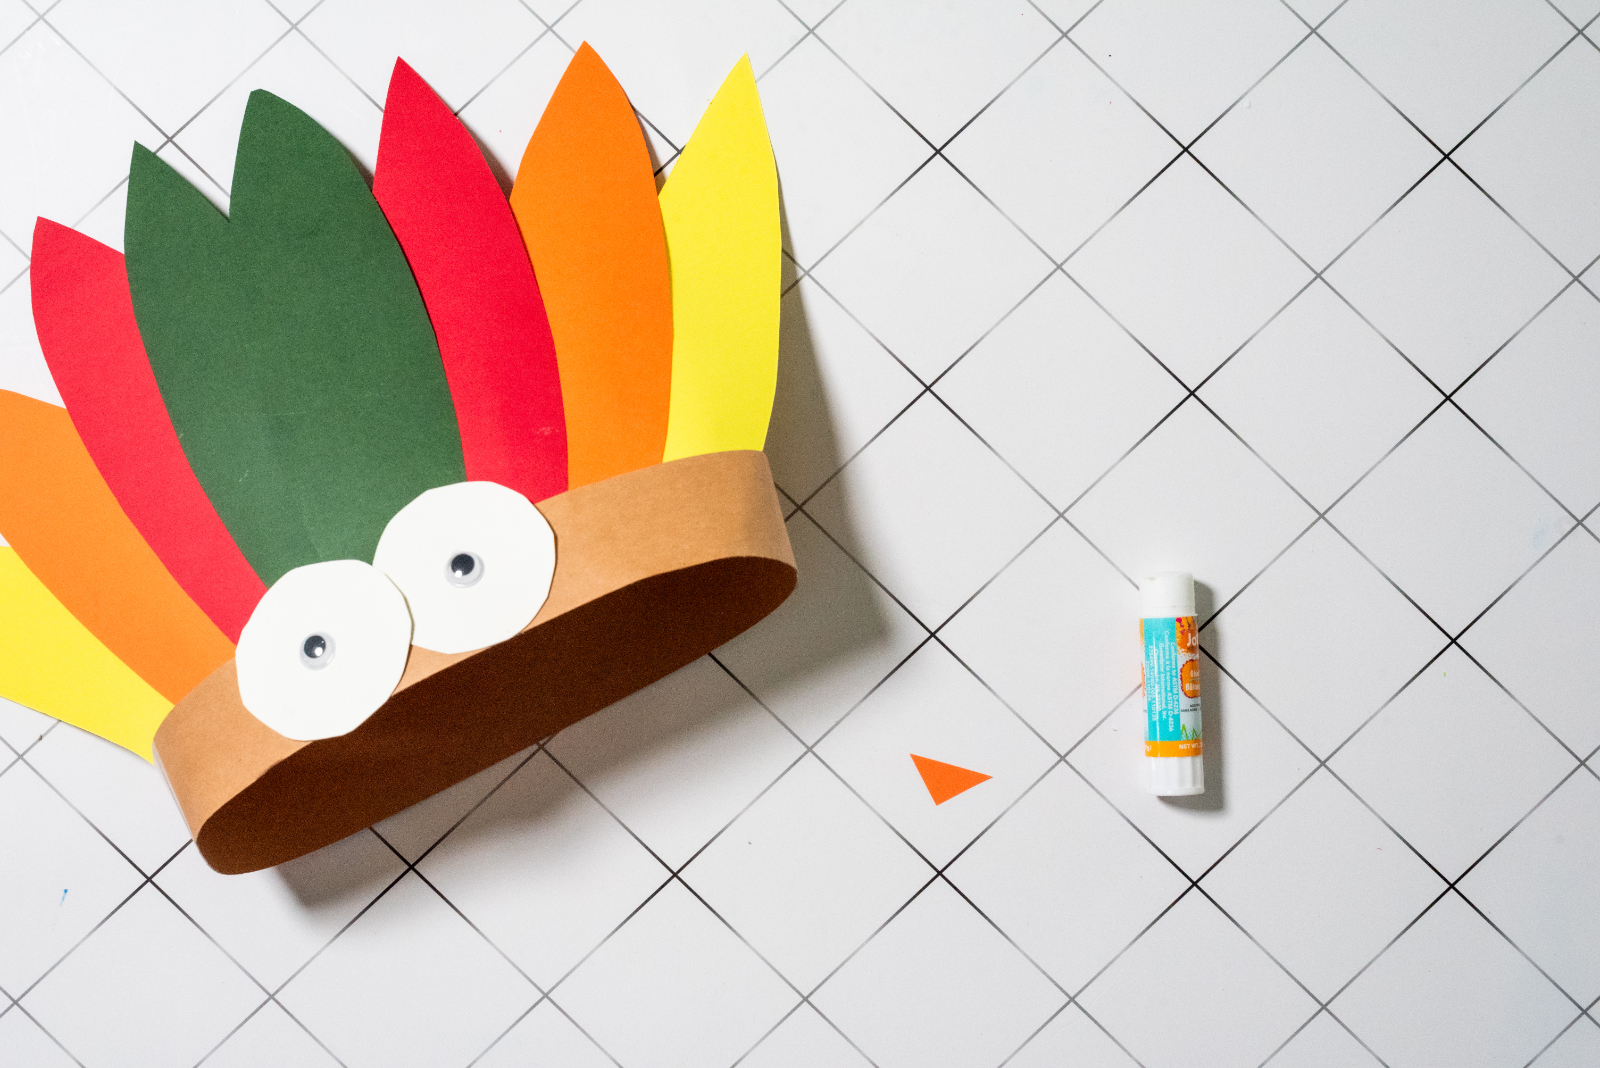
Step 6: Attach the Turkey’s Beak
Take the orange triangle you cut from your construction paper and position it directly underneath the eyes.
Glue the triangle onto the center front of the headband with the point facing downward.
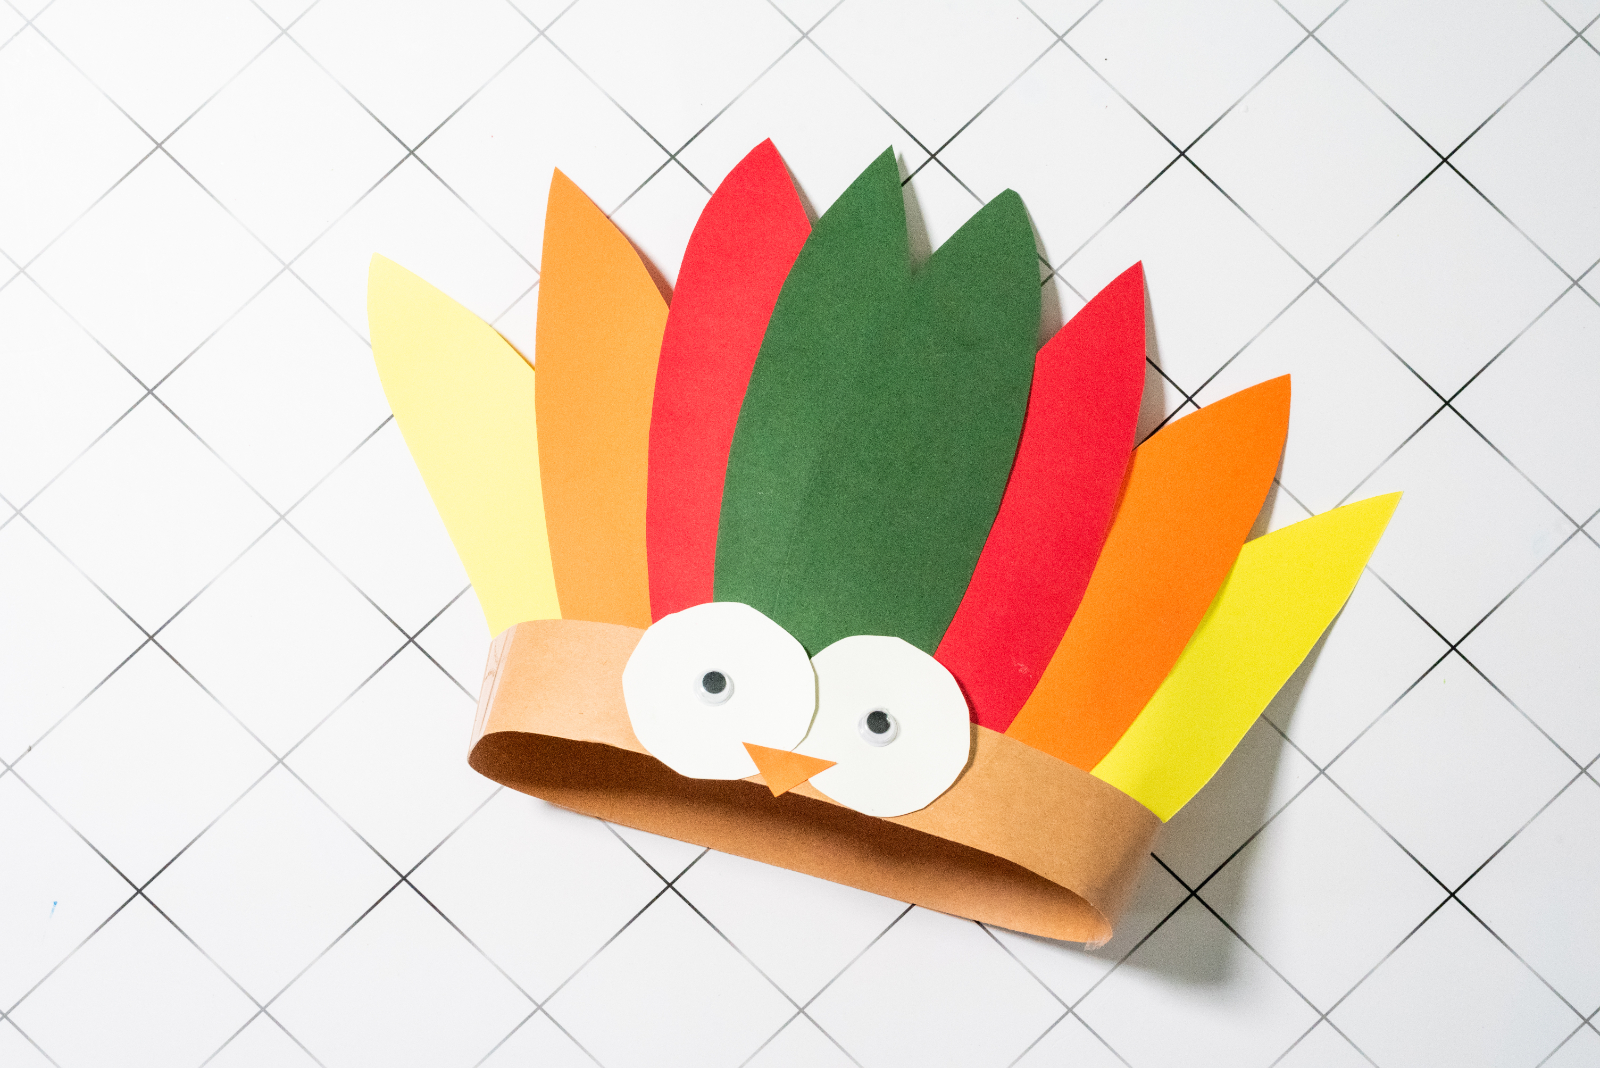
The eyes can sit slightly above the beak and overlap the lower edges of the colorful background feathers. This layered look helps bring all of the turkey’s features together.
Allow everything to dry completely before your child puts on the headband.
Your Thanksgiving turkey headband craft is now ready to wear.
Turkey Headband Craft Ideas for Preschoolers
This is an especially fun Thanksgiving craft for preschoolers because the basic design is easy to simplify.
If you’re working with younger children, consider cutting out the construction paper pieces before craft time. Give each child a brown headband strip, colorful feathers, two white circles, an orange triangle, and two googly eyes.
The kids can focus on arranging and gluing the pieces rather than trying to cut complicated shapes.
You can also turn the project into a color-learning activity. Ask children to identify the red, yellow, orange, and green feathers as they add each one to their turkey.
Make Each Turkey Headband Unique
There’s no reason every turkey has to look exactly the same.
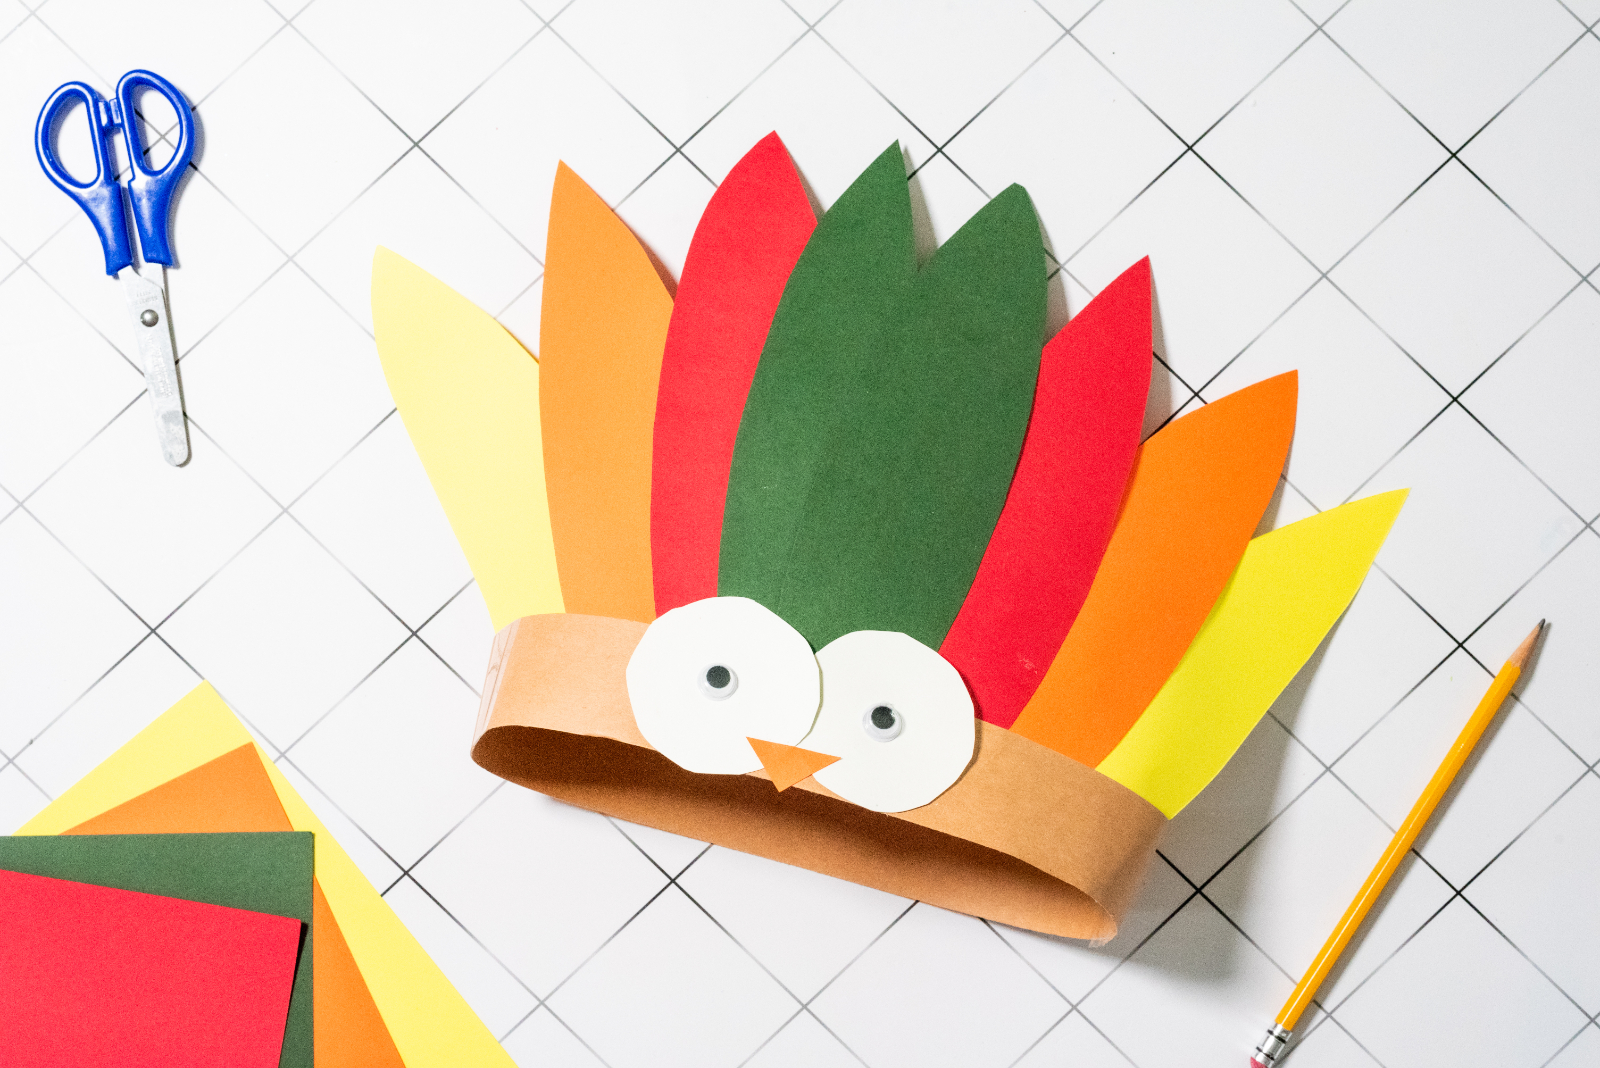
Set out additional colors of construction paper and let kids choose their own feather combinations. Purple, pink, blue, or patterned scrapbook paper can make the turkeys even more colorful.
Children can also decorate the feathers before assembling their headbands. Try adding dots, stripes, squiggles, stickers, or drawings to each paper feather.
For an extra Thanksgiving activity, have children write something they’re thankful for on each feather before attaching it to the headband. This turns a simple craft into a sweet gratitude activity.
Tips for Making This Thanksgiving Craft with a Group
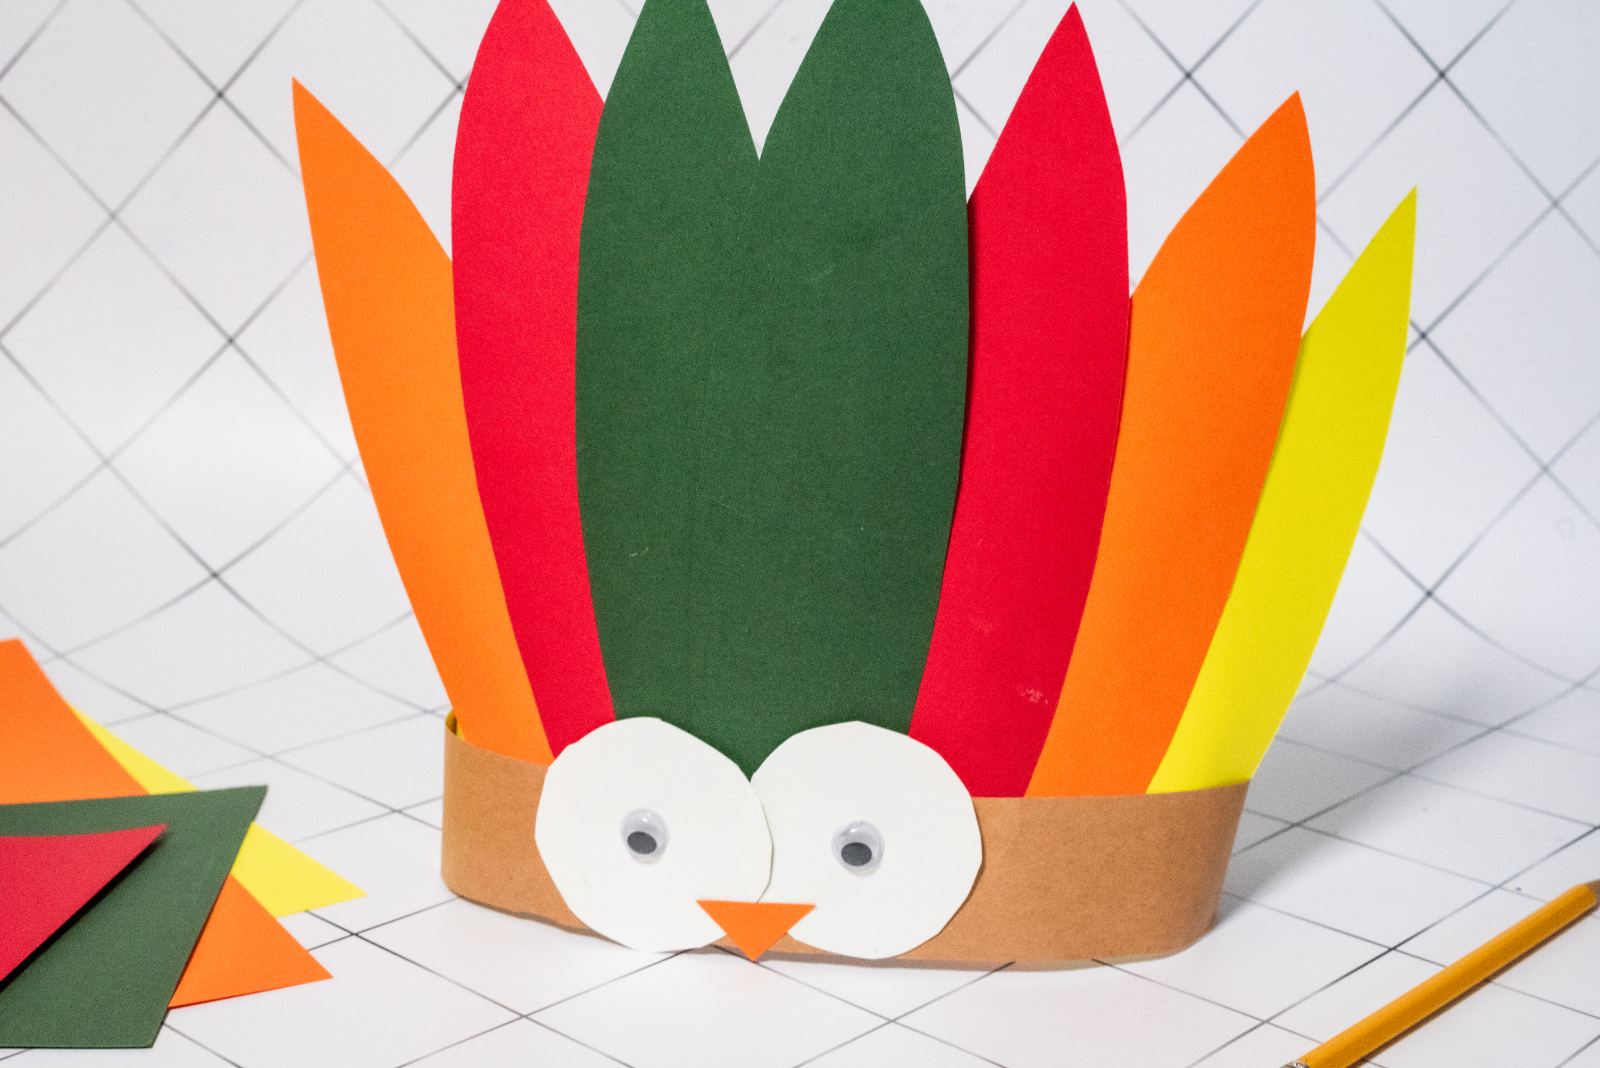
If you’re planning this activity for a preschool class, elementary classroom, daycare, playdate, or Thanksgiving party, a little preparation can make the project run much more smoothly.
Cut the brown paper strips ahead of time and separate the colorful construction paper by color. You can also create one finished turkey headband to use as an example.
For very young children, pre-cutting the feathers, eye circles, and beaks can save a lot of time. Kids can then choose their colors and assemble their own turkey faces.
Keep tape nearby so you can quickly adjust each headband to fit once the craft is complete.
If you’re using liquid glue, plan enough time for the headbands to dry before children put them on. Glue sticks are often easier when you want kids to wear their creations immediately.
When to Make Turkey Headbands
Although this is an obvious choice for Thanksgiving Day, there are plenty of opportunities to make turkey headbands throughout November.
They work well for school Thanksgiving celebrations, preschool turkey units, fall classroom activities, Thanksgiving playdates, family craft nights, and kids’ tables at Thanksgiving dinner.
You can even have children make their headbands before Thanksgiving dinner and then wear them for family photos.
Because the materials are inexpensive, this is also an easy activity to set up when you’re hosting several children for the holiday.
Why Kids Will Love This Turkey Craft
Wearable crafts tend to be especially exciting for children because the fun doesn’t end when the glue dries. Once they’ve finished crafting, they get to put on their turkey headband and show everyone what they made.
Kids can choose their feather colors, decide how to arrange them, and give their turkey its own personality. Even when everyone starts with the same supplies, the finished turkeys often look completely different.
The craft also provides opportunities to practice tracing, cutting, arranging shapes, identifying colors, and gluing.
Most importantly, it’s a fun seasonal activity that doesn’t require parents to purchase an elaborate list of supplies.
A Fun and Easy Thanksgiving Turkey Craft for Kids
This Turkey Headband Craft is an easy way to add some creativity to your Thanksgiving celebrations. With colorful construction paper, googly eyes, scissors, glue, and tape, kids can create their own wearable turkey in an afternoon.
Make the headbands before Thanksgiving dinner, add them to a classroom celebration, or use them as a November afternoon craft when you’re looking for something festive to do with the kids.
Once everyone has finished, line up your little turkeys for a photo. Their colorful paper feathers and oversized googly eyes make this simple Thanksgiving craft for kids just as cute to photograph as it is fun to create.